
Testnets
Playgrounds for blockchain developer testing
TLDR:
Testnets are short for “test networks” and are a core component of the crypto world that many ordinary users don’t know about because they don’t use them.
Testnets are where blockchain developers generally test code out before moving them into real networks.
Below you’ll see how to connect a Metamask wallet to a testnet, get some “fake” money in your wallet with a faucet or gas.zip, and then send that money.
For most ordinary crypto users there’s rarely a real need to use testnets, however understanding them gives you a deeper understanding of the entire space.
In last week’s lesson on building your own crypto AI agent I realised that many people don’t know much about crypto testnets so I decided to discuss them in this week’s post.
Honestly I could write an awful lot about testnets but I’ve tried to keep it short and mainly high level.
If this post resonates with you and you enjoyed the content then please share it with friend and get rewarded for doing so!

This blog goes out weekly to almost 10,000 subscribers. Please message me if you’re interested in sponsorships or partnerships.
Testnets
Testnets are short for “test networks” and are a core component of the crypto world that most ordinary crypto users don’t know much about since they don’t usually interact with them.
In short they are where developers test their code out before they move it onto the main networks we’re used to using like Bitcoin, Ethereum, Base, Solana and Binance Smart Chain.
All blockchain networks have at least one testnet to test things out on, and in fact most have several networks. Over time testnets can fall out of line with the latest version of their main network and become deprecated in favour of another one.
For example Ethereum over the years has had many testnets with odd names like Olympic, Ropsten, Rinkeby, Goerli and Sepolia. Many EVM chains like Optimism, Base and Arbitrum also follow the same naming conventions and have their own similarly named testnets like Arbitrum Goerli or Base Sepolia.
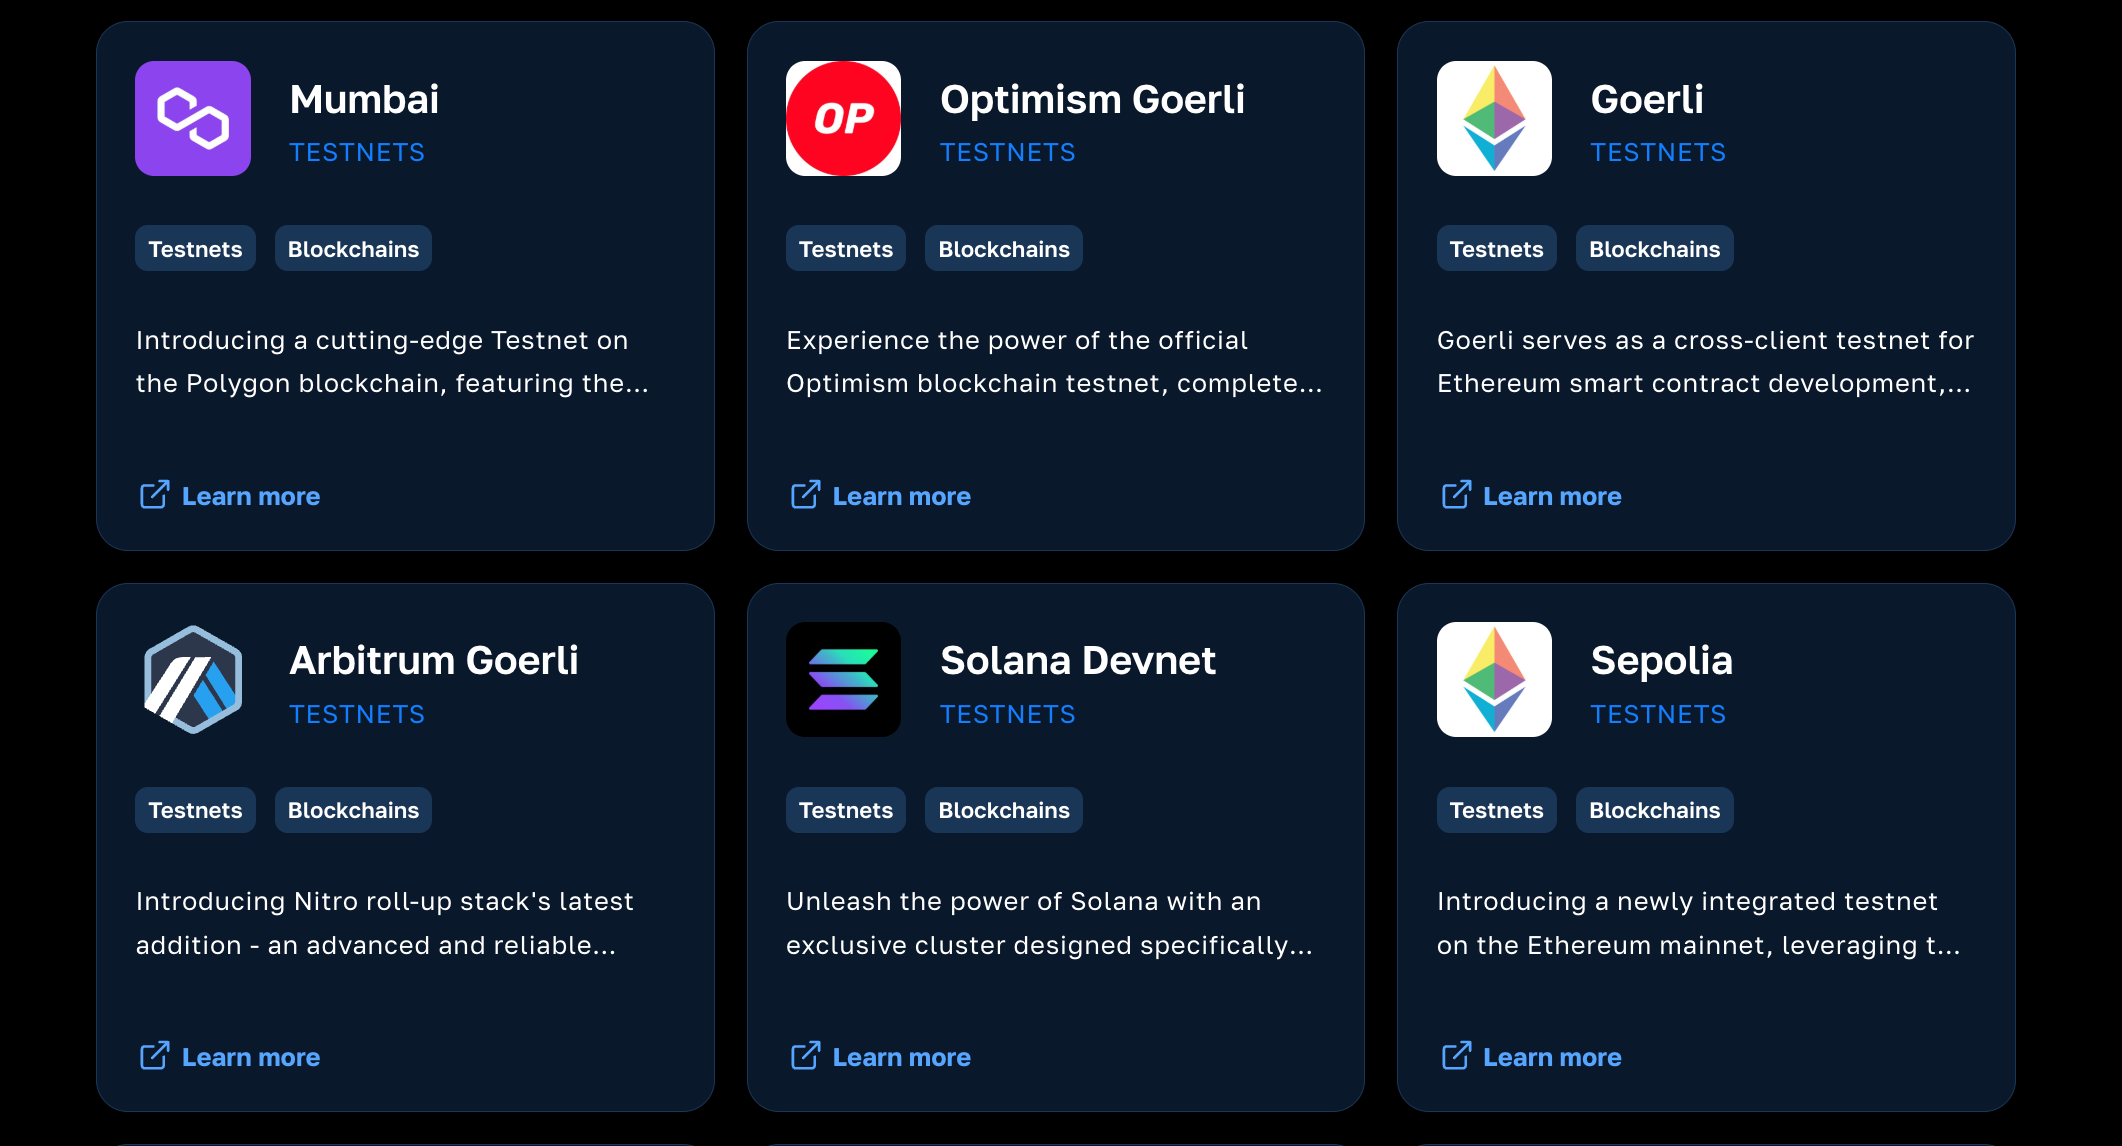
Of course it’s not just Ethereum ecosystem blockchains that have testnets though, as I said above all blockchains do this. Solana for example has its aptly named Devnet, and with Bitcoin it’s literally called the Bitcoin Testnet with subesquent testnets named sequentially like Testnet3 and Testnet4.
Testnets are technically entirely the same as the real networks they model, therefore you can do everything on a testnet that you can do on the mainnet. The key difference between them is the Consensus Algorithm they use.

I’ve written about Consensus Algorithms before in the post I’ve linked above, but effectively they are what keeps the network decentralised or not.
In testnets the network is very much centralised and controlled by a few specific players usually through a proof-of-authority algorithm, so these entities can then create the token out of thin air or just decide to even switch the network off entirely.
Connecting to Testnets
Using a testnet is generally as simple as using any other ordinary network, after all like I said above these are pretty much indentical to the main networks that they are a test for, other than their consensus algorithm.
As an example we’ll connect and use the Ethereum Sepolia network below. To do this you can use a wallet provider like Metamask and open up ChainList.org where you can search for Ethereum and select the Testnets to see the “Ethereum Sepolia” option.
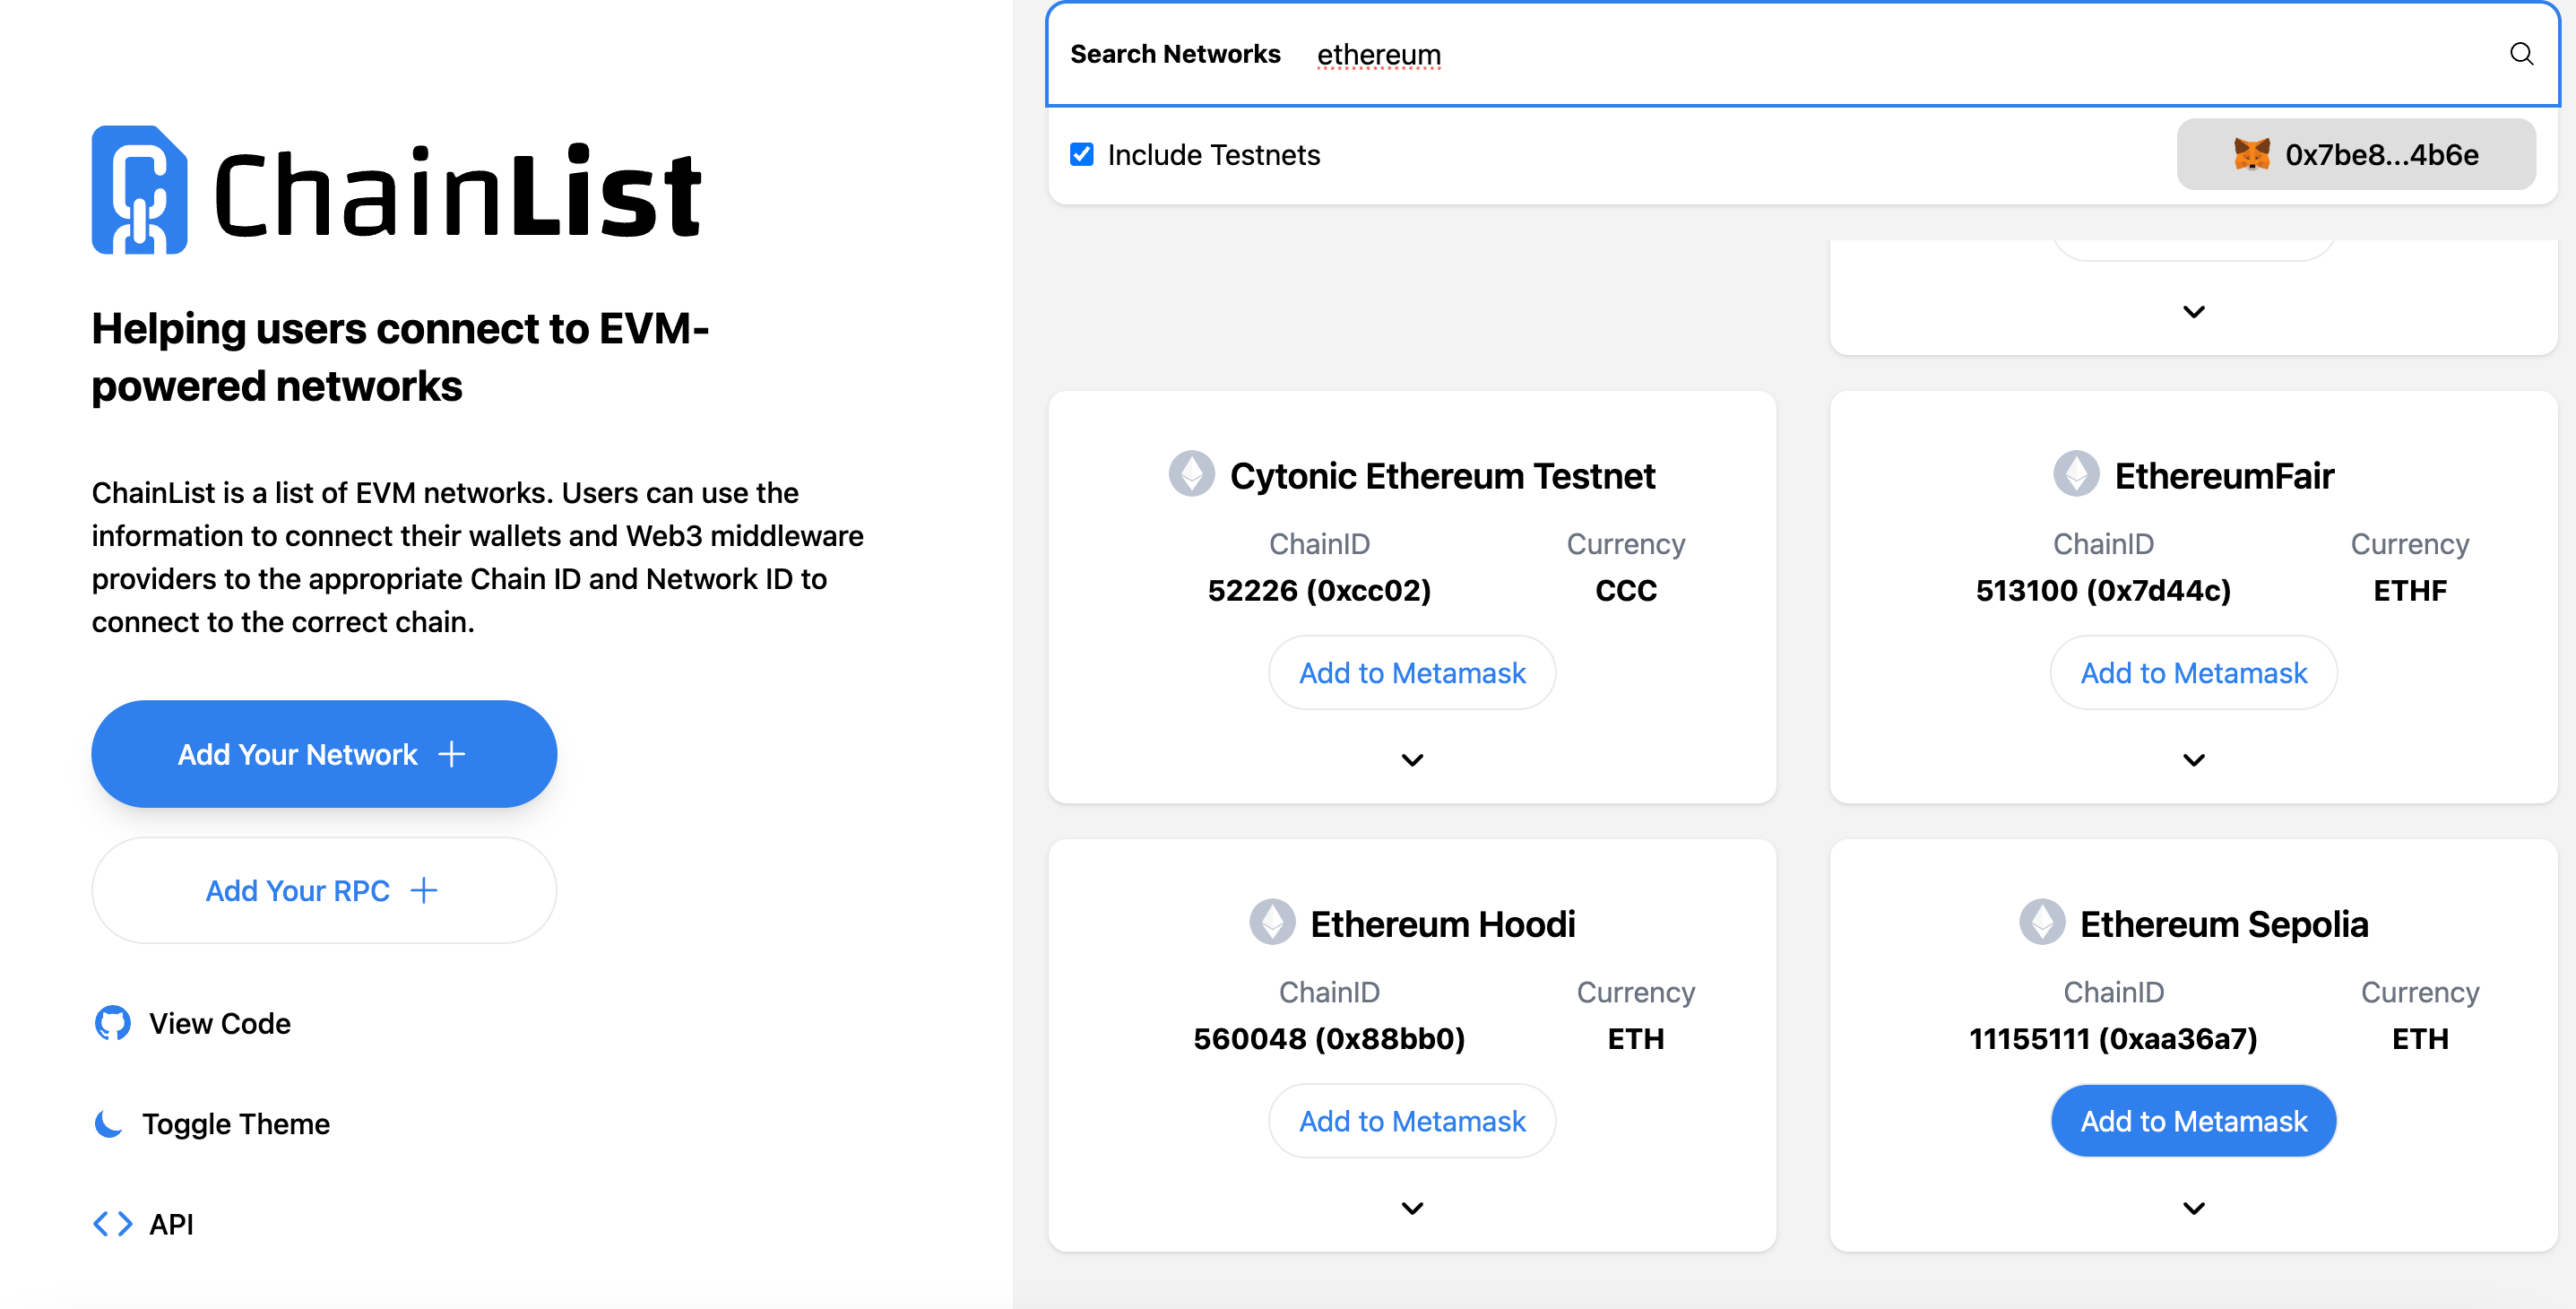
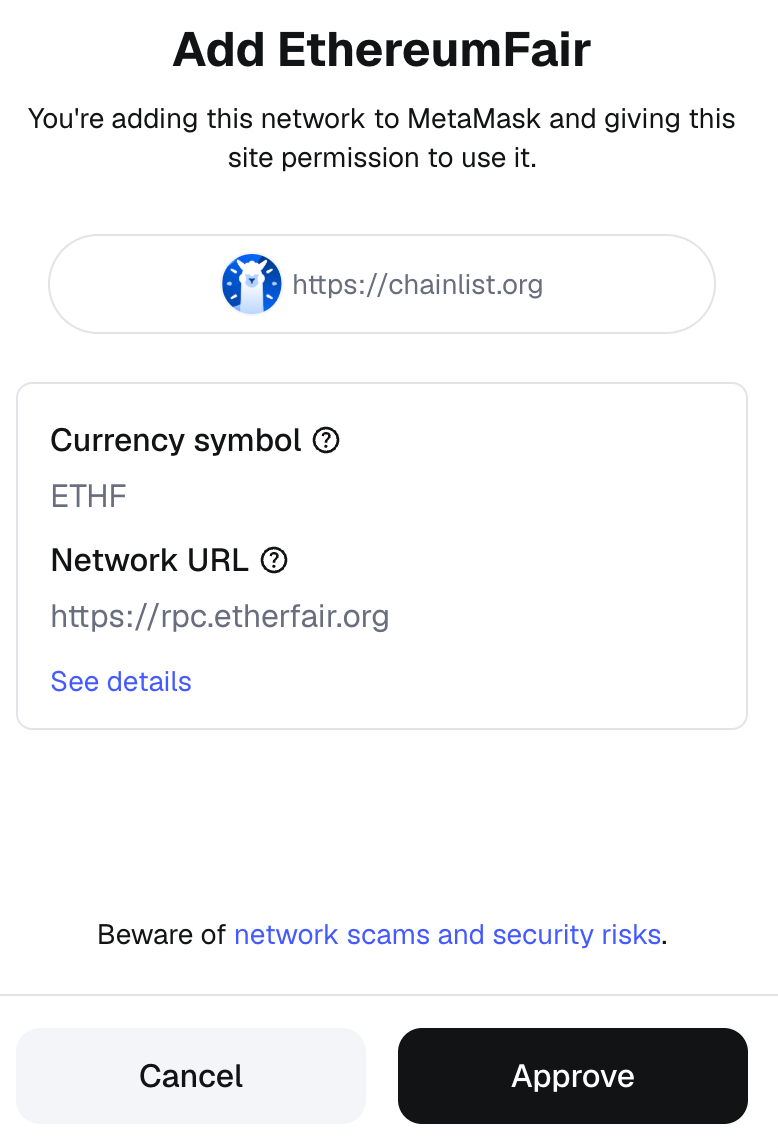
Select “Add to Metamask” and a pop up will appear to ask you to approve the network. If it doesn’t appear it’s because Metamask already has it enabled and you’re good to go.
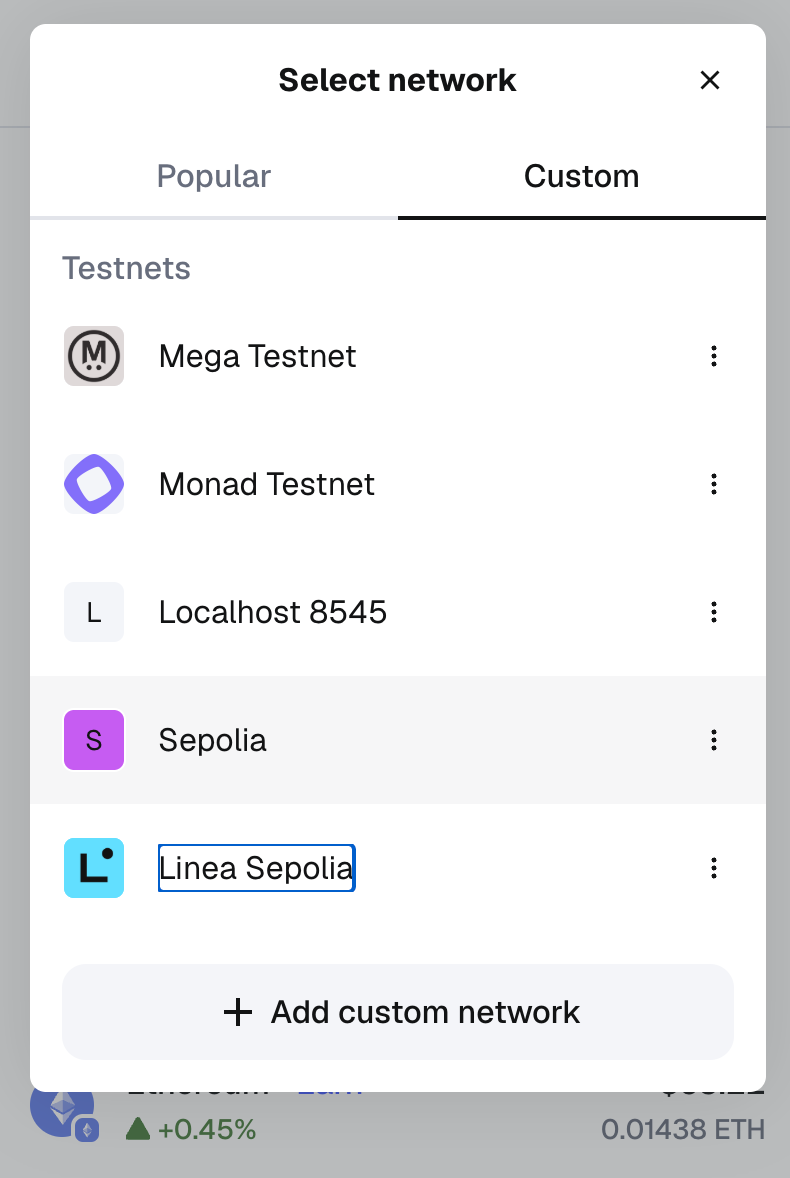
With the new network approved you should be able to find it in Metamask in the networks section like this:
And if you go onto etherscan you can also find your address like you would with any other EVM based network, for Ethereum Sepolia it’s sepolia.etherscan.io, and searching for my address gives this:
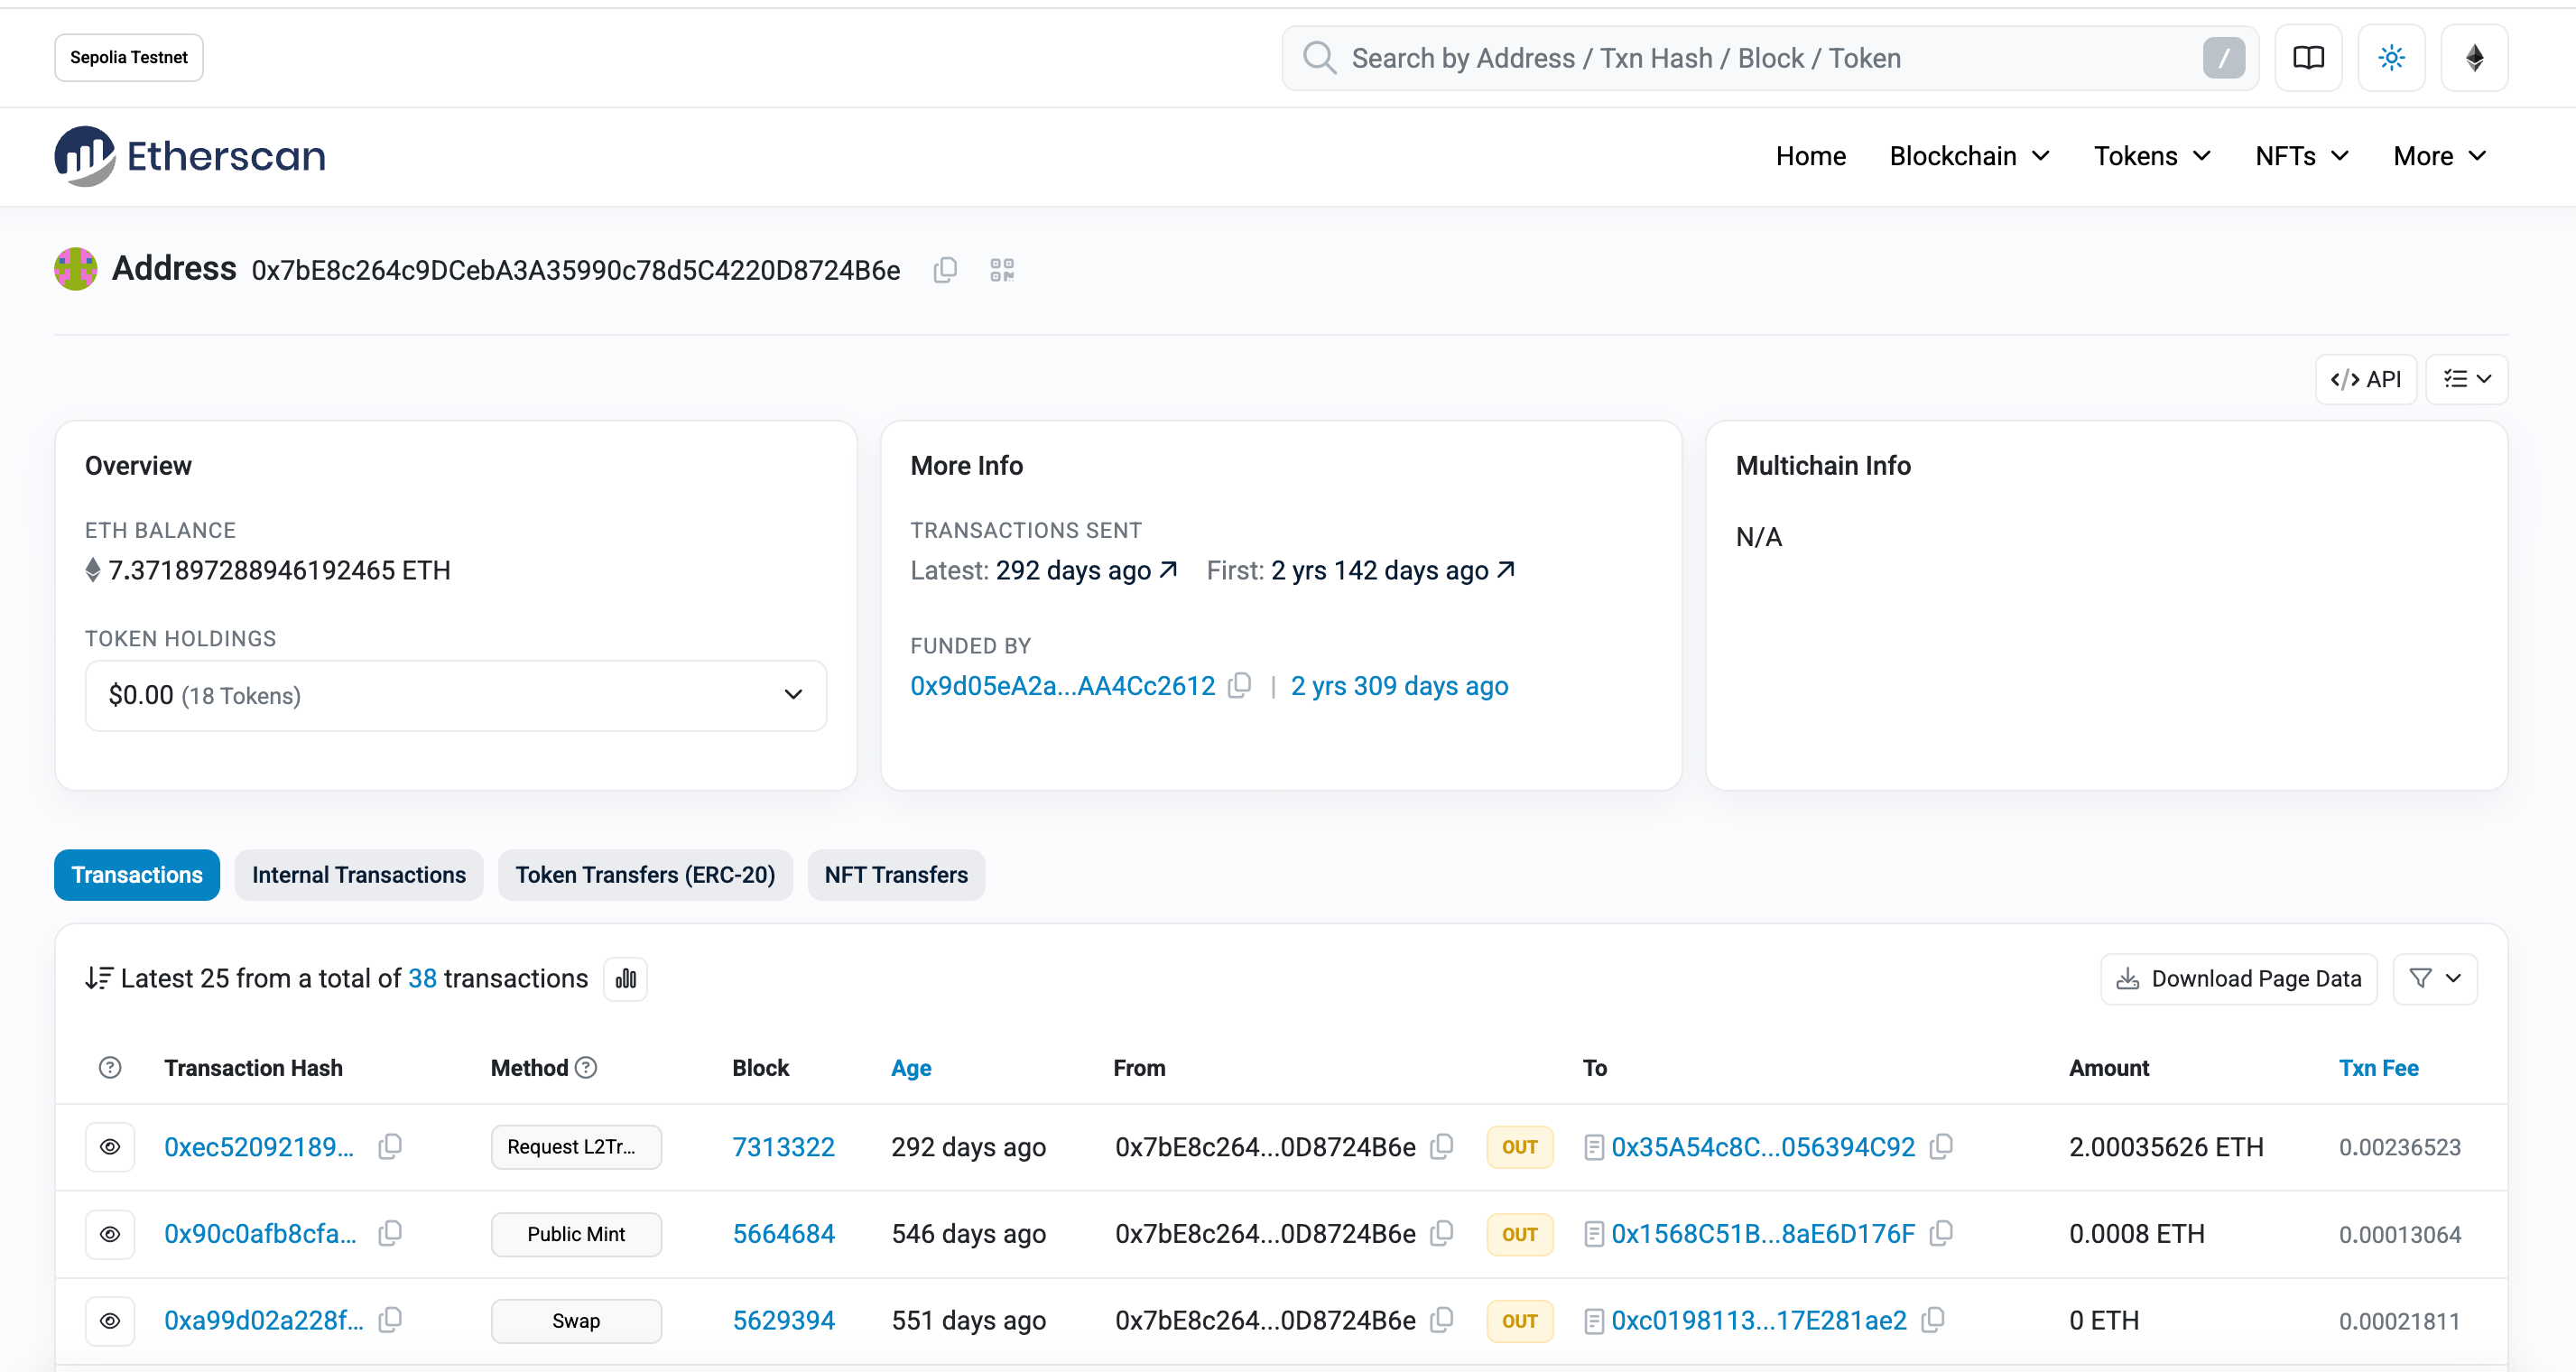
As you can see I’ve already used this Sepolia address before so there’s visibile transactions here, however you may not have used it before and if so will just have a blank address, in which case you’ll want some testnet ETH to be able to transact.
Getting Testnet money
Faucets are platforms that distribute small amounts of crypto for completing tasks and are generally the main entry into using testnets.
For example now that we have our account on Ethereum Sepolia we also want to get some Sepolia ETH. In order to do this we’ll look for an available faucet. By searching online I found the following faucet for Ethereum Sepolia - https://testnet.help/en/ethfaucet/sepolia.

It was pretty simple to use as it just asked me to answer a couple of questions and complete a captcha as shown below.
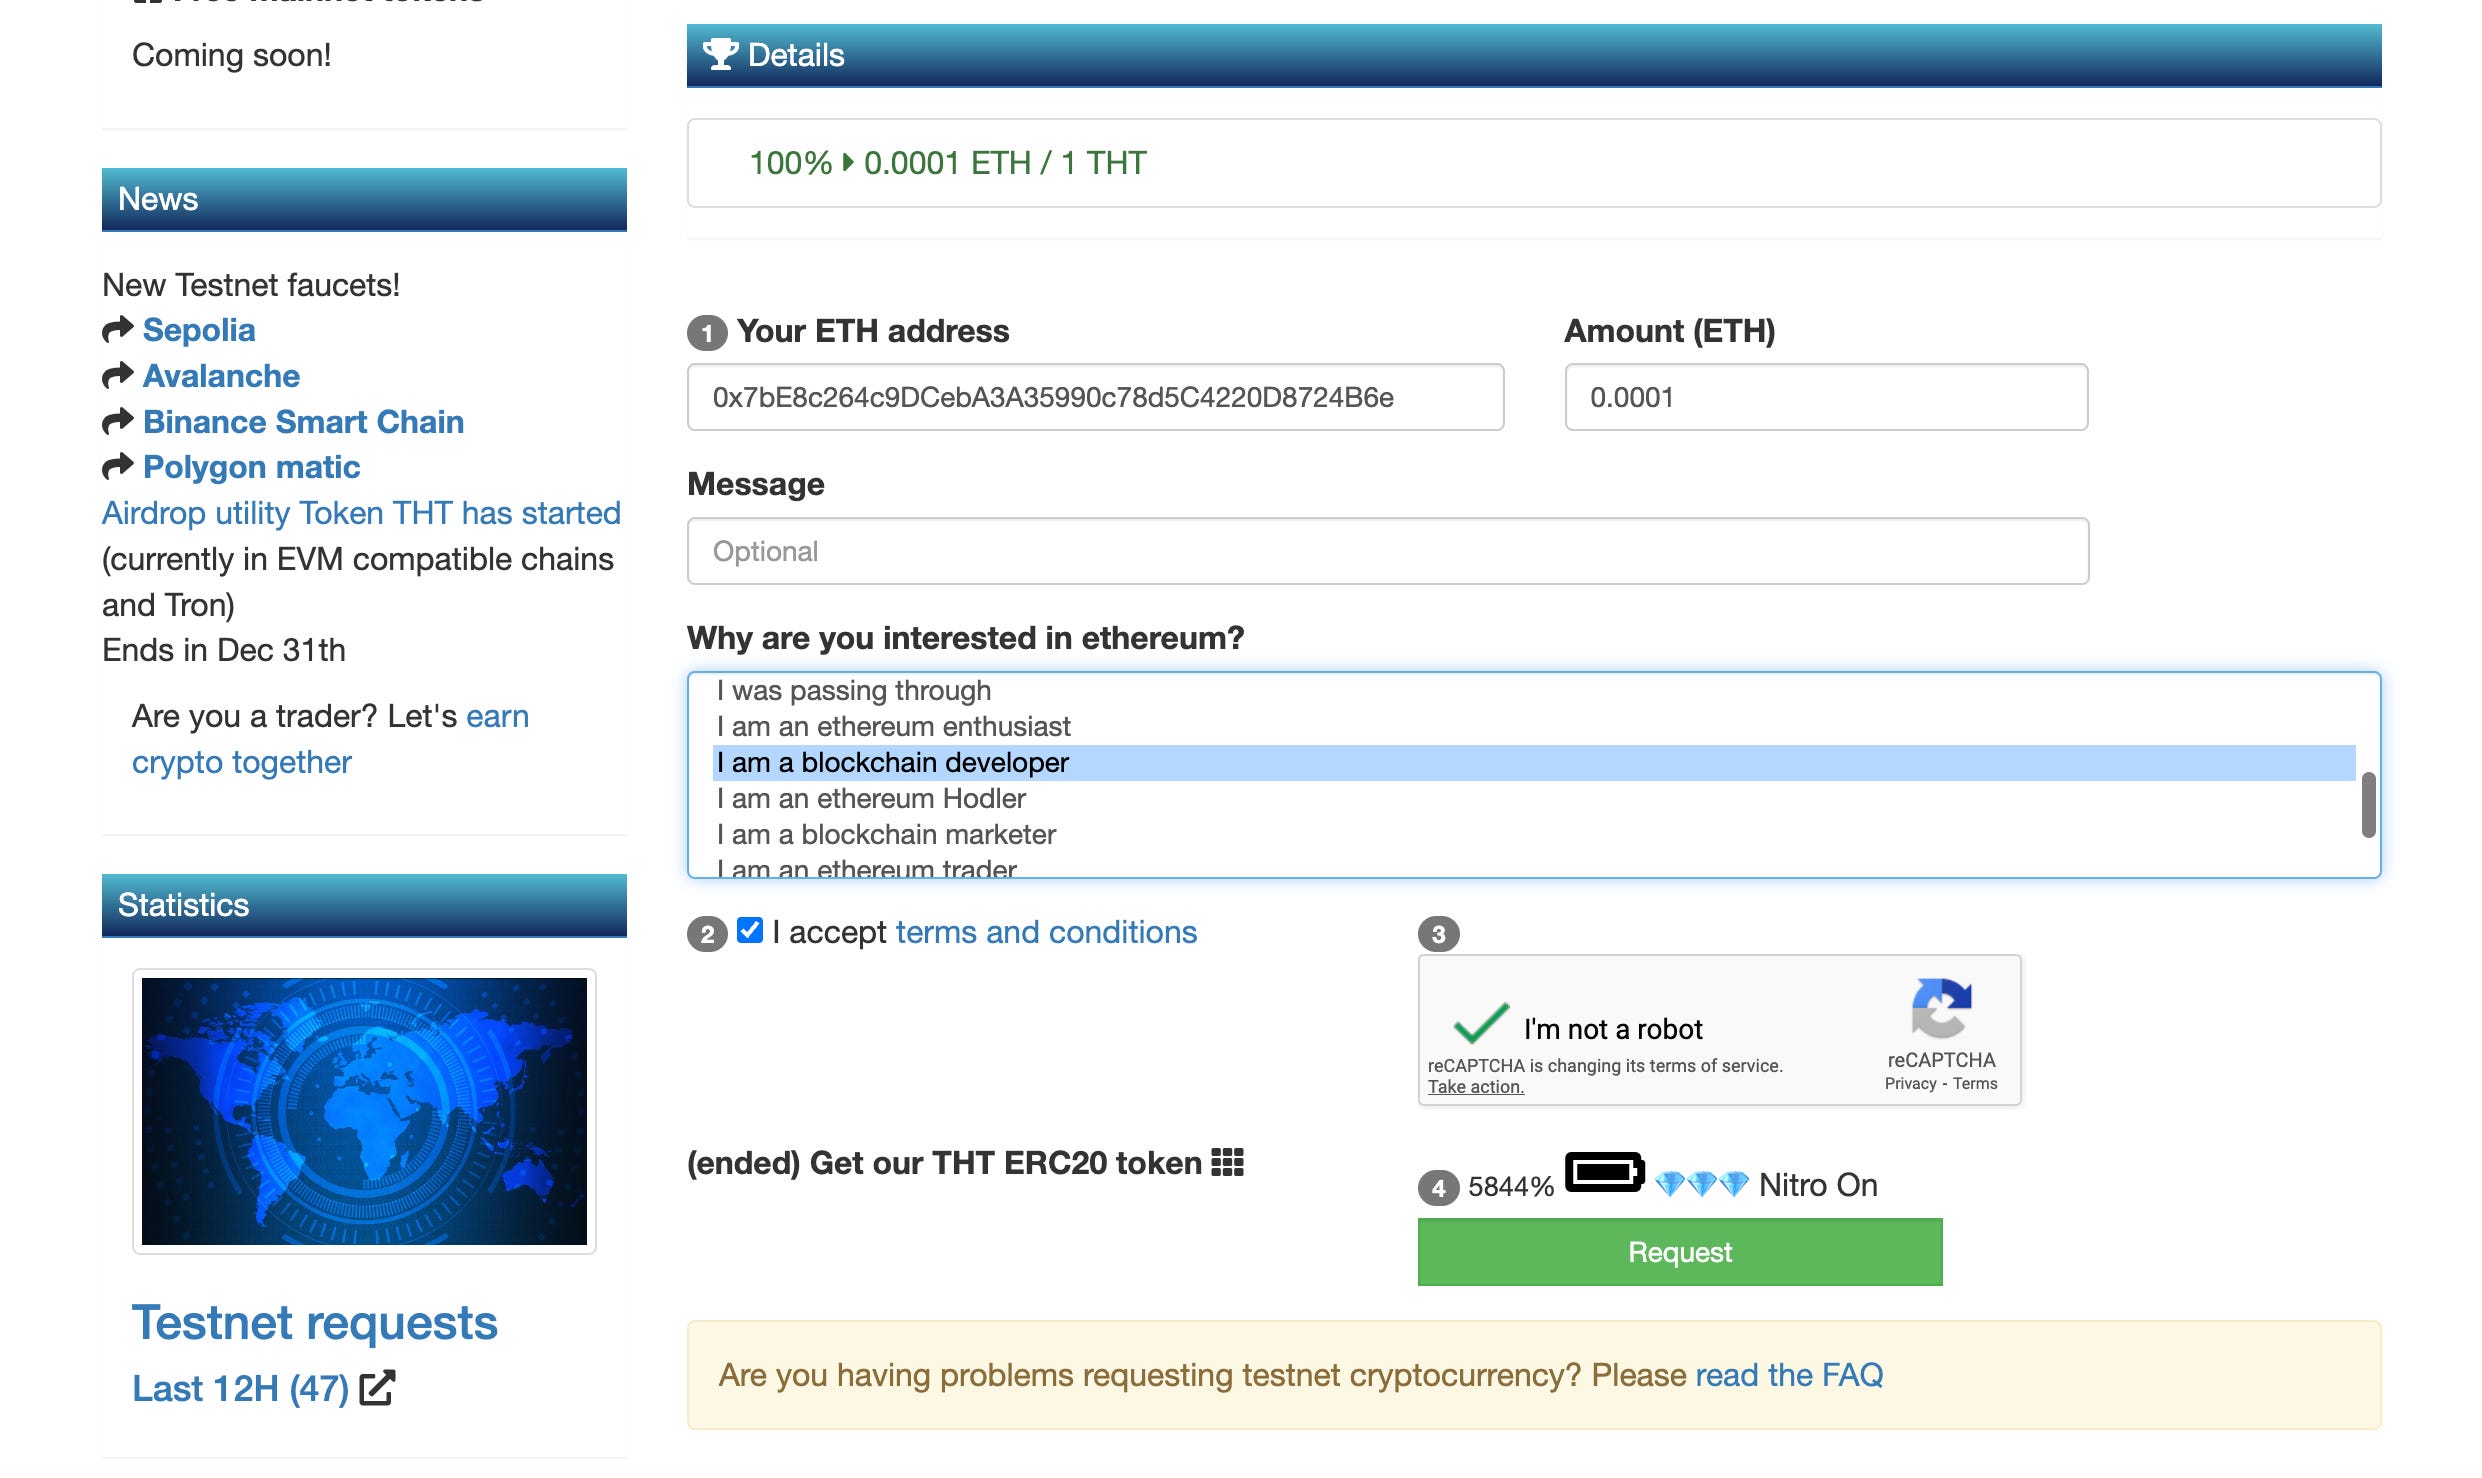
As a result I got 0.0001 ETH sent to me on the sepolia testnet!
In this case we got testnet ETH for the Ethereum Sepolia network but it’s pretty easy to find a faucet for whichever network your looking for just by searching online.
Faucets however tend to have this limitation of sending very little ETH as we saw above with only 0.0001 ETH being sent.
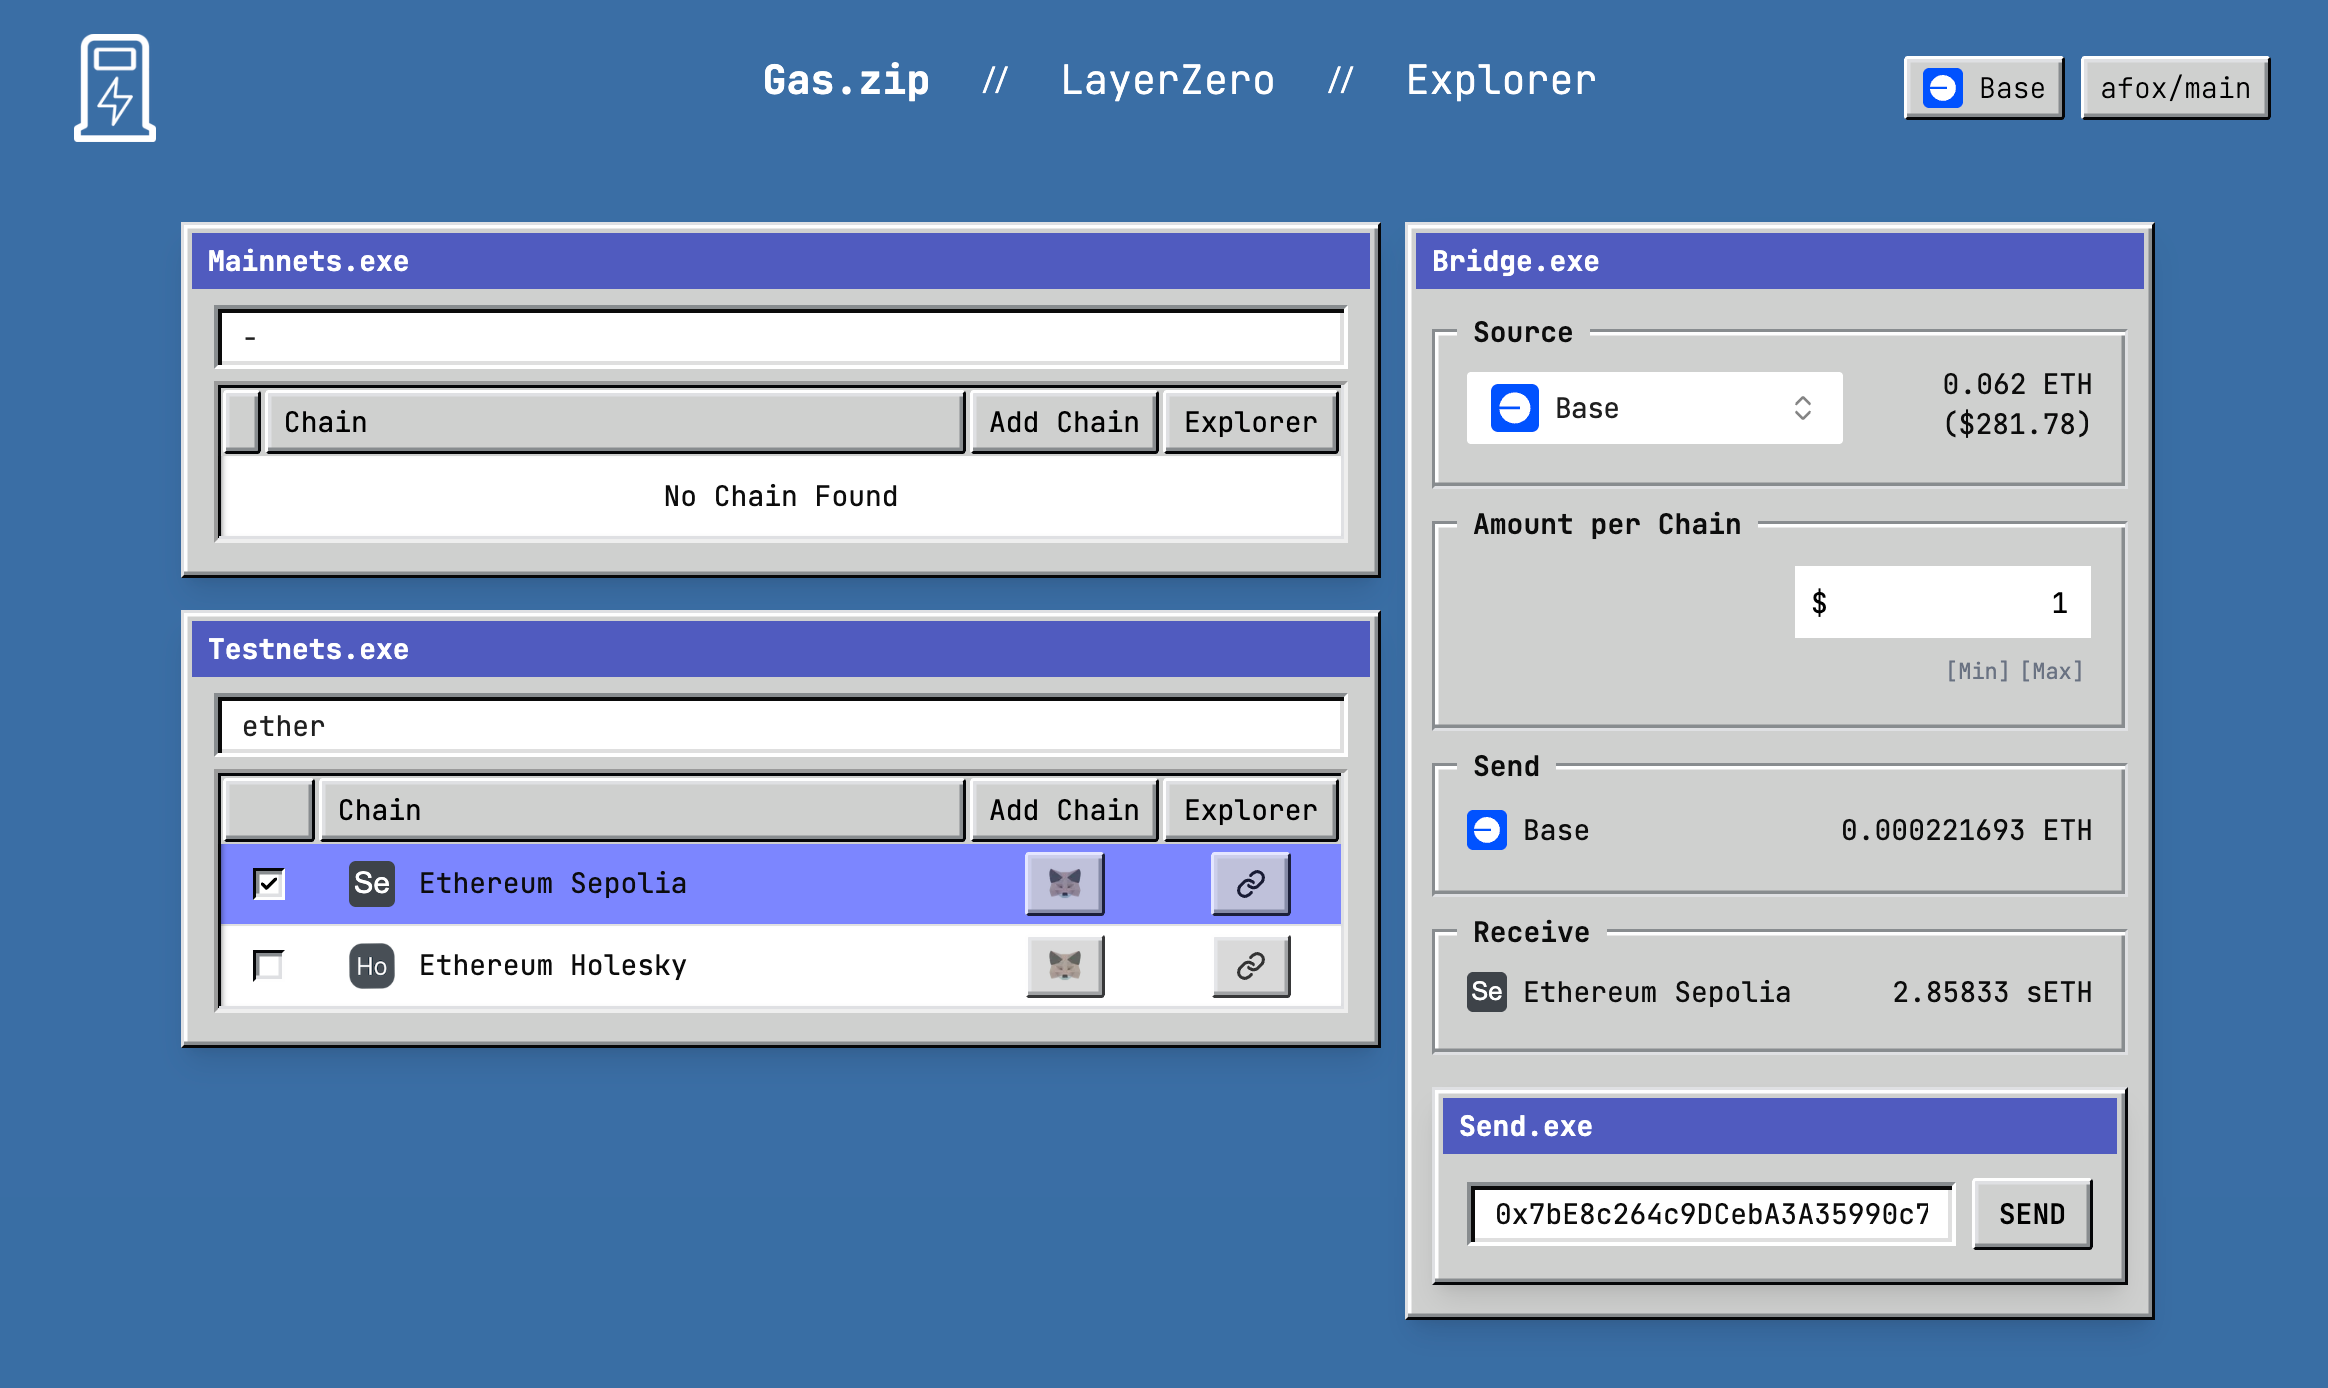
One method I’ve actually found to get more testnet ETH is to use gas.zip instead, however the drawback here is that it’ll cost you “real” money in return for “fake” money.

I’ve covered gas.zip in the post above if you want a quick refresh of the platform, but as you can see below just $1 in real ETH can get you 2.8 ETH on the Ethereum Sepolia testnet, which is a lot more than the 0.0001 ETH the faucet was giving.
So now that you know how to get some testnet ETH either for free with a faucet or by paying with gas.zip.
Using the Testnet
With your wallet connected to the Ethereum Sepolia network and with some testnet ETH in your hands you can now do genuine transactions on the testnet!
As a real simple example you can open up your Metamask wallet and just send that testnet ETH to another address, or in this case I can send some ETH back to the faucet just to show how simple it is.
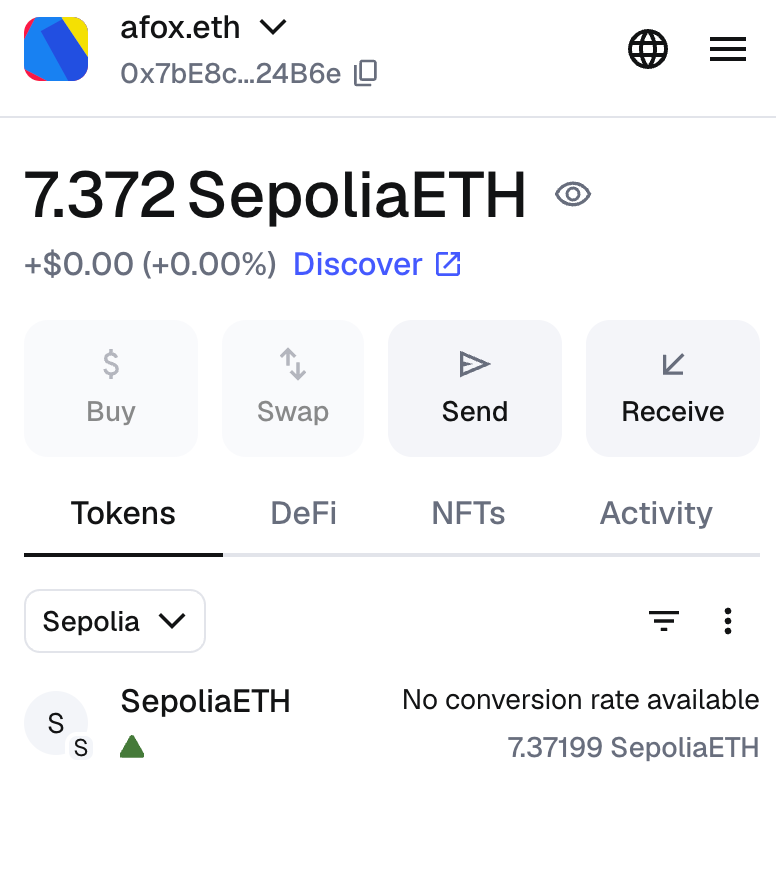
Simply select the “send” button in the Metamask wallet and you can send to any other address as you would usually.
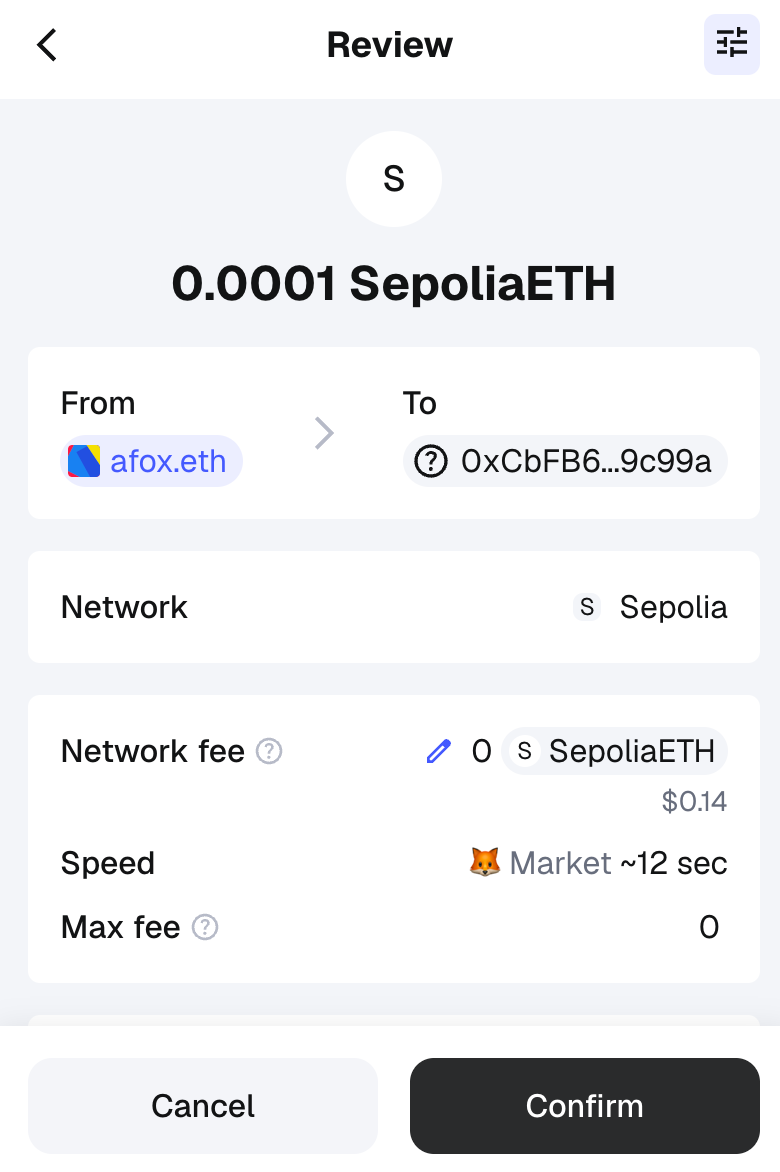
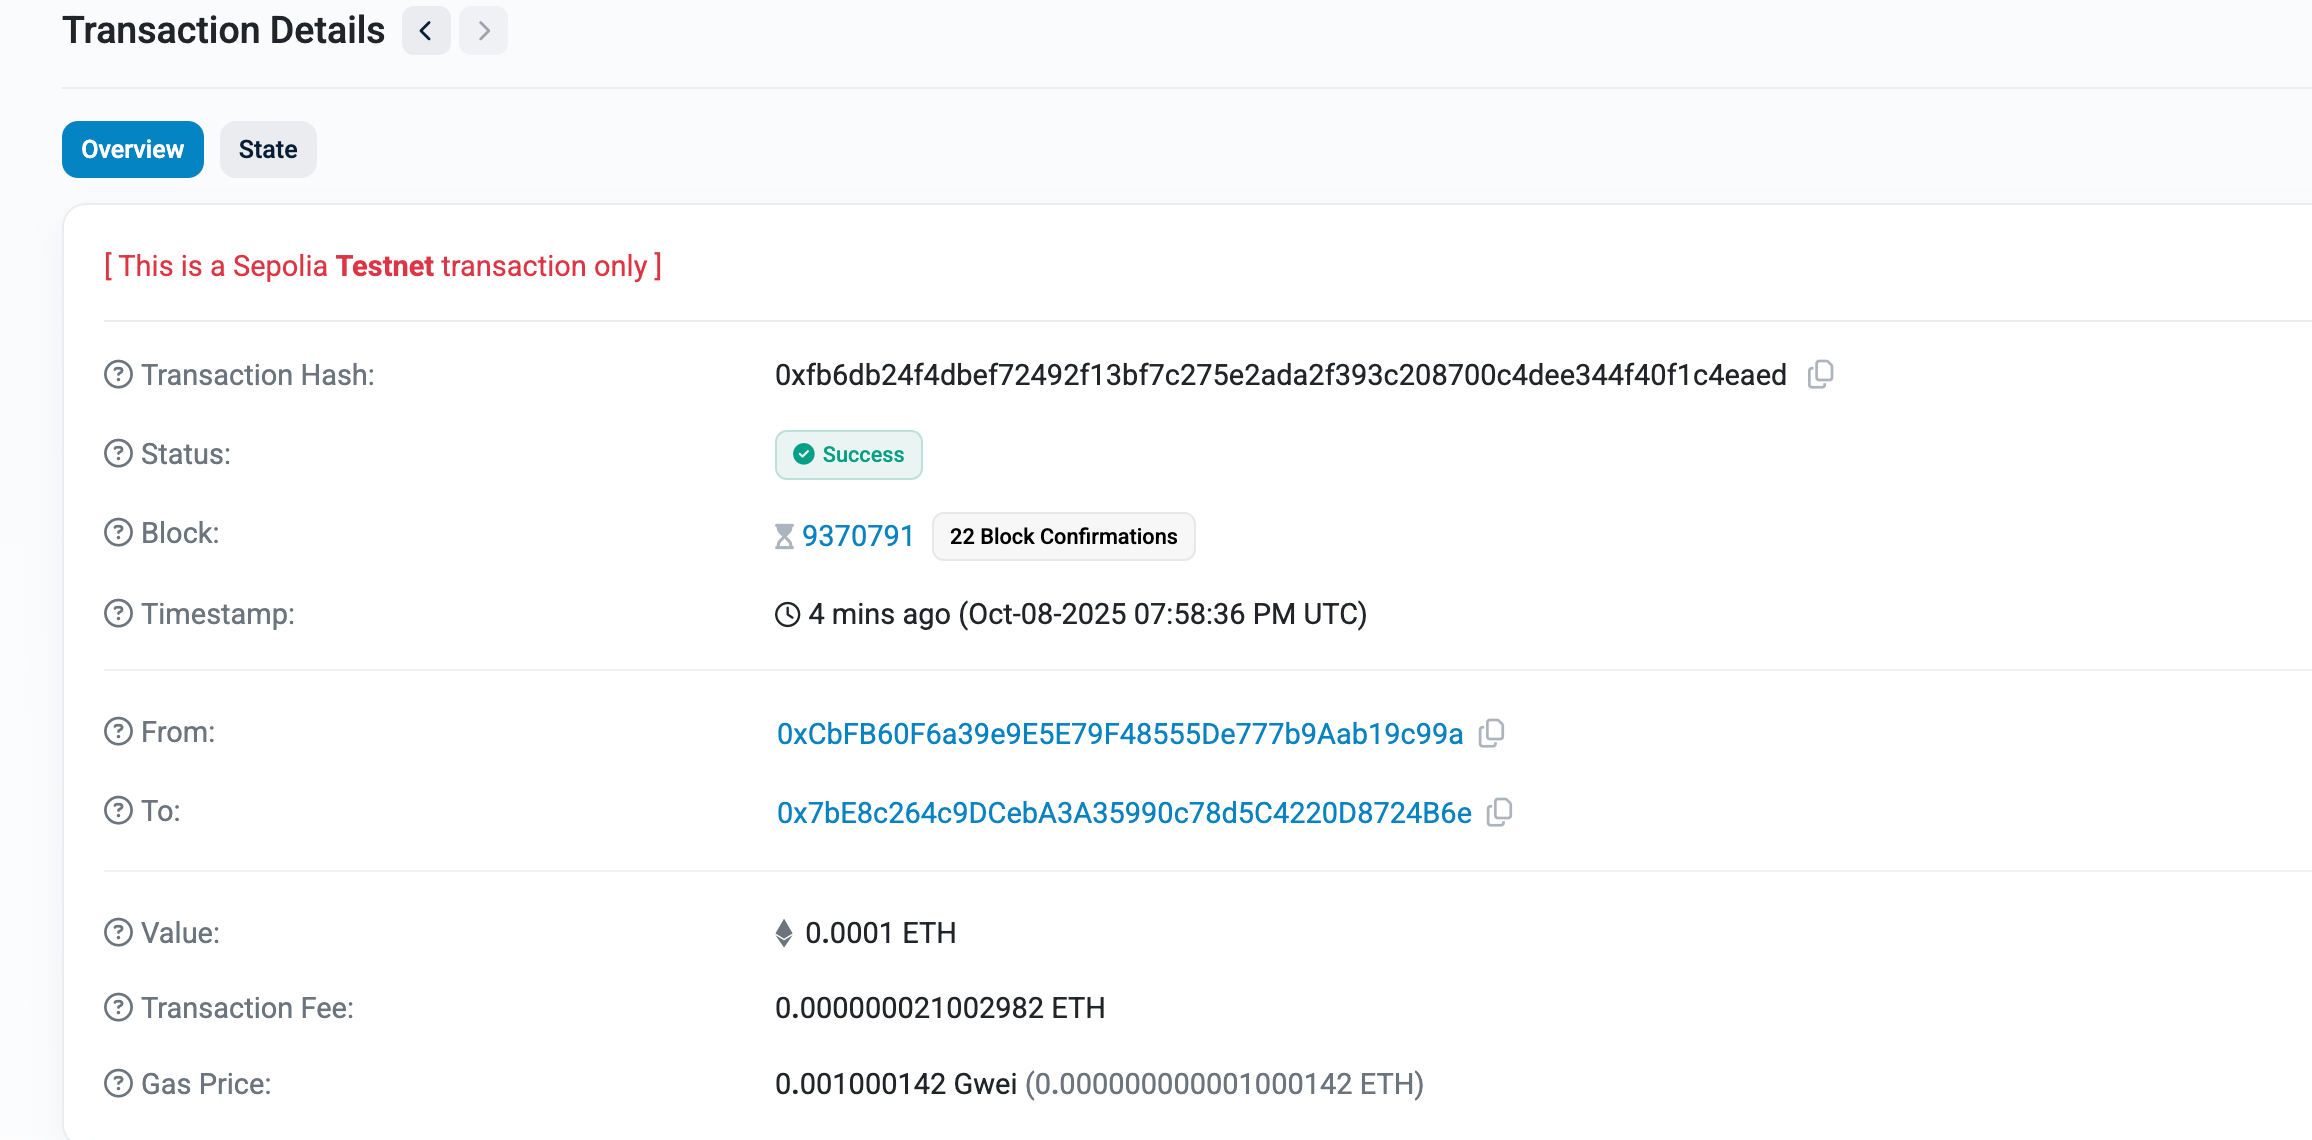
Once confirmed you’ll see the transaction go through onchain on etherscan just like any other transaction.
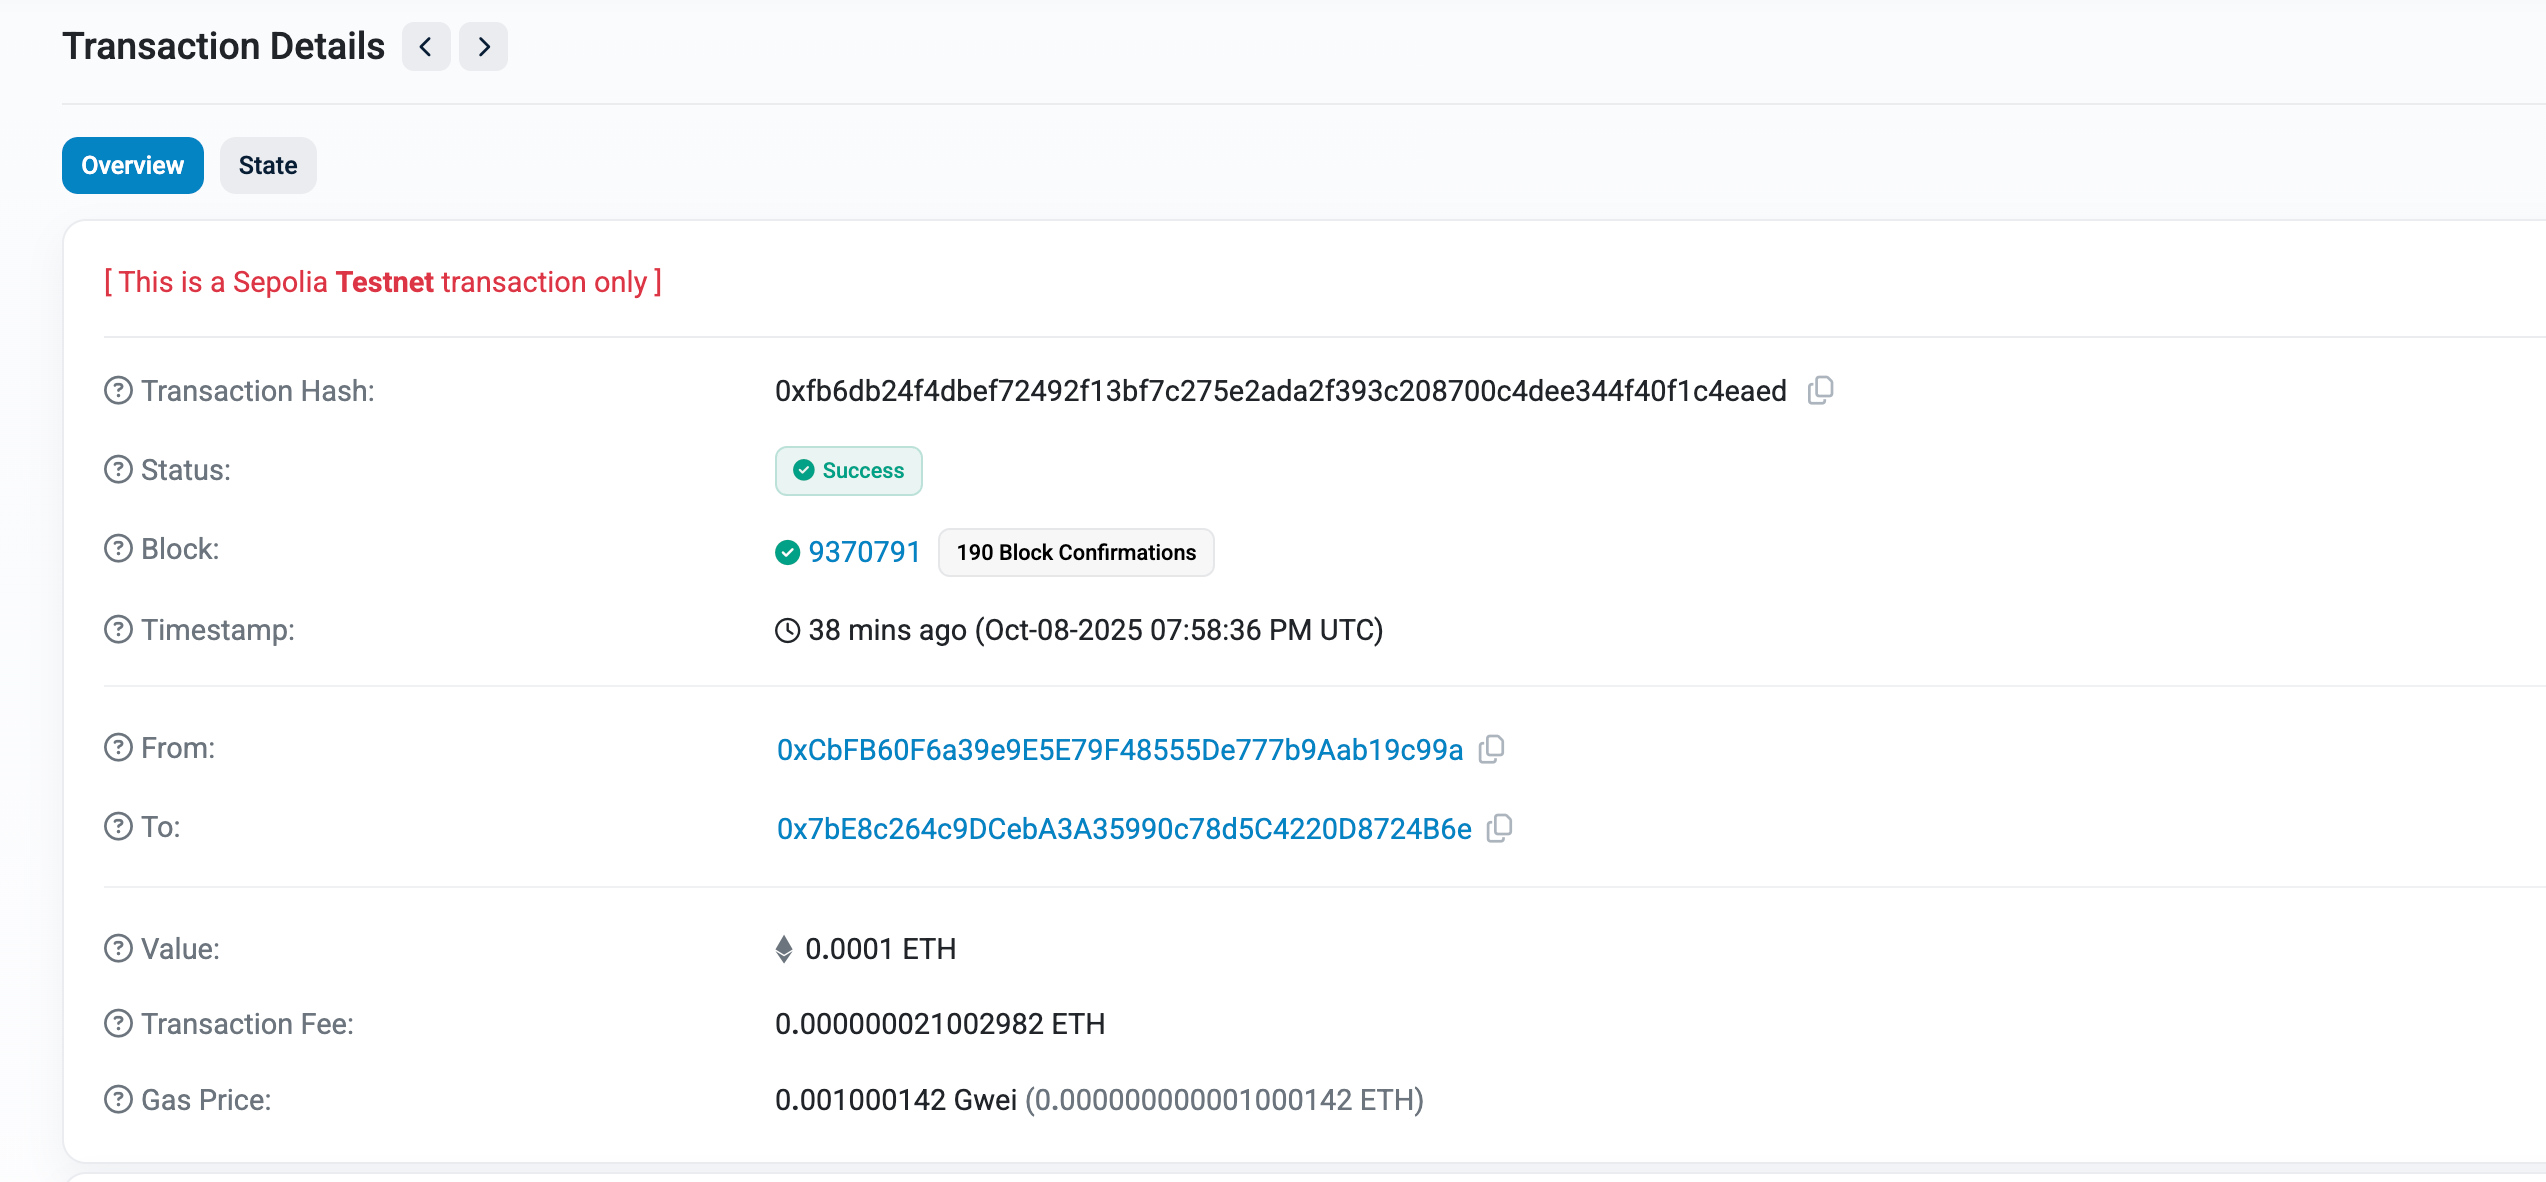
And that’s it!
Sending money is just the simplest example of what’s possible though. With a testnet you can do literally anything you would on a mainnet, from creating your own smart contracts, launching tokens, swapping tokens, all of it.
In the past I’ve shown how to write your own basic smart contract, and you could do this on the testnet.

Or you could launch your own memecoin as I also showed in the previous post below.

Or you could always let an AI Agent go and do a bunch of things onchain for you like I showed in my post a couple weeks ago.

There’s an awful lot more we can do and that I could write about testnets, but for the sake of brevity I’ve kept it mostly high level and simple.
Importantly you now know how they work and how simple they are to use, so next time you want to test something out with fake money before doing it with real money you know what to do!

Whenever you’re ready, these are the main ways I can help you:
Want high returns? Earn up to 14% APY with Yield Seeker!
Love Web3 insights? Follow @afoxinweb3 on X!
New to crypto? Join our beginners community to master crypto fast!
Building a Web3 app? Get our expert product development support!