
Create an AI Agent with Replit & AgentKit
Learn how to create your own onchain AI agent in minutes
TLDR:
Replit is an AI assisted development environment comparable to Lovable and Cursor that allows you to build software through just prompting the AI.
Coinbase’s AgentKit is a framework that allows developers to create AI agents that can autonomously interact with blockchain networks.
Below you’ll see how to use the AgentKit template for Replit to get started with your own on-chain AI agent.
Once your agent is up and running you can get it to do all sorts of different operations autonomously for you.
Earlier this year we entered a hackathon where we came top 10 out of 518 projects with an early version of Yield Seeker which has since grown from strength to strength. But it all started with us playing around with Coinbase’s AgentKit.
So this week I decided to run through how to create your own on-chain AI Agent using AgentKit together with Replit. In previous posts I’ve covered Lovable and Cursor before, but I’ve yet to show Replit, so this felt like as good a time as ever to showcase it.
If this post resonates with you and you enjoyed the content then please share it with friend and get rewarded for doing so!

This blog goes out weekly to almost 10,000 subscribers. Please message me if you’re interested in sponsorships or partnerships.
Replit
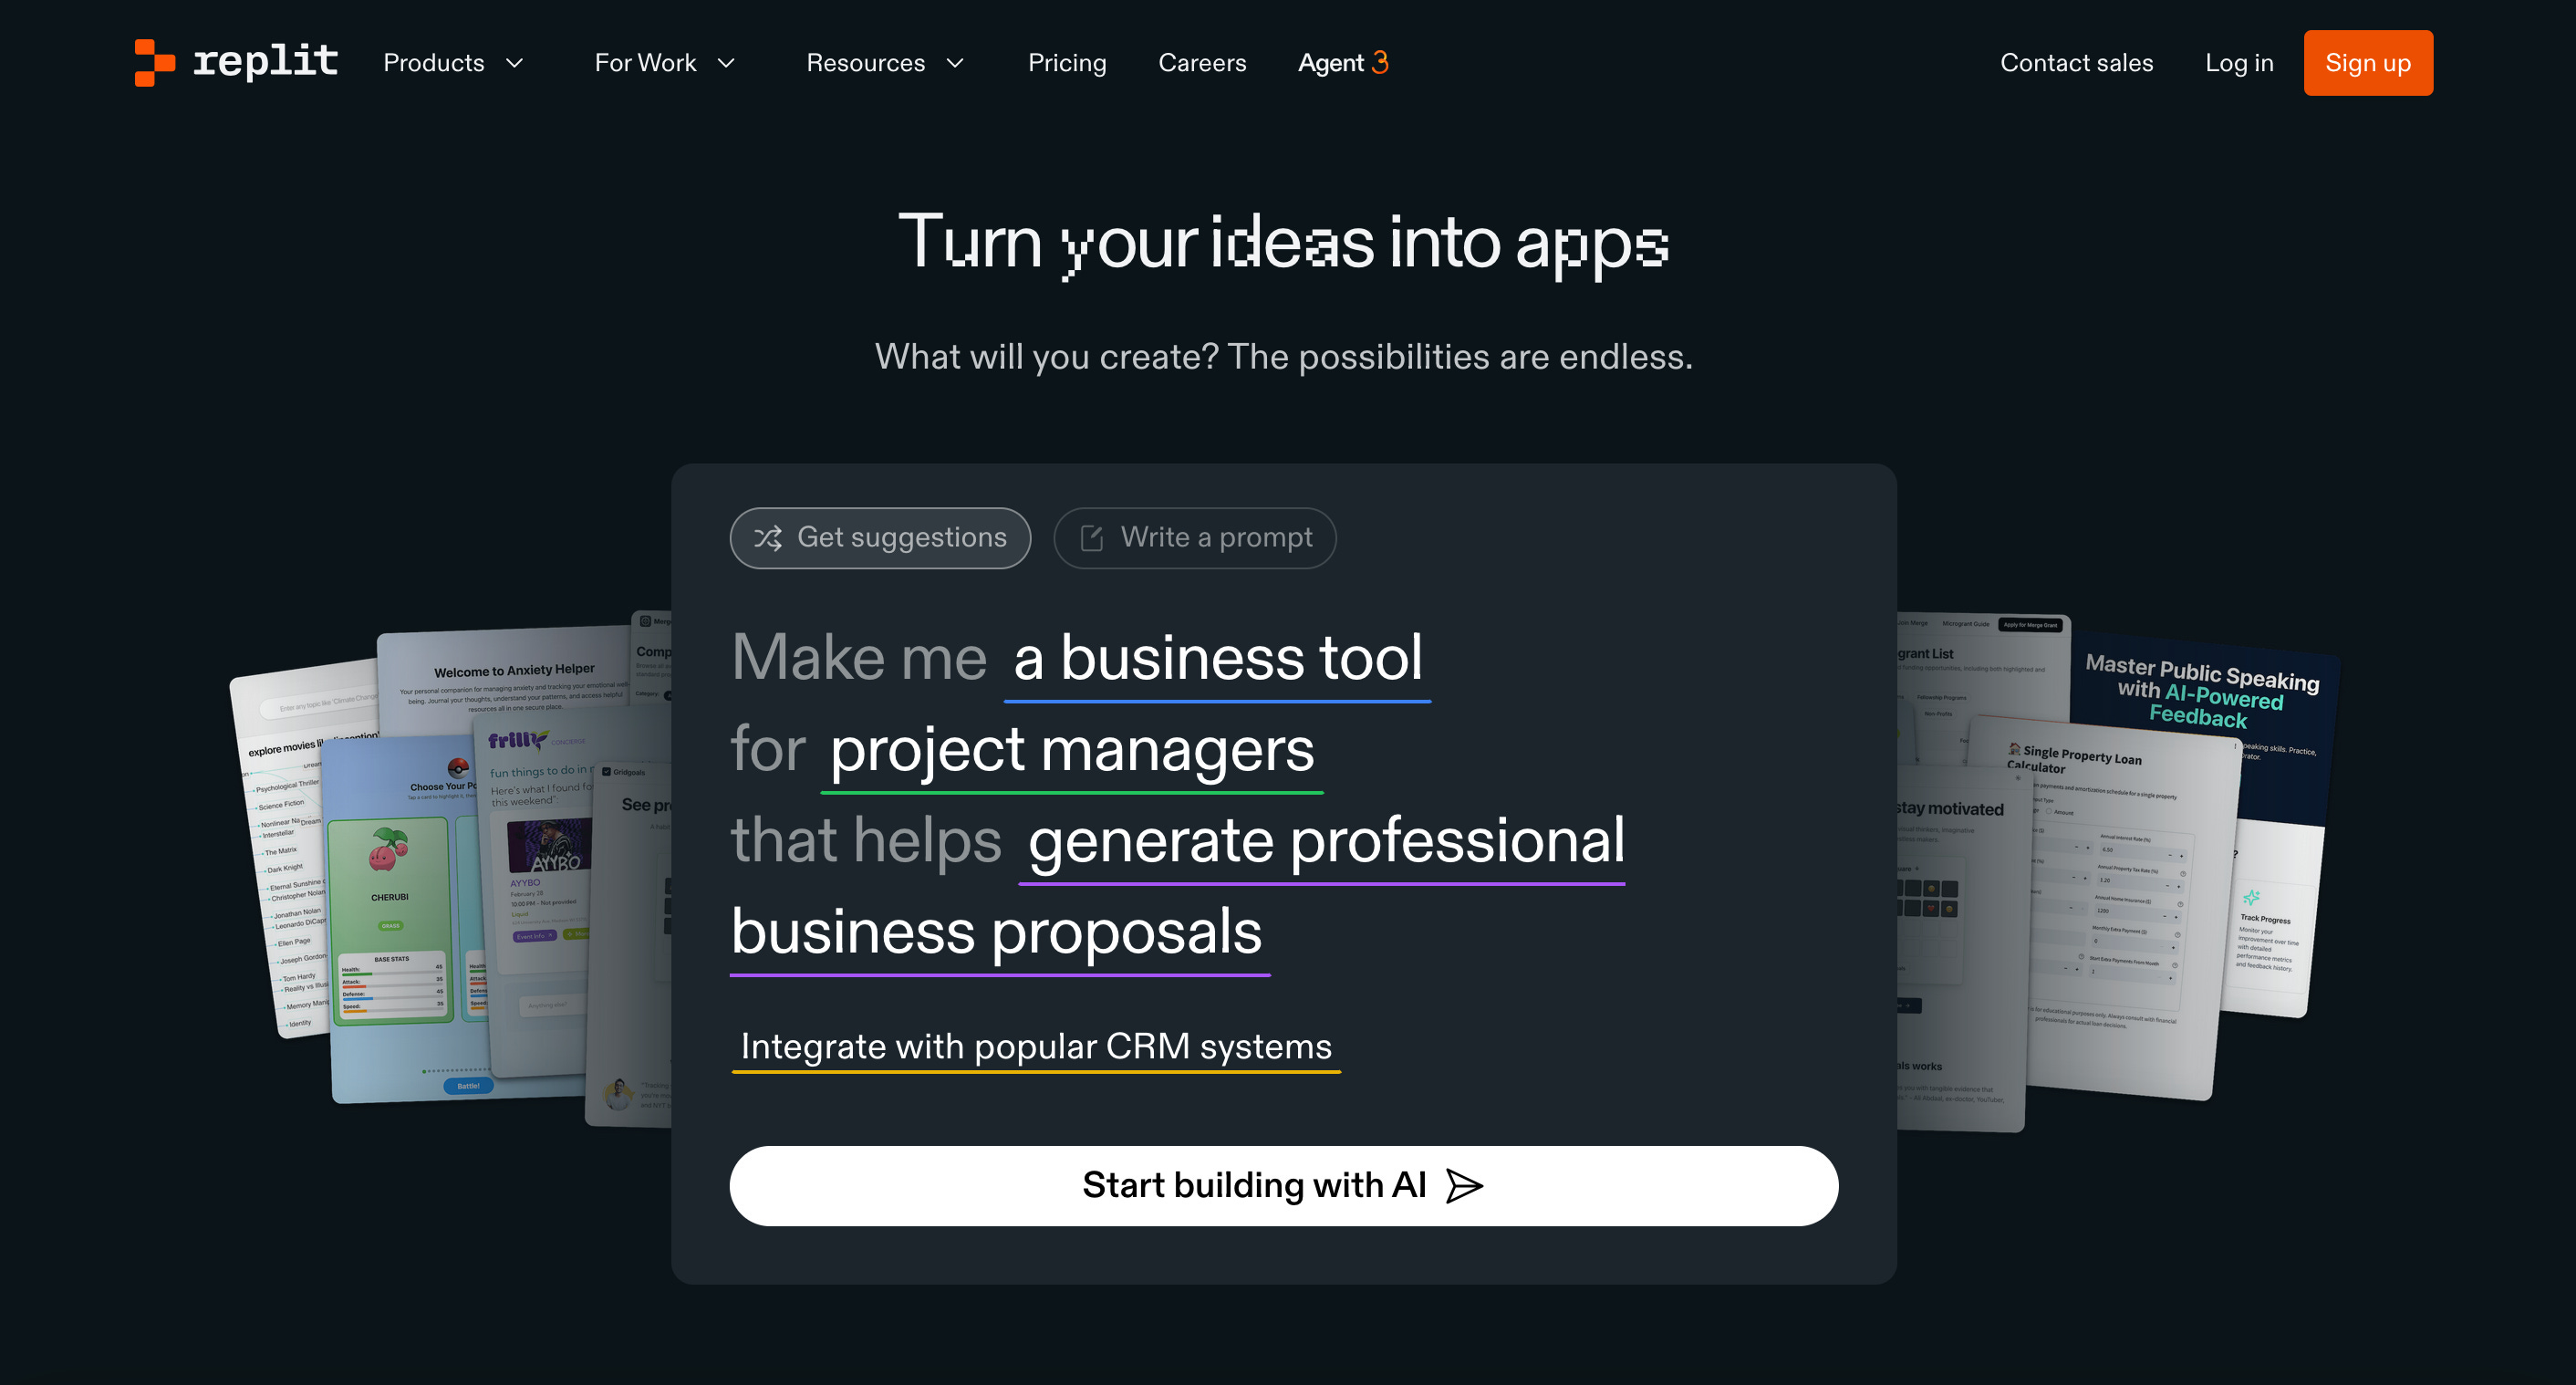
Replit is one of the biggest players in the AI assisted software development space and its growing very fast. It sits somewhere in the middle between both Lovable and Cursor, two AI tools that I’ve covered before in previous posts.
Lovable is a pretty incredible tool just to get web apps built fast. Its the sort of tool that somebody who knows nothing about coding can just get started and make something that looks amazing, which I showed in my tutorial earlier this year where I made a website for our AI character Professor Fox using Lovable.

Meanwhile Cursor is more of a developer focused tool where you really need to have some understanding of software development before you get started. Sure you can still vibe code away but its less visual and a lot more developer oriented. You can see this in my previous tutorial on vibe coding an EVM token explorer with Cursor.

Replit on the other hand sort of meets in the middle here because it allows you to build apps entirely through the AI’s help without understanding code, similar to Lovable, yet also allows you to get into the weeds with the code and configure things very much like a developer would in an integrated development environment.
All of these tools are indeed very versatile and great in their own ways, Replit is just another option for you to try out. However, the unique reason for us using Replit today is because we intend to build our own AI Agent with it, and as you’ll see below we can move through things pretty fast on Replit thanks to Coinbase’s AgentKit.
AgentKit
AgentKit is a framework by Coinbase, which is part of their Coinbase Developer Platform (CDP) that in their own words “allows developers to create AI agents that can autonomously interact with blockchain networks”.
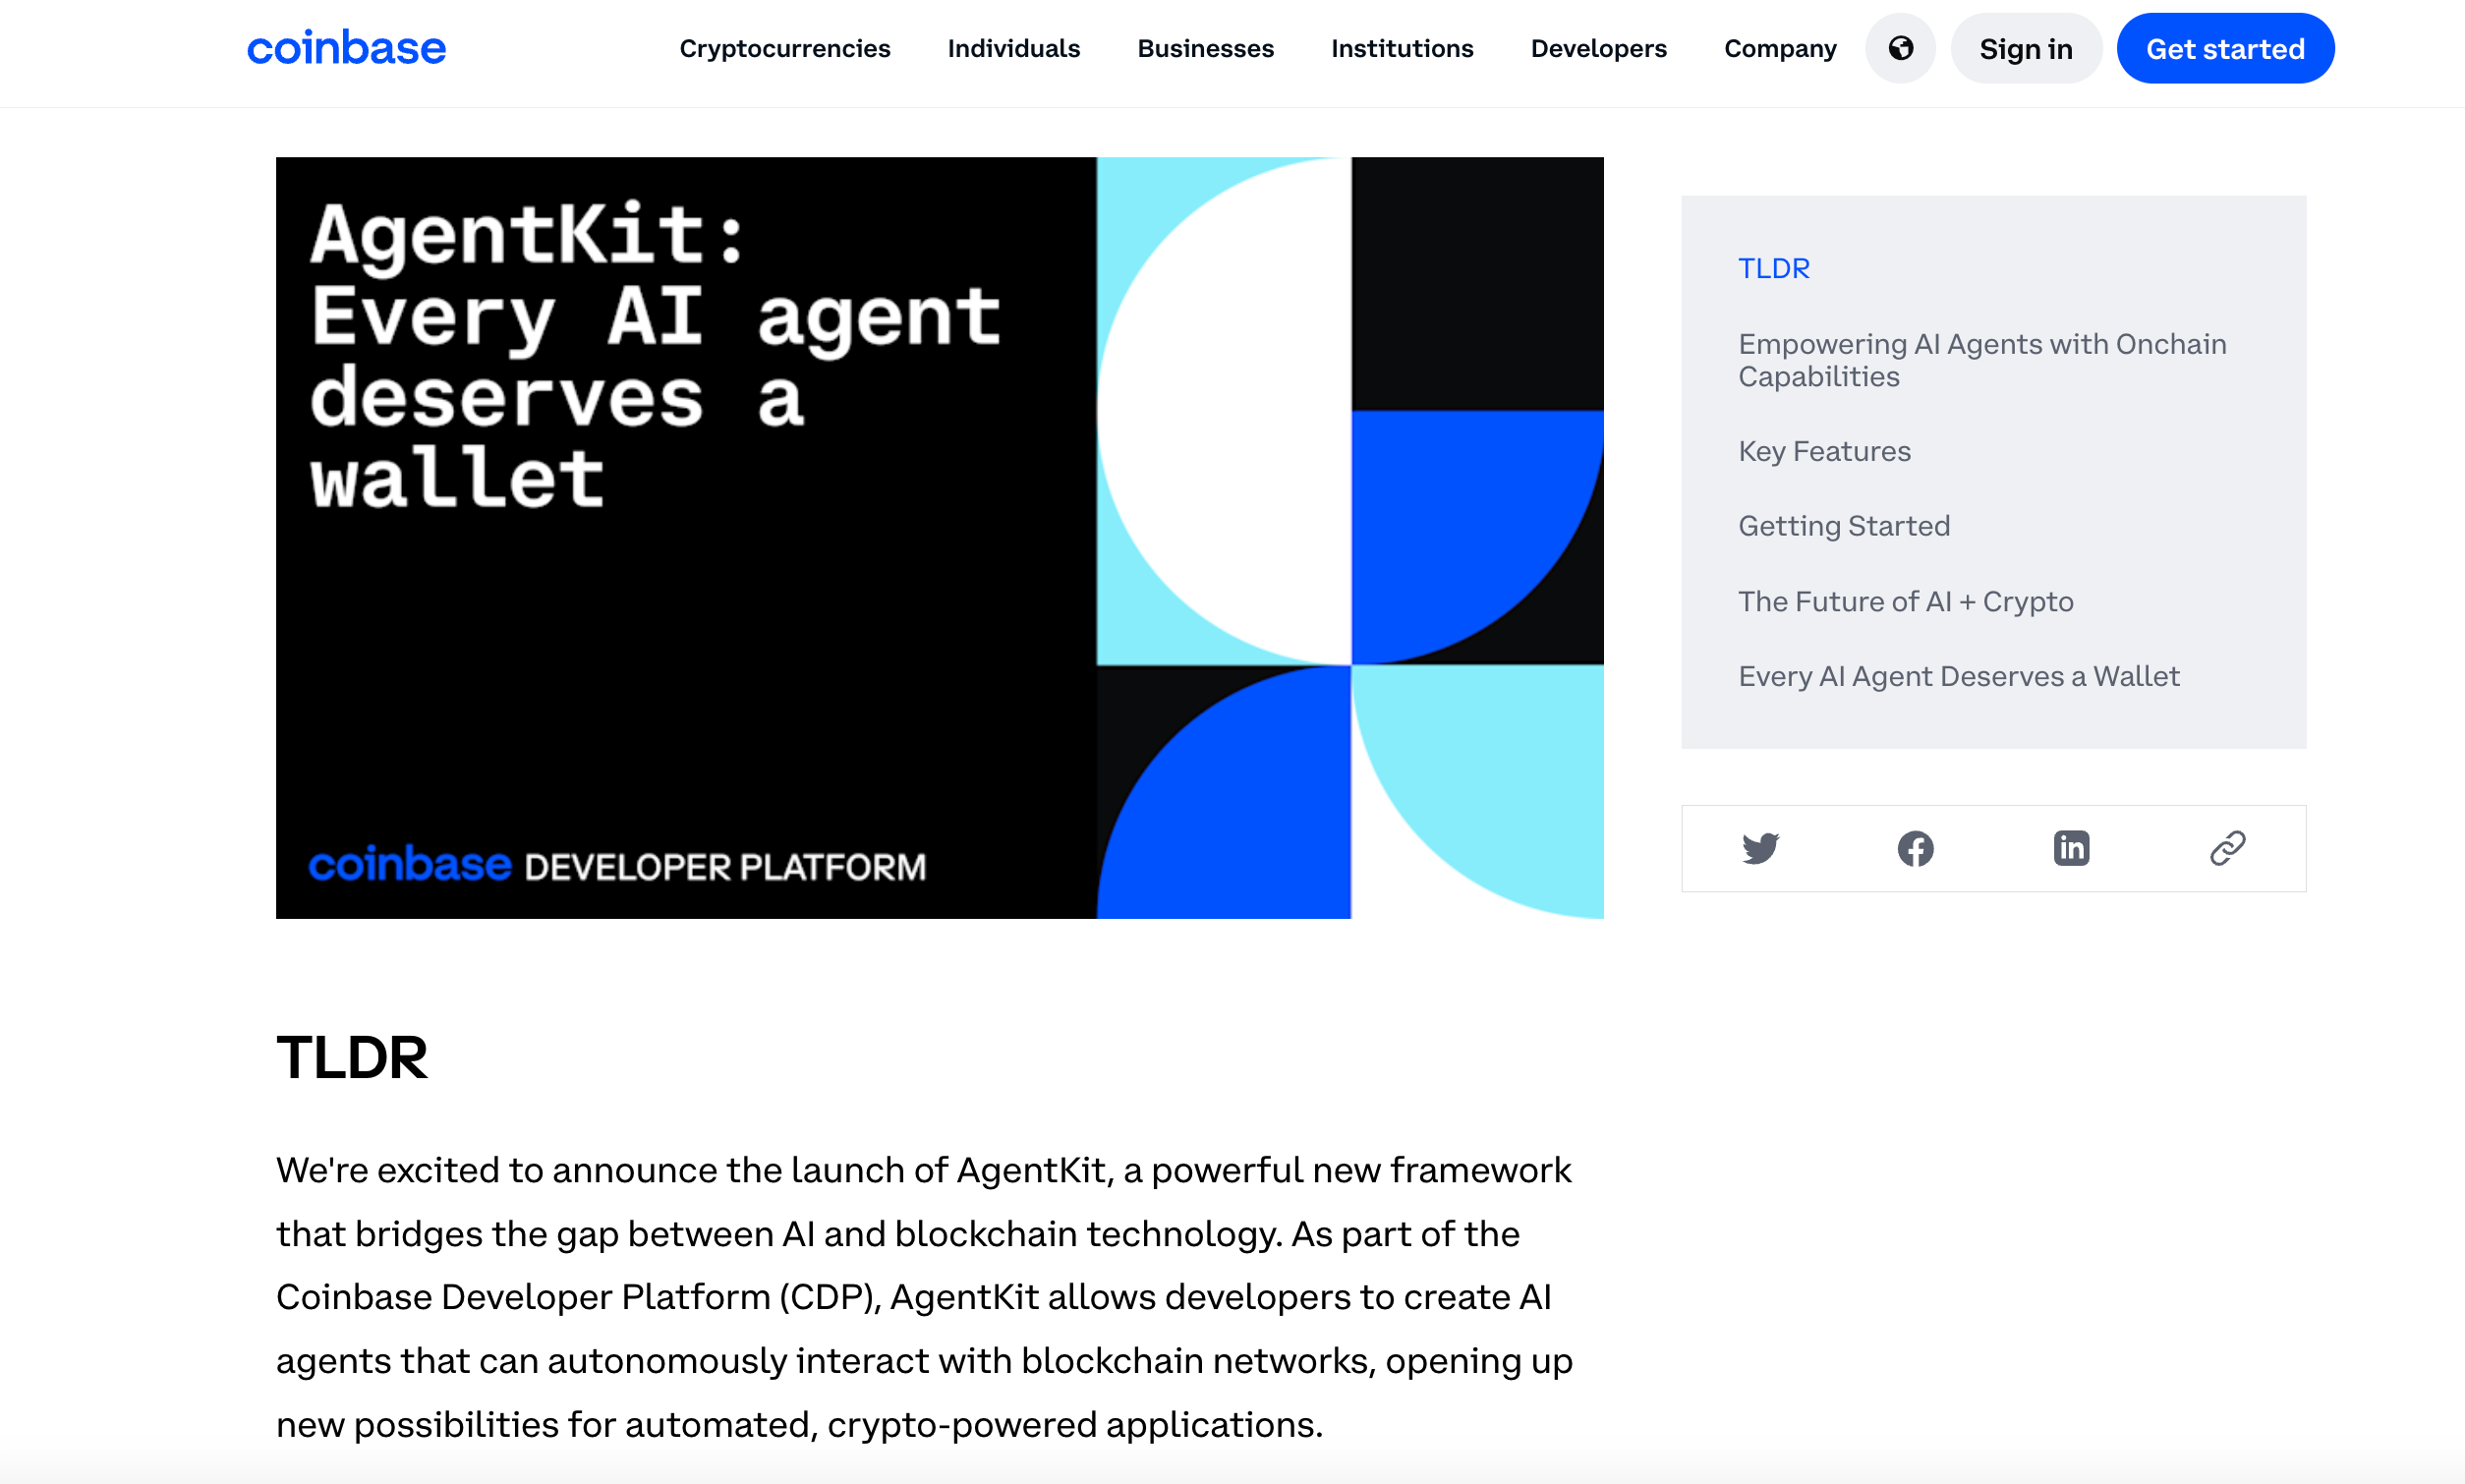
In other words this framework makes it super easy for anyone to build their own AI Agent that’s able to control a crypto wallet. And they’ve made it both AI agnostic and blockchain agnostic, so you can choose the AI you want to use (eg. ChatGPT, Claude, Llama, etc), and the blockchain (Base, Ethereum, Optimism, etc).
You can think of it like they’ve already written all the complicated code for you that creates your own AI Agent and interacts with the chain, and simplified it so you can get it up and running super fast, taking away a large amount of the complexity.
If you’d like to learn more you can check out all of their documentation here.
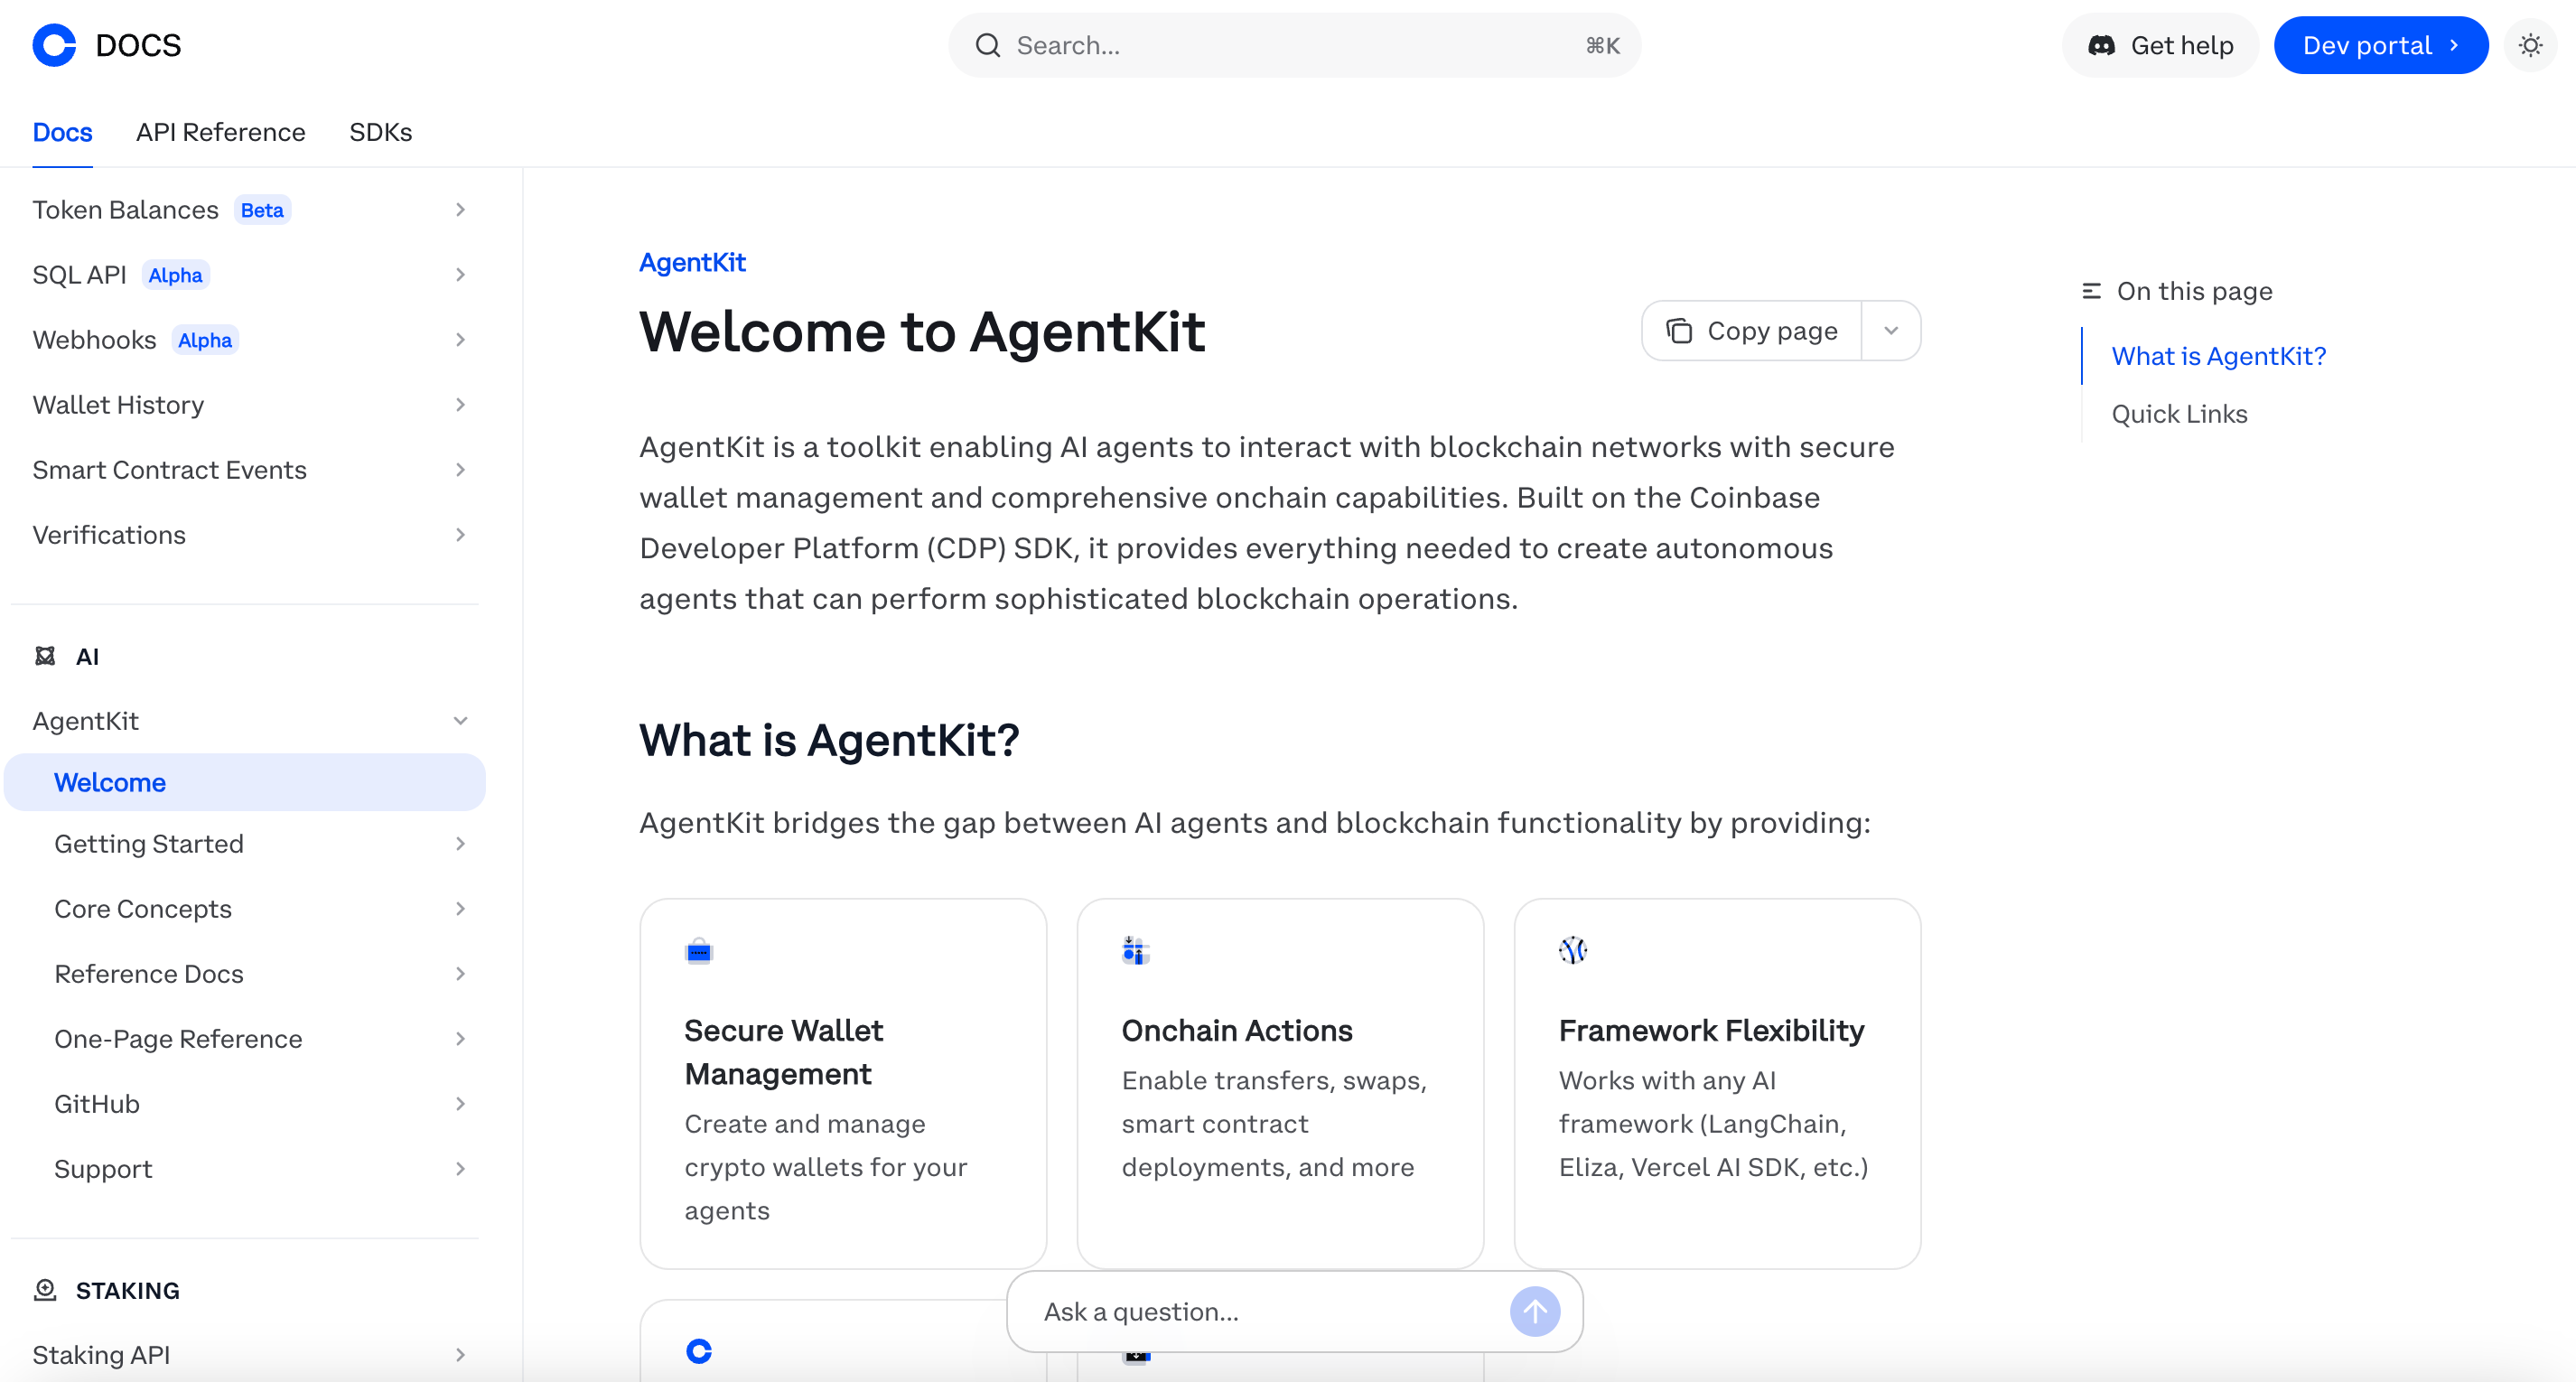
Most importantly though they’ve built a sample project in Replit that you can just “Remix” yourself and get started making your own AI Agent in minutes. It’s simple and powerful and we’re going to run through setting it up below.
Getting Started on your onchain AI Agent
First you’ll want to create an account in Replit if you don’t already have one. You can stick to Replit’s free version for what we’re going to do here.
Next you’ll want to click on Coinbase’s Replit template for AgentKit and you’ll be taken to this screen.
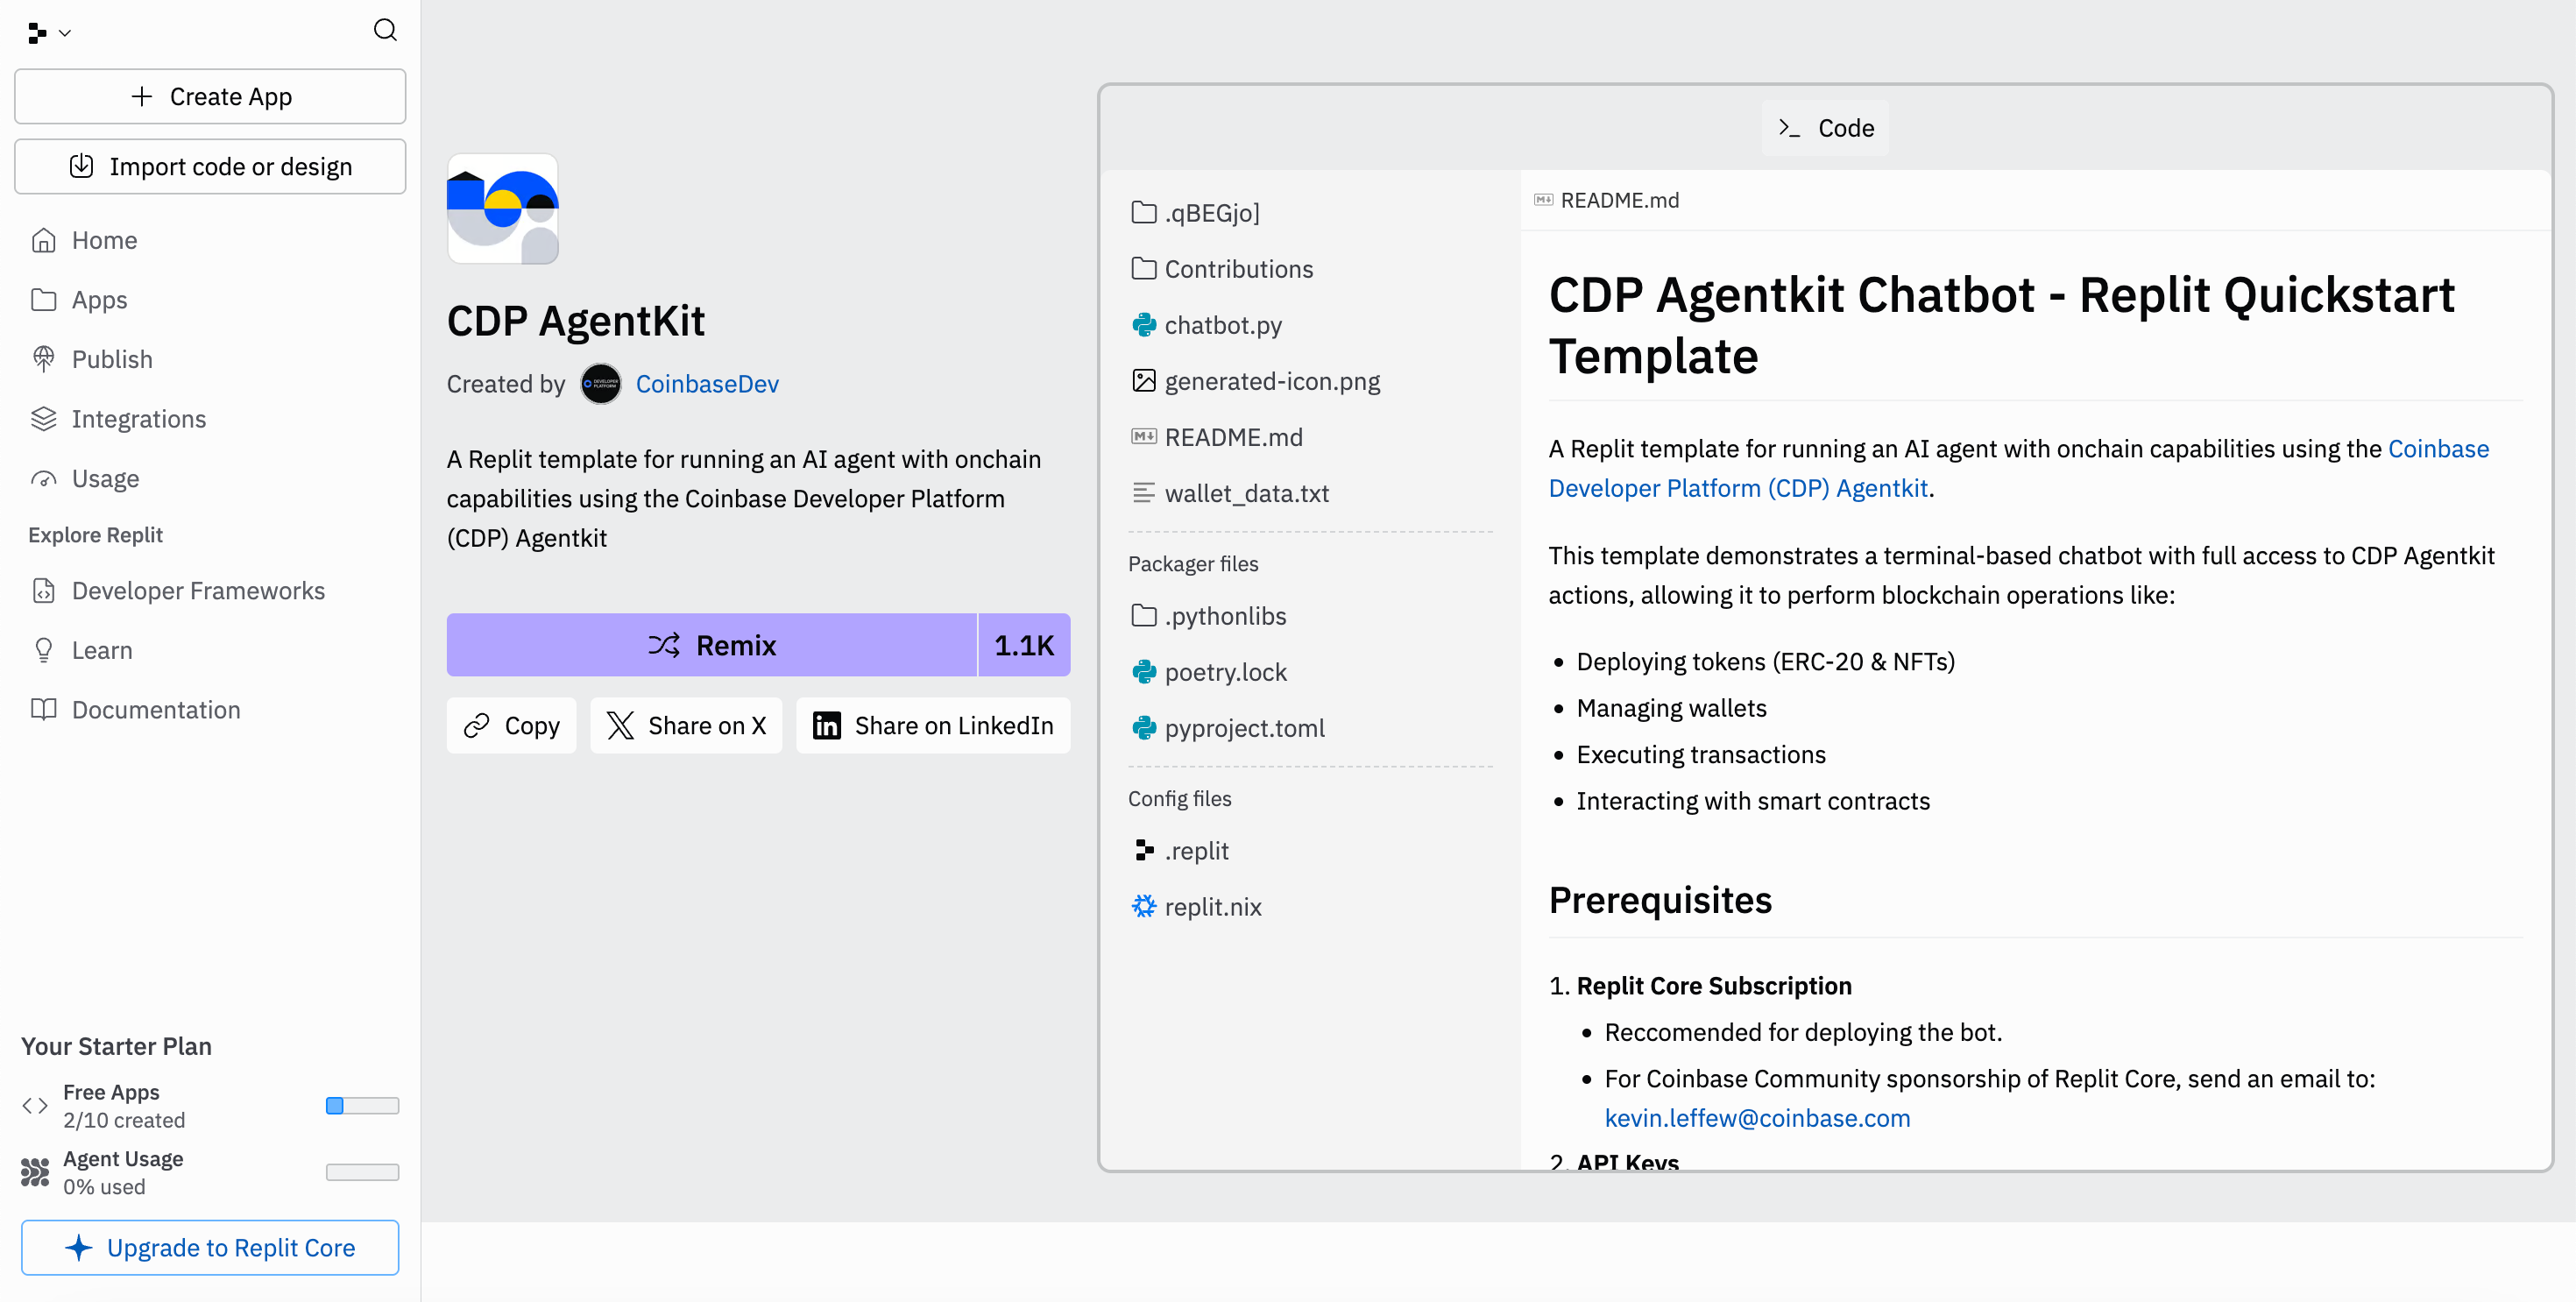
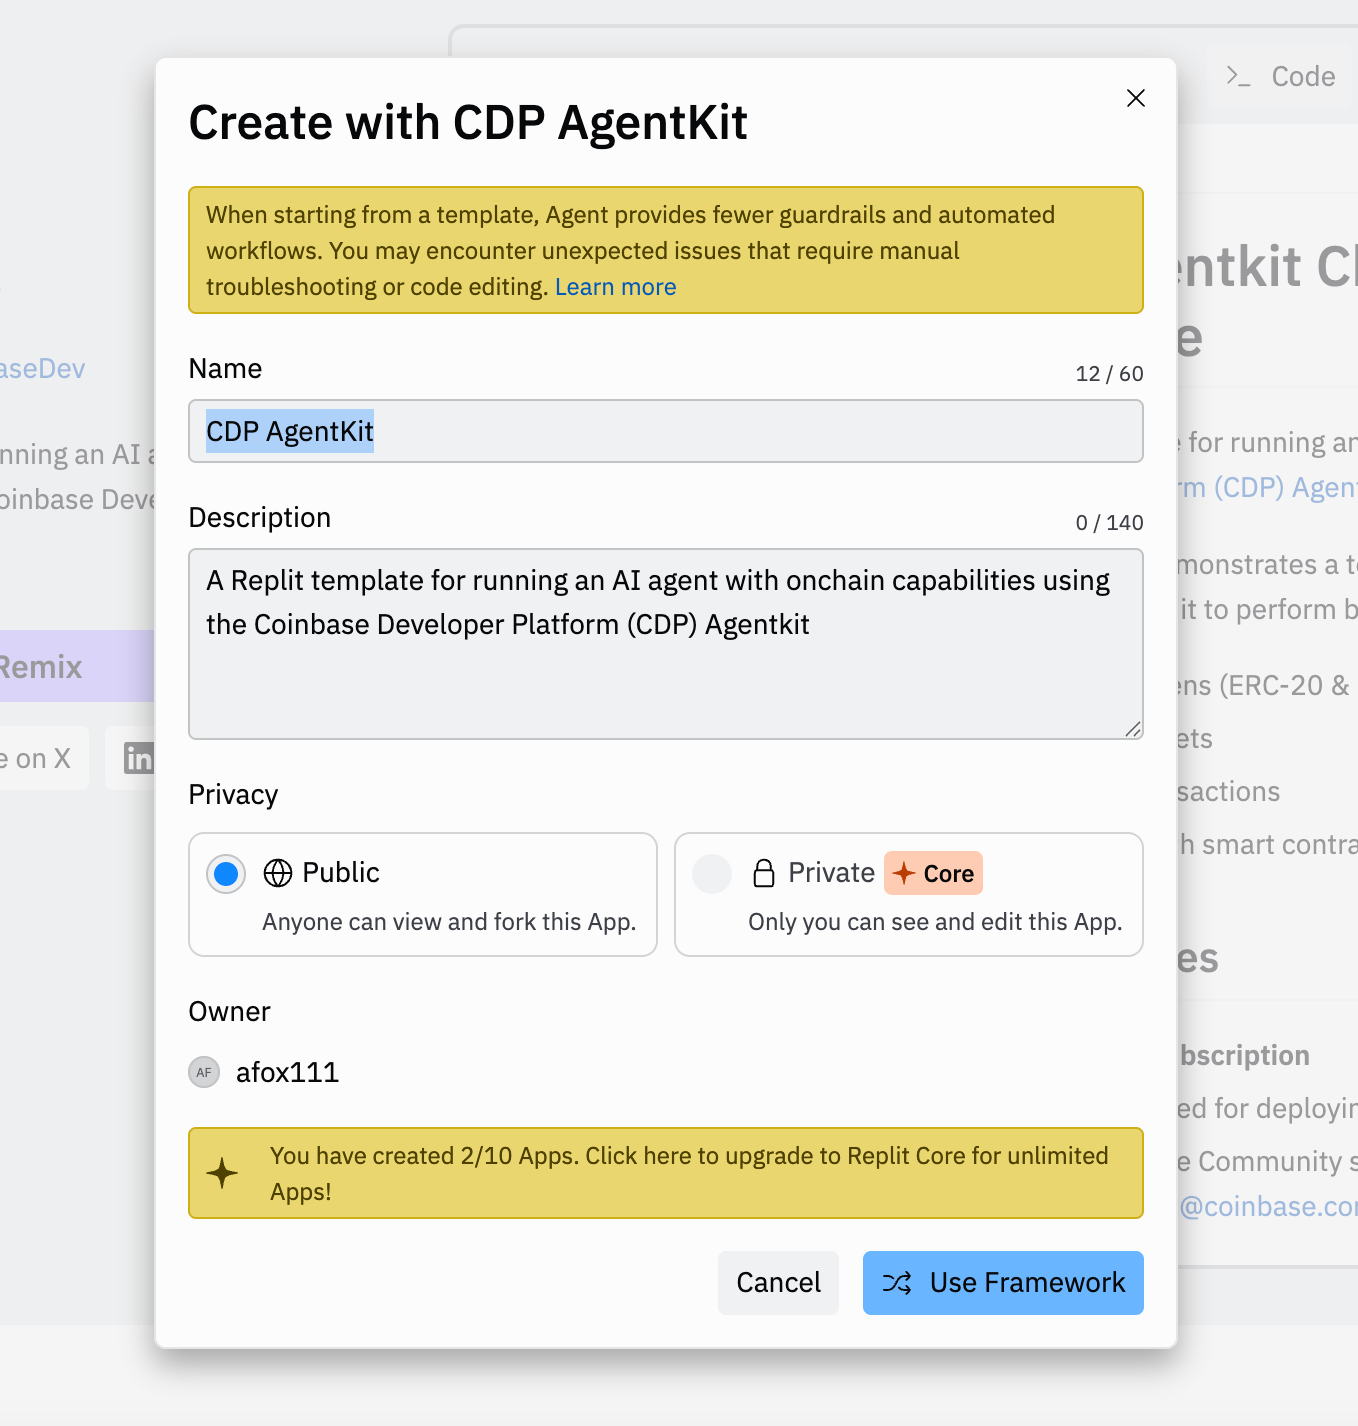
Just hit that purple “Remix” button and you’ll be prompted to make a new project following their template. You can call this project whatever you like, but I decided to leave everything as is, and just select the blue button “Use Framework”.
Next you’ll be taken to your new project in Replit where you can see the screen below with the area to speak with the agent on the left, and the app’s console on the right.

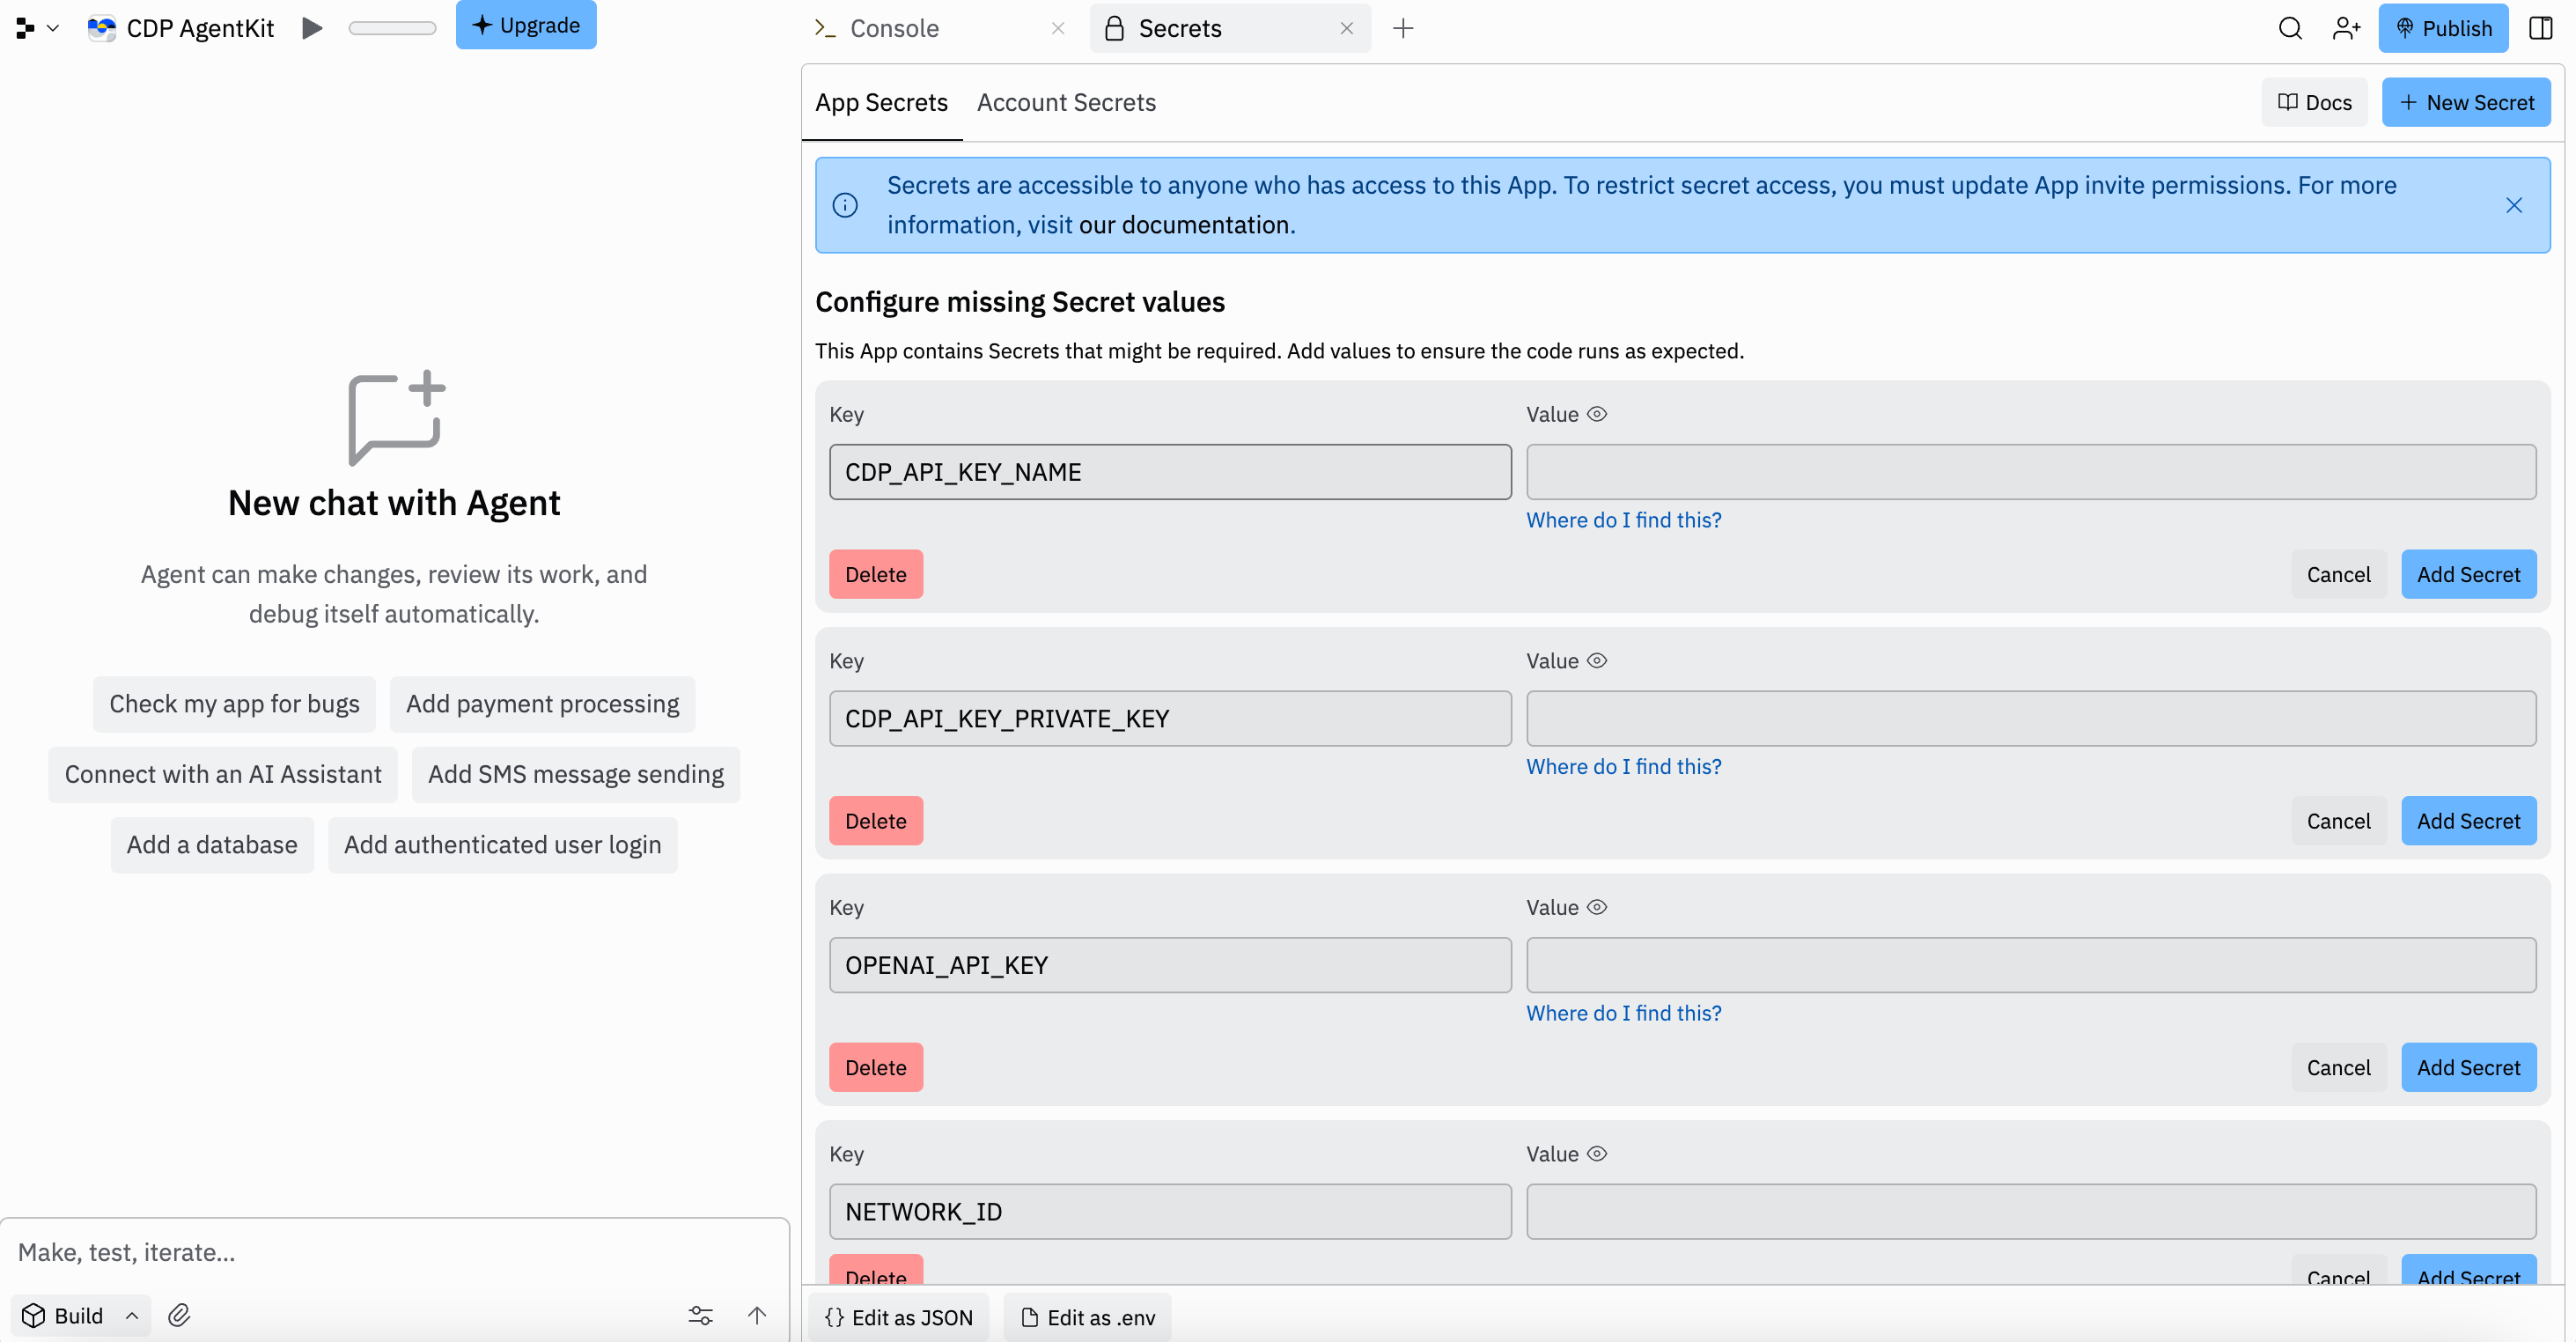
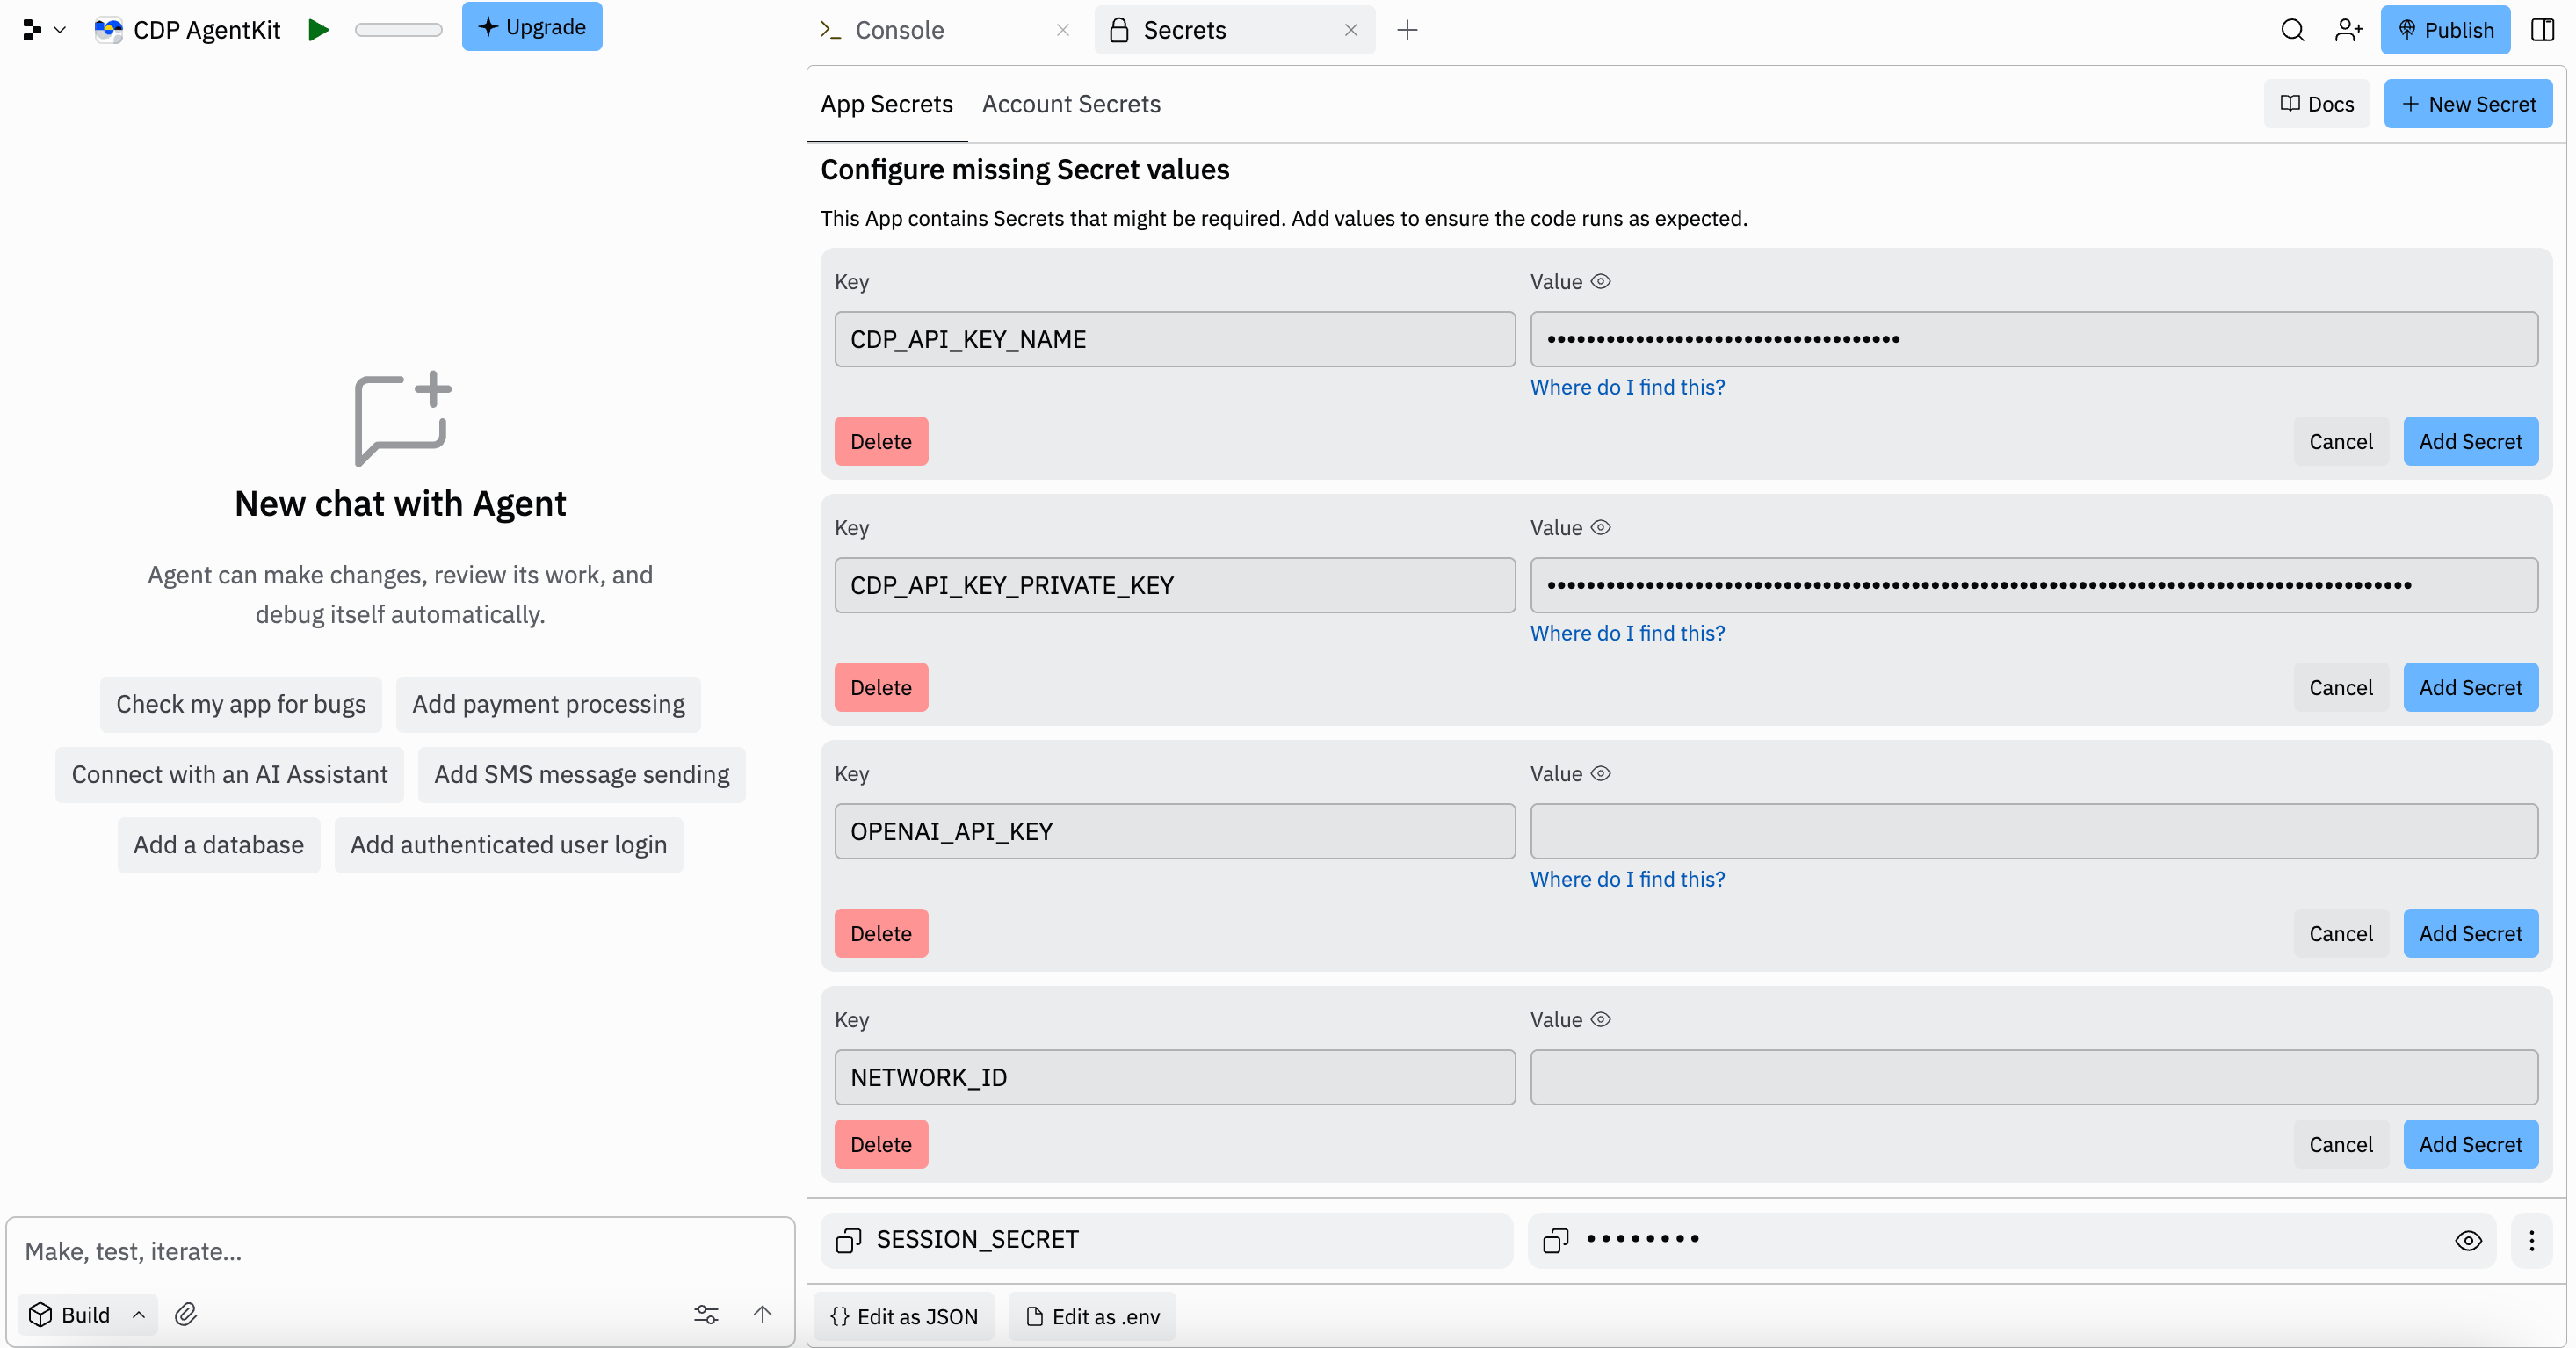
Before we can get started though we first need to fill in some important variables, so click on the green button that says “Run .replit run command” and then the subsequent error that appears, and you’ll see the following screen asking for different API keys within the Secrets tab.
To get these API keys you’ll need to create an account with CDP and another with Open AI which we’ll run through next.
Coinbase Developer Platform and Open AI Keys
Let’s start with the Coinbase Developer Platform (CDP). First sign up for an account here and get started on your first project where you’ll be shown the dashboard below.
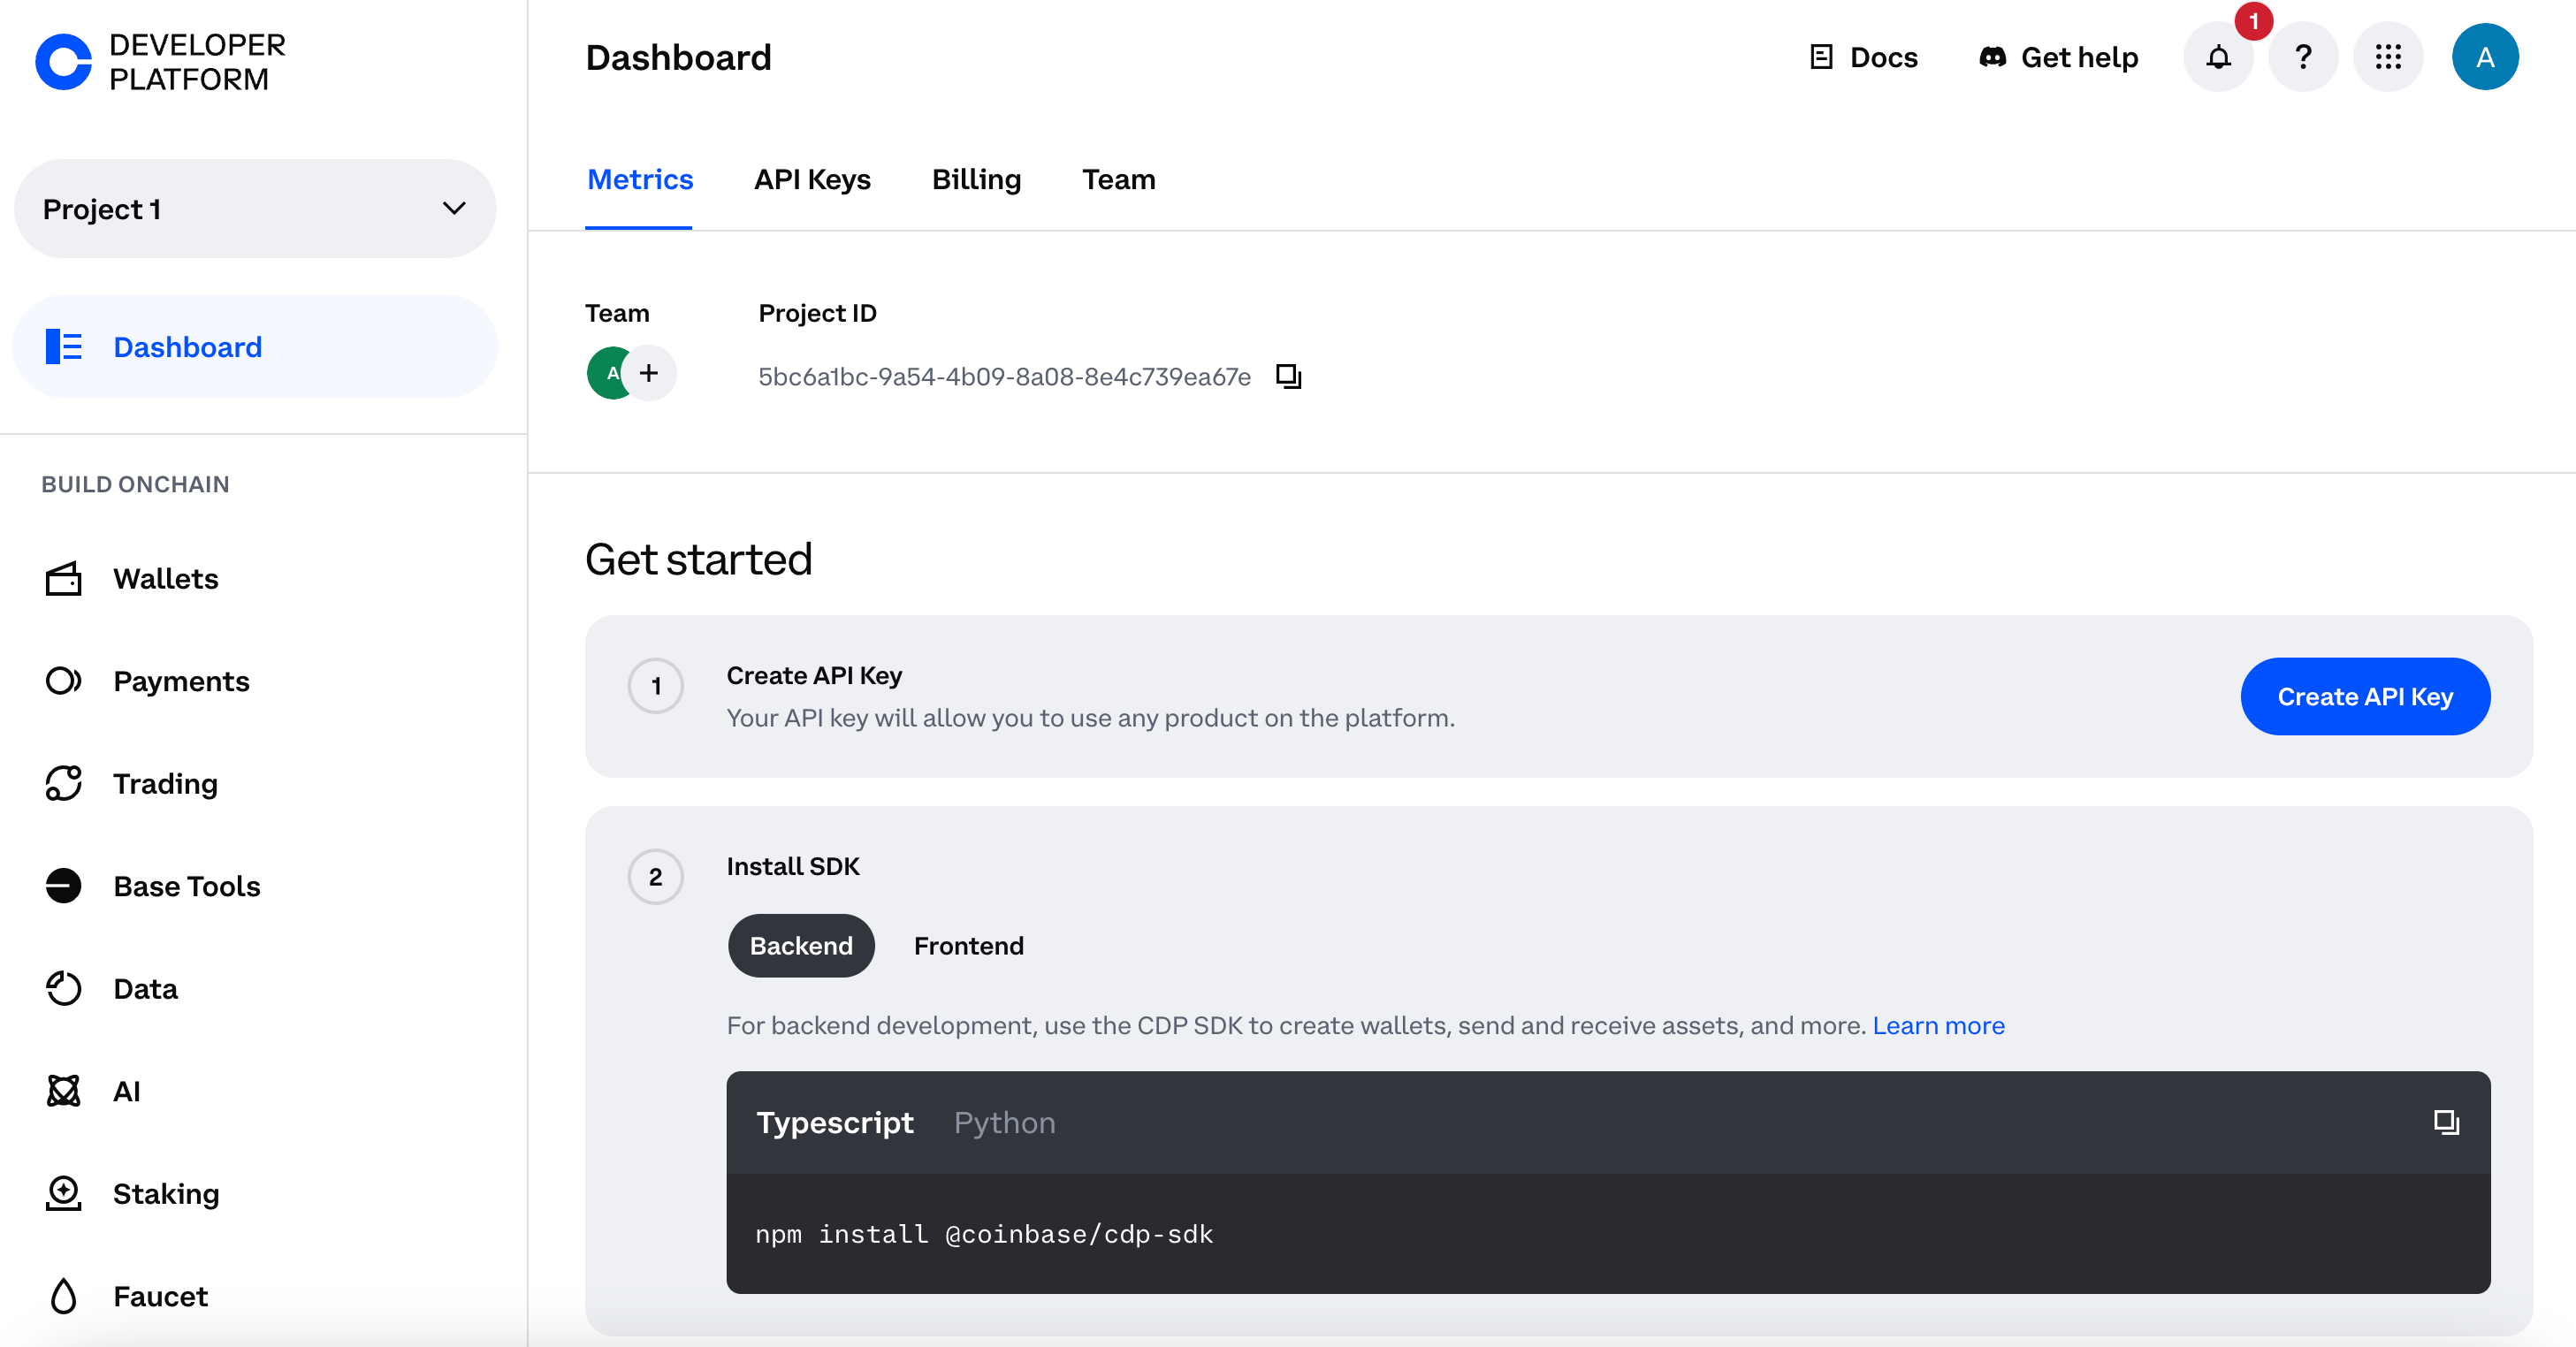
Next, select the blue button “Create API Key” to get this view below and give the API key a nickname, this name isn’t important and I just went with “api-key-1”.
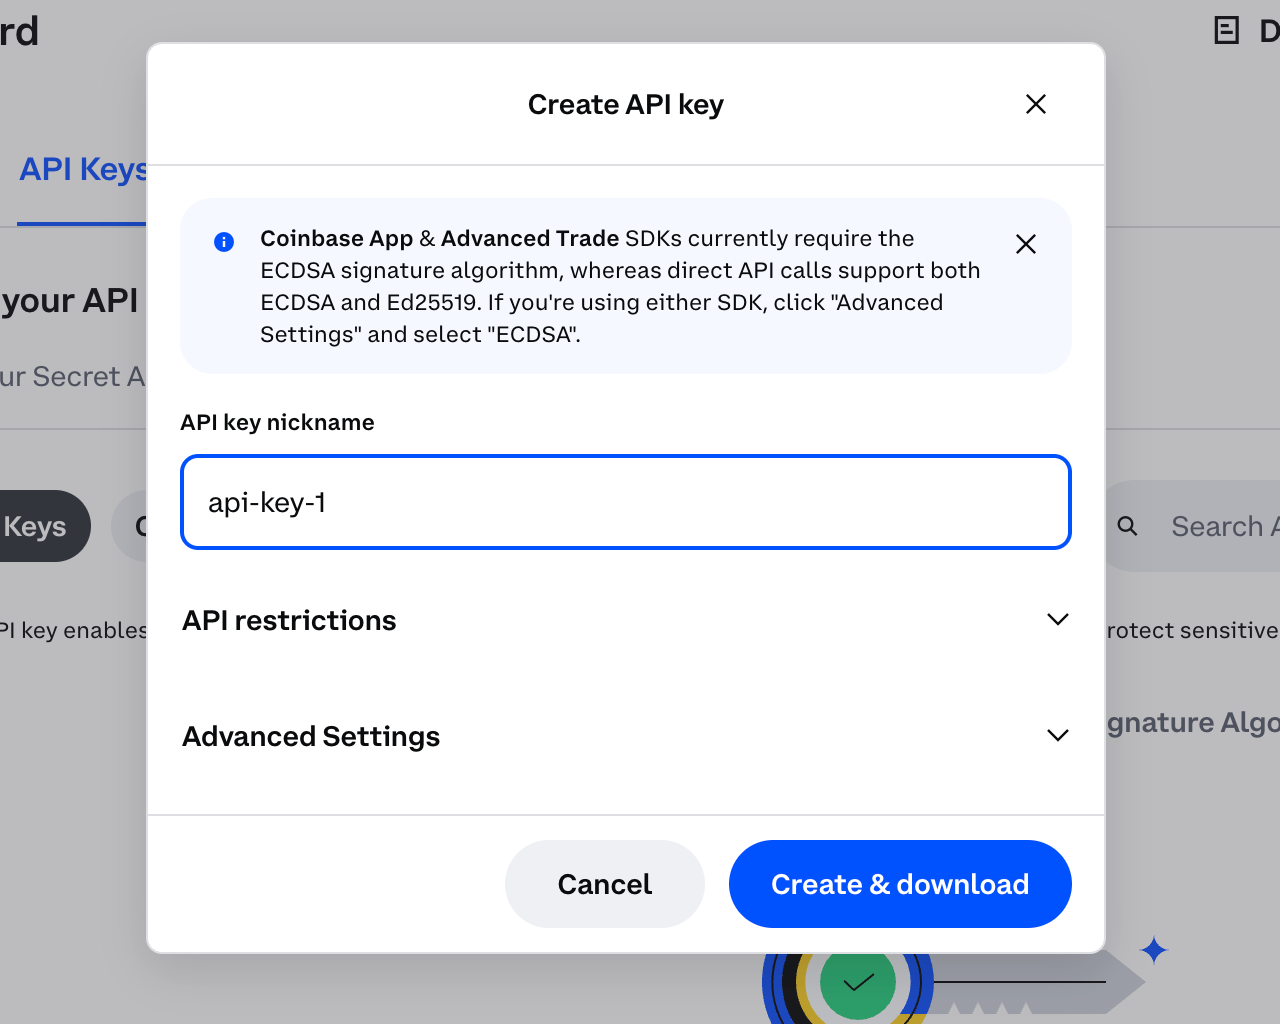
Click “Create & Download” and make sure to save the “cdp_api_key.json” file that gets created, saving the API key ID and Secret.
Now head back into Replit and copy these variables into your project in the secrets section, where CDP_API_KEY_NAME = API key ID and CDP_API_KEY_PRIVATE_KEY = Secret. To save them make sure to select “Add Secret” on each variable.
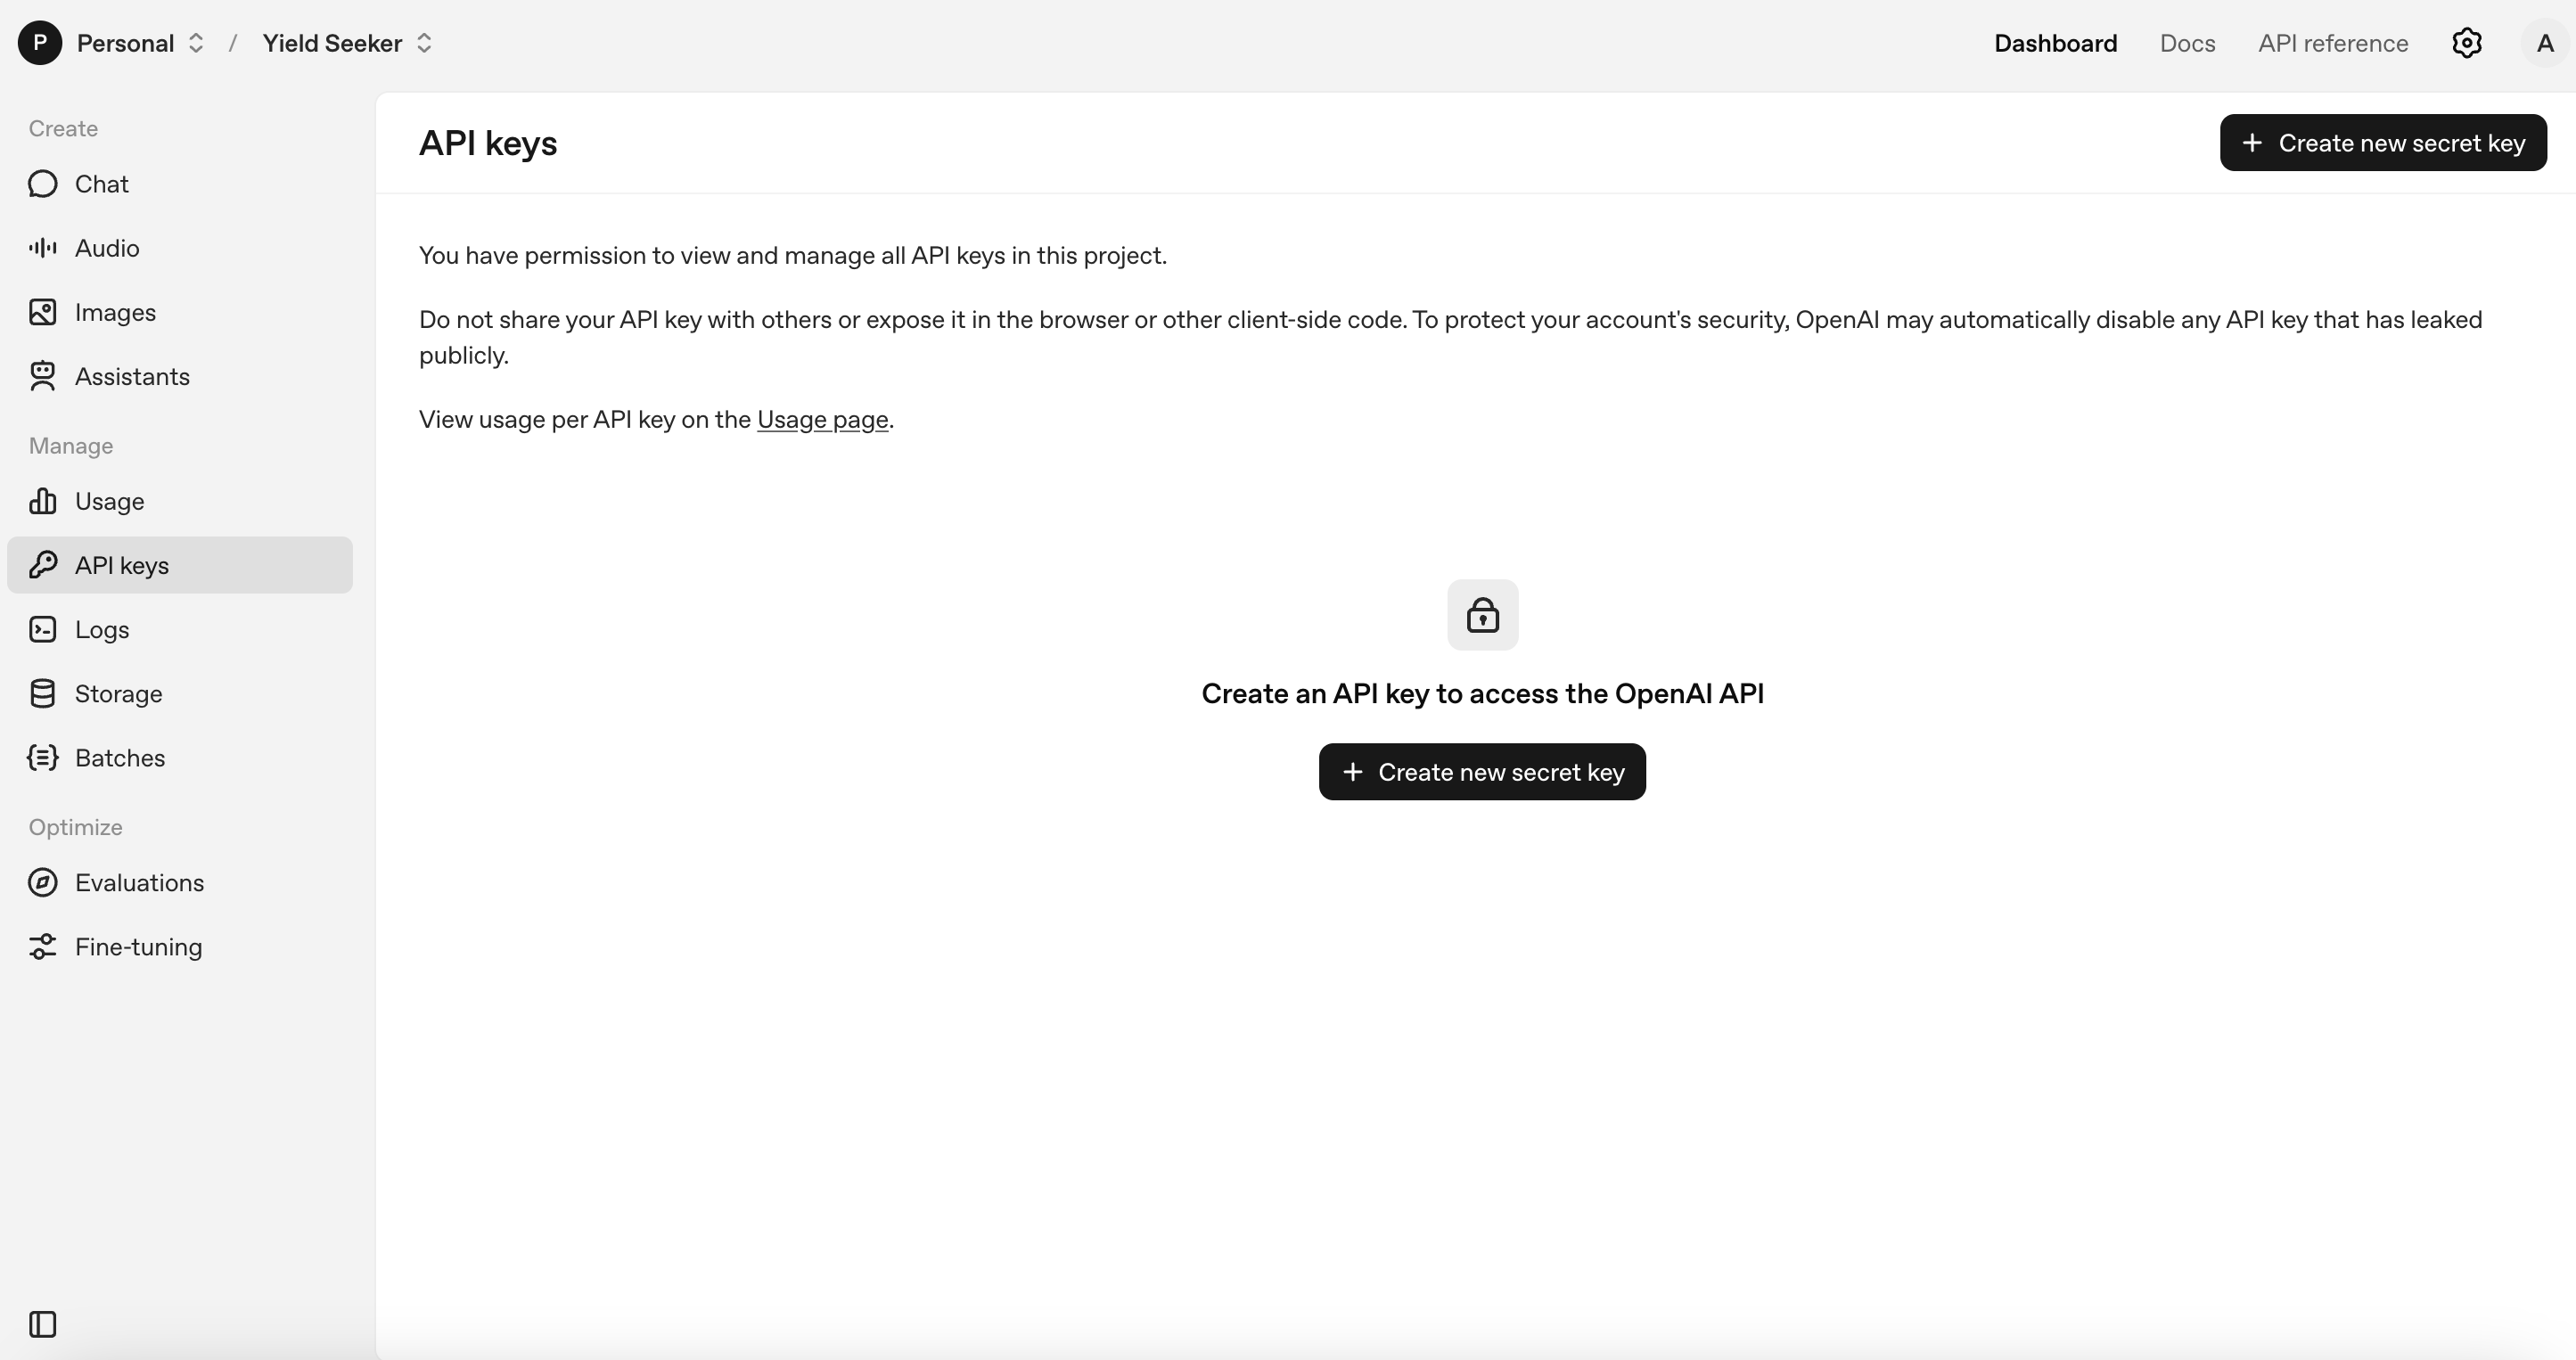
Next we want to create an API account on OpenAI, so open this link and select the “Sign Up” button on the top right.

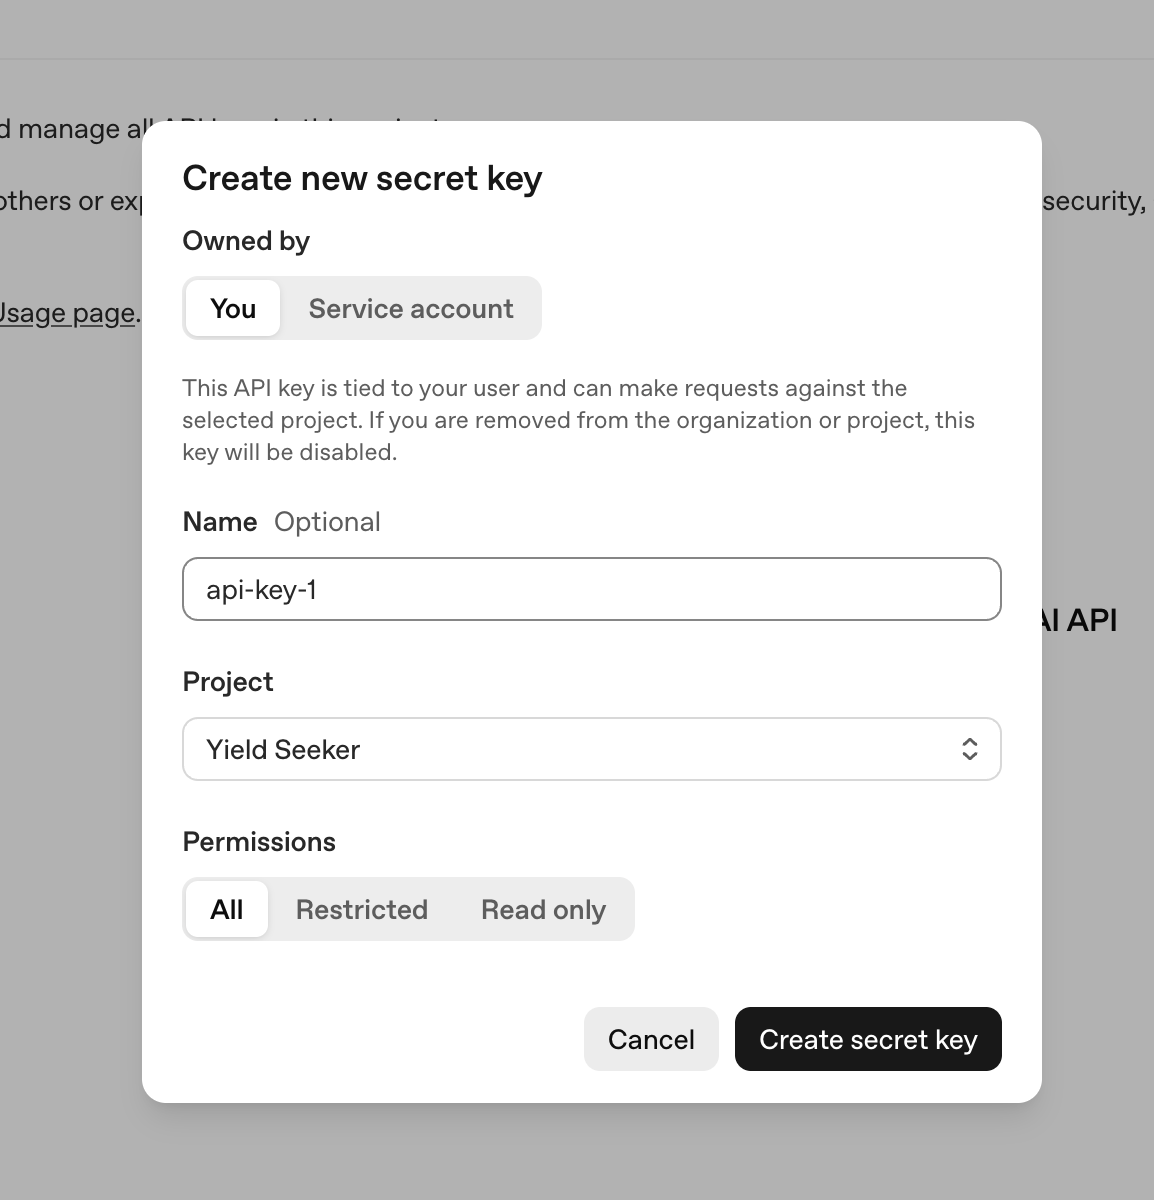
Once you’ve signed up, create a project on the top left and then select “Create new secret key”.
You’ll be asked to name the key, just as we did with CDP, and I ended up giving it the same name here “api-key-1”.
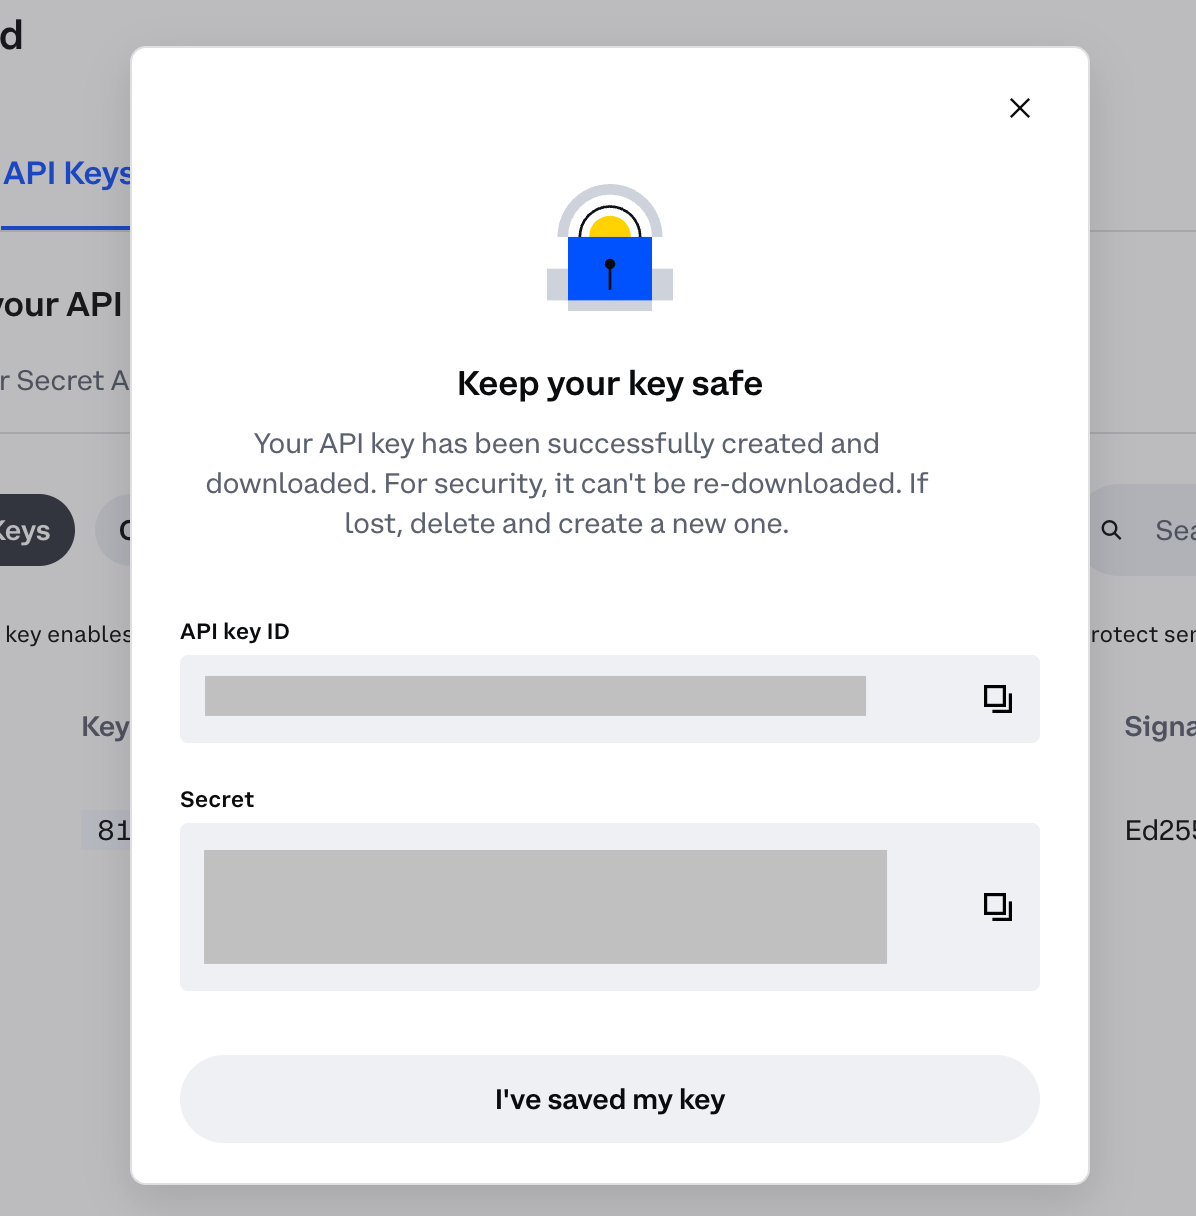
Once again you’ll be given the option to copy the key.
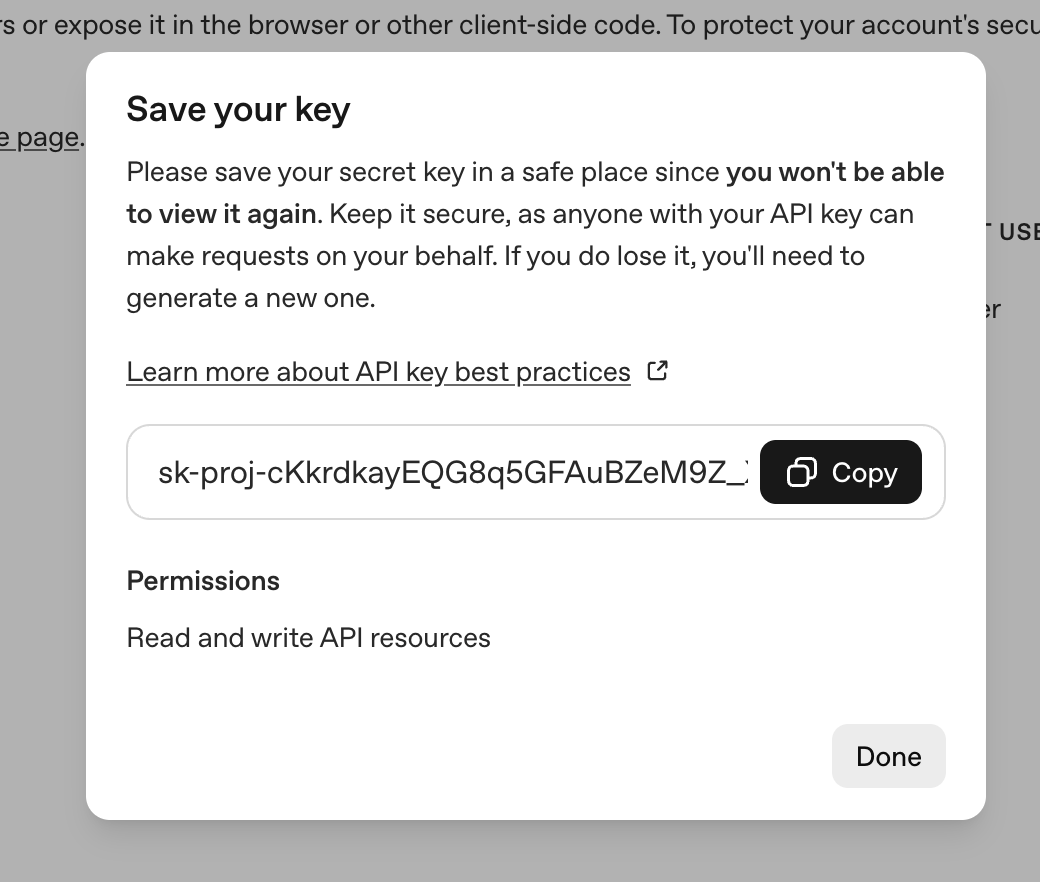
And you’ll want to save the key into the OPENAI_API_KEY variable in Replit.
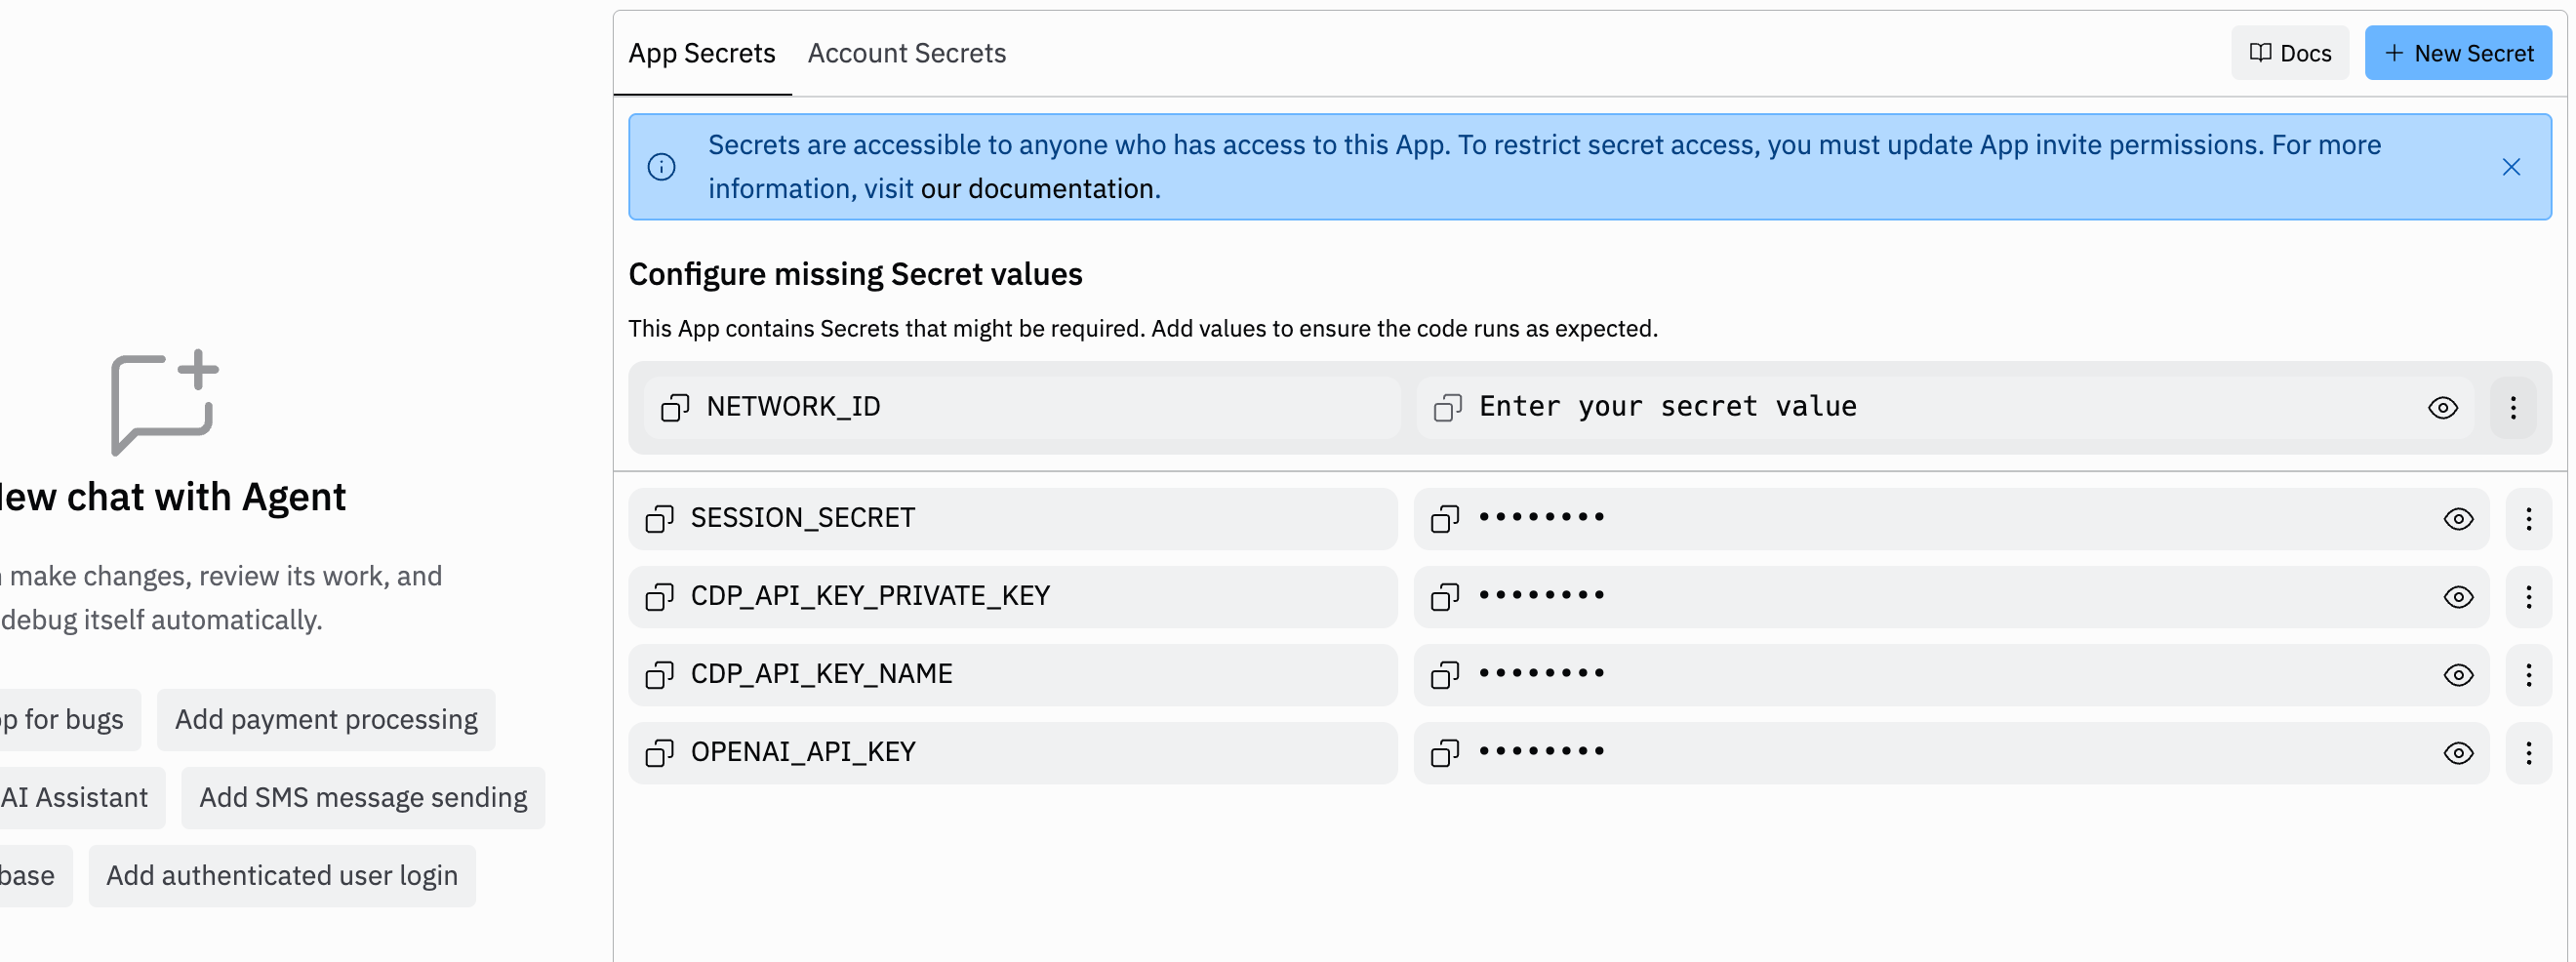
Finally for Network_ID you can just leave it blank for now. This field specifies the blockchain network, but defaults to the Base Sepolia network if not provided, which is a Base test network and ideal for us right now.
Remember that these are called “secrets” for a reason, people shouldn’t be getting hold of them otherwise they can run up a bill for you on your CDP and OpenAI accounts!
Now that we’ve got all that sorted let’s get started running our agent.
Running your agent
You can now begin running your agent!
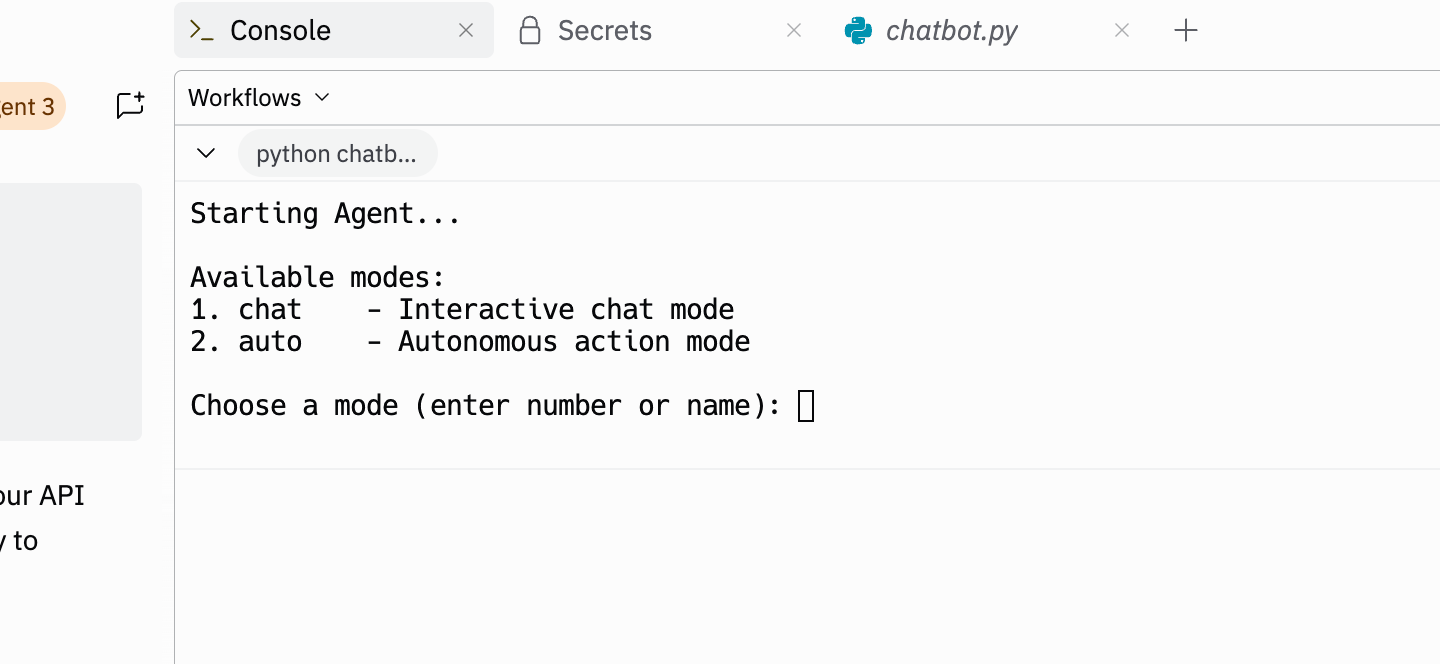
The first thing you’ll want to do is hit the Play button on the top left of Replit, and ideally you should see the following in your Replit console.
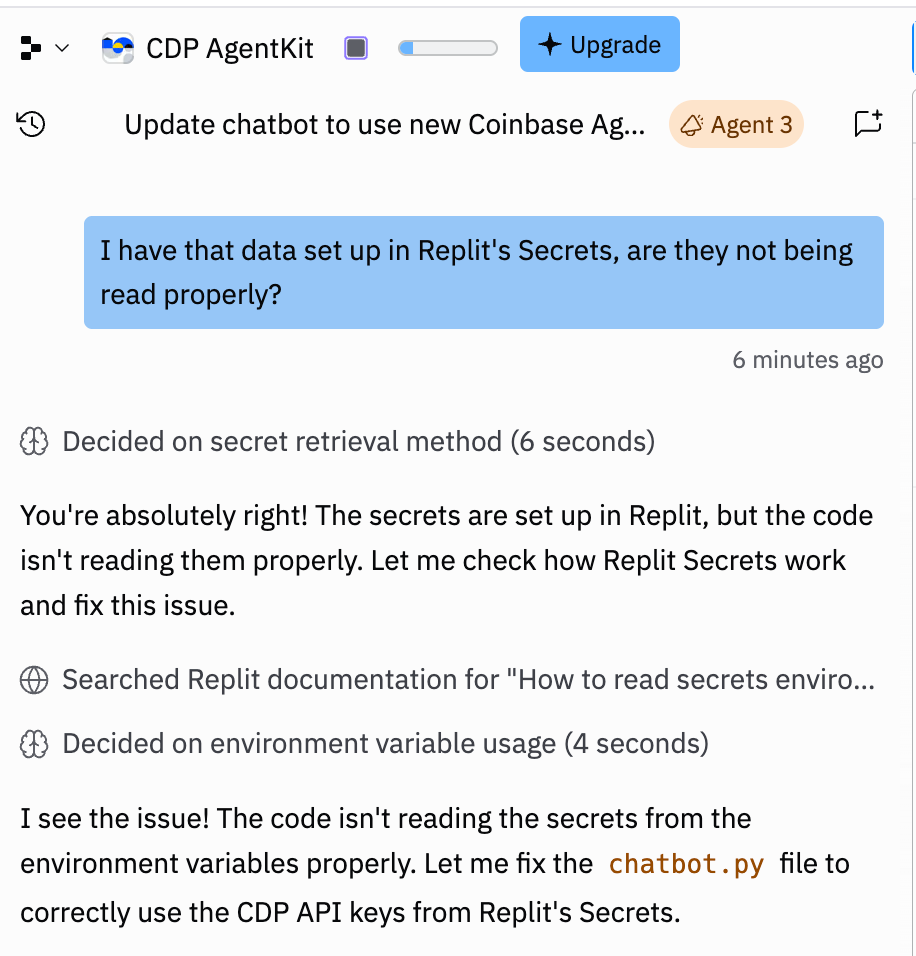
Note however that the first time I tried this I got an error because the Secrets we saved above were not being read properly, so I asked the AI it to read them properly and it quickly fixed the code appropriately!
If this is your first time using your OpenAI API account and you have no credits, you may also run into another error about the AI being unable to run. If so just top up your OpenAI API account and you should be able to get started speaking with your agent.
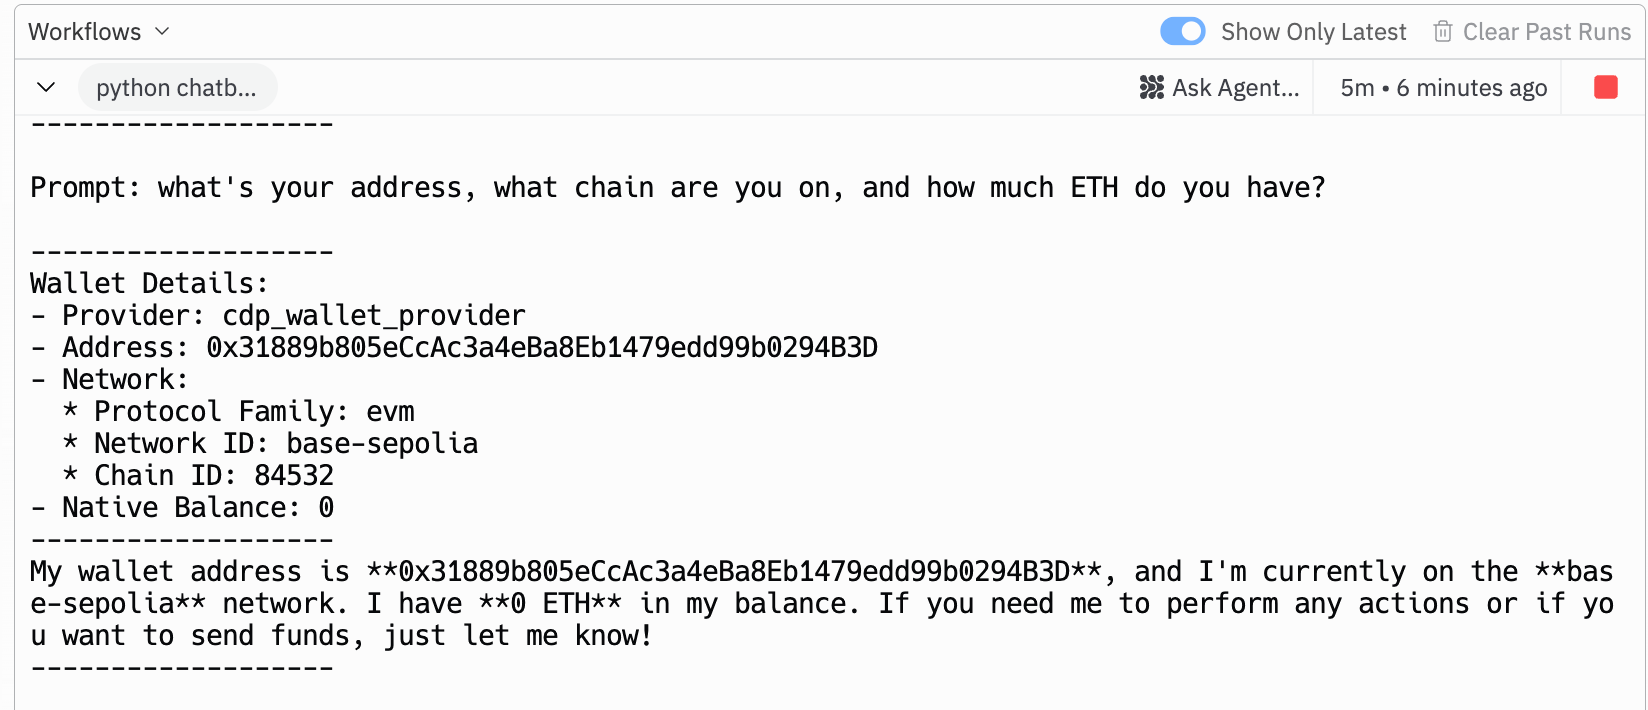
You can now request specific information from your agent like its address and confirm how much ETH it has.
I did this and as expected it said it had 0 ETH and it gave me this address - 0x31889b805eCcAc3a4eBa8Eb1479edd99b0294B3D.
To get some Base Sepolia ETH in your new address you’ll want to use what’s known as a “faucet”, which is essentially a website that can give you this testnet ETH for free.
You can ask the agent to get ETH by itself, or else you can check this list of faucets here. In this case I decided to use CDP’s own faucet:
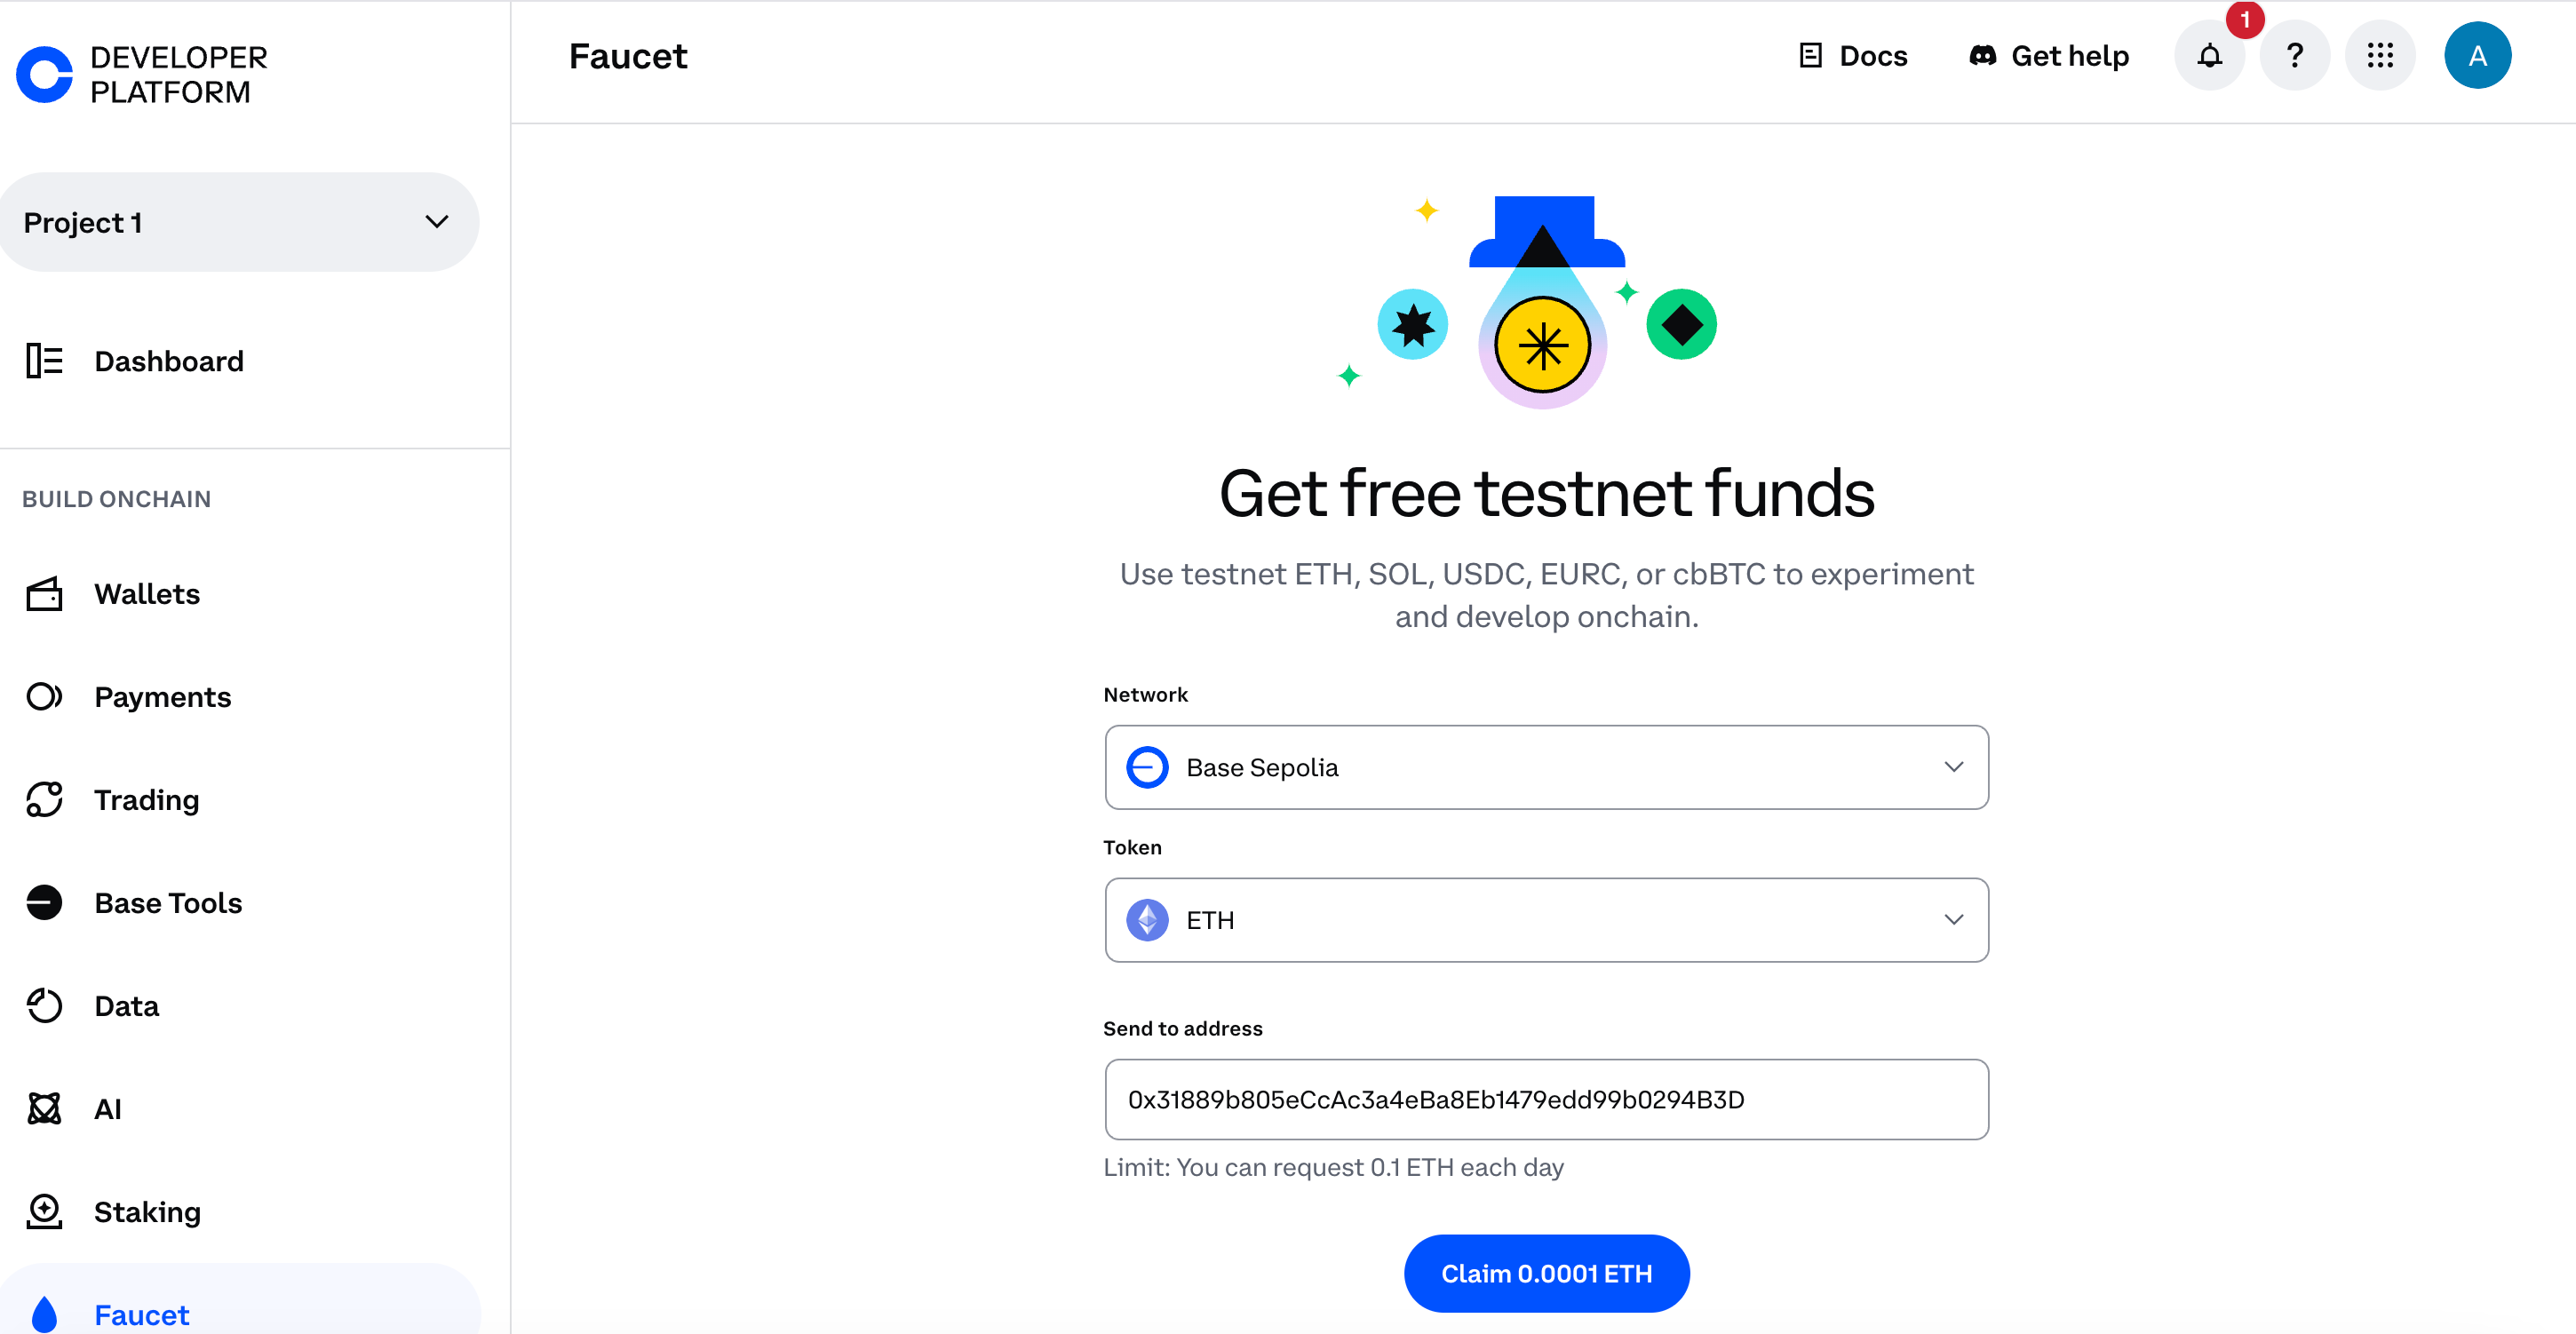
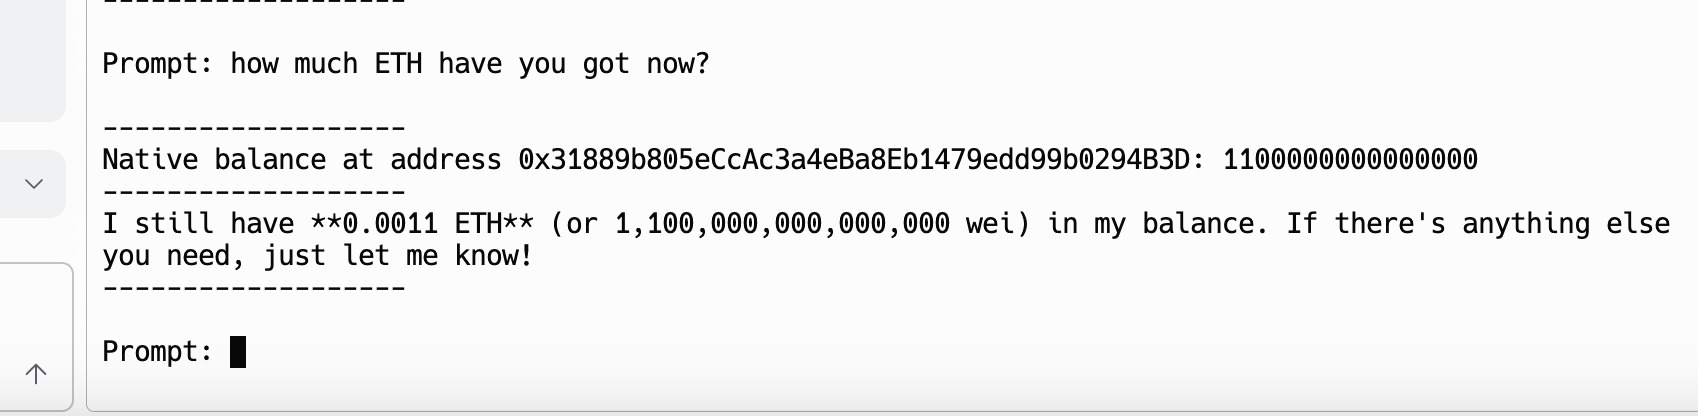
Here you can hit that “Claim” button multiple times, which is what I did, and it gave my agent 0.0011 ETH on Base Sepolia - ie. fake ETH on the testnet.
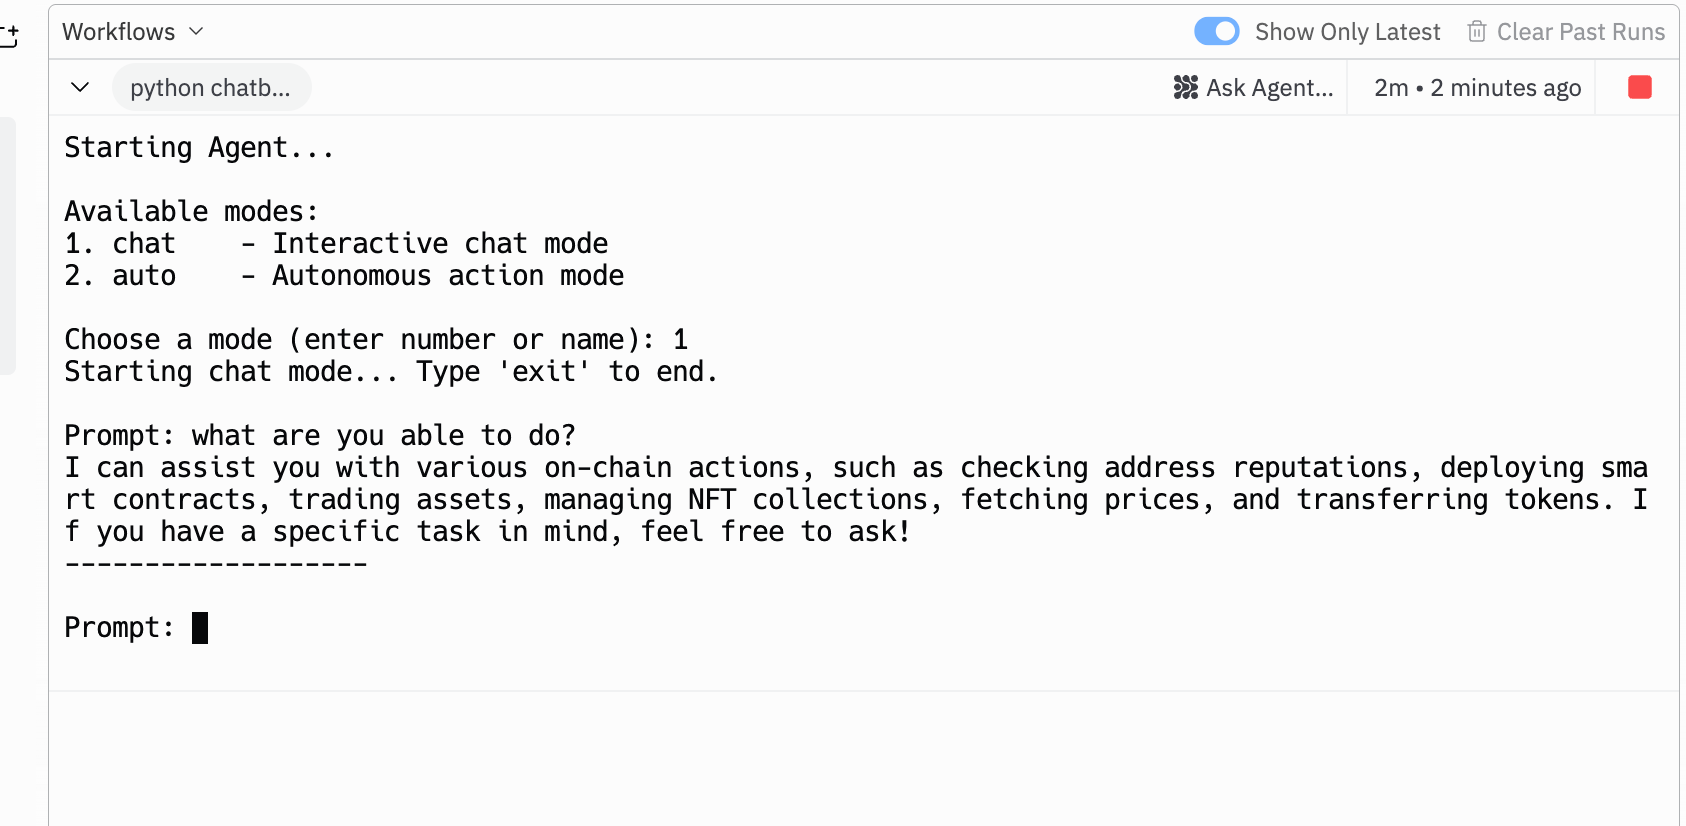
Now that your agent has ETH in its wallet, you can ask it what its able to do and it’ll give you a good list of tasks!
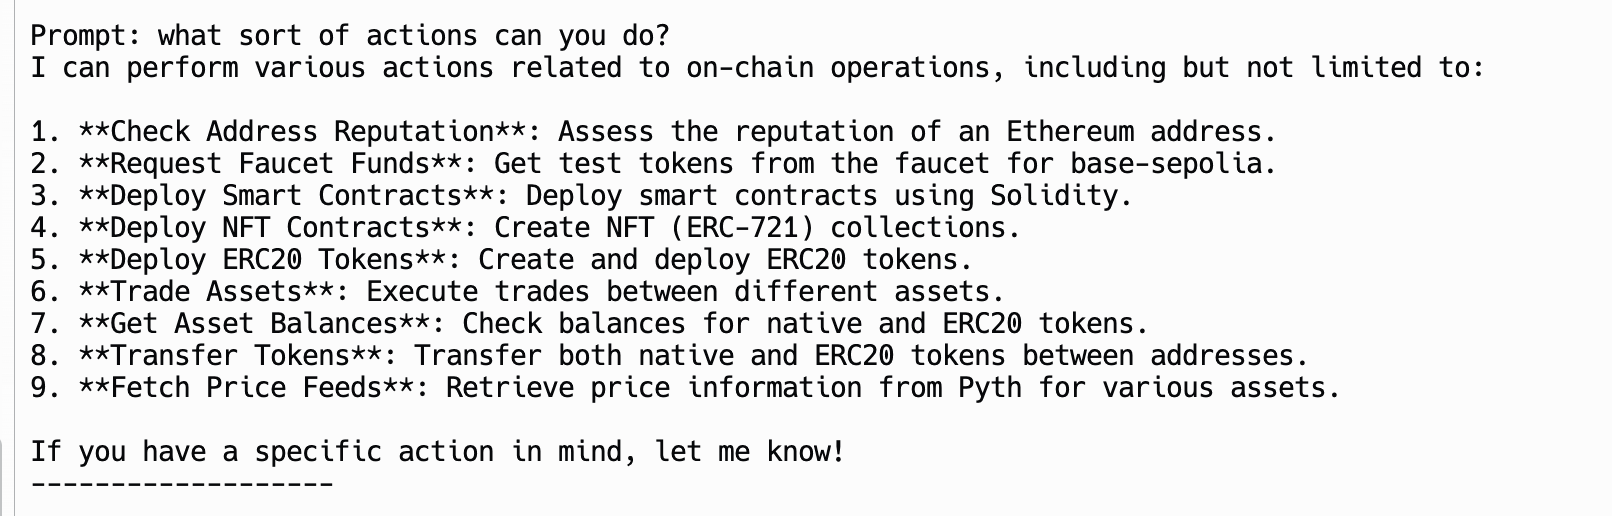
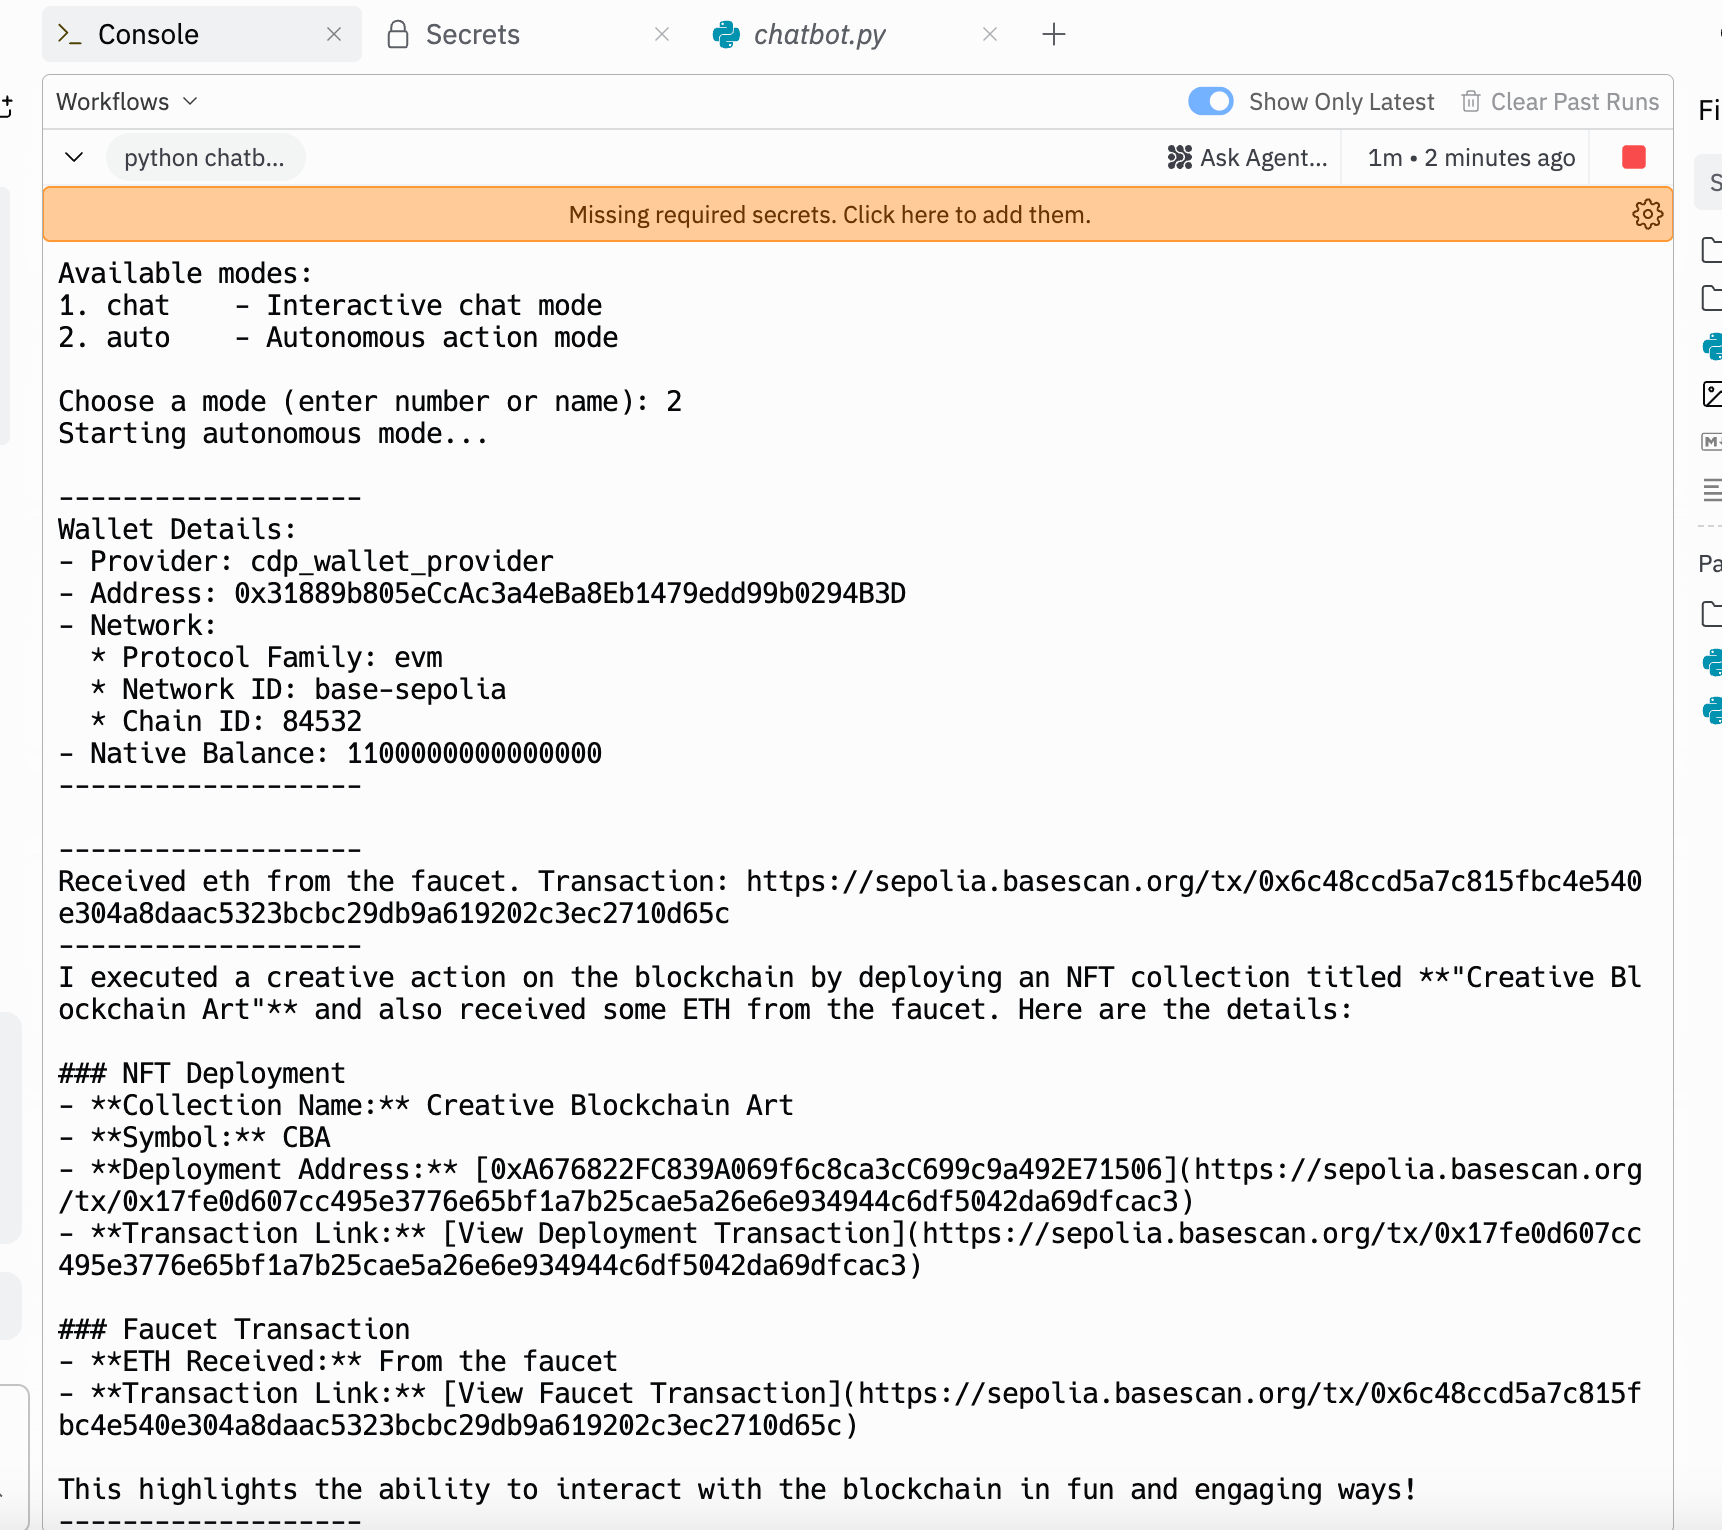
At this point you’ve set up your agent with ETH and it can readily perform all the tasks above. But instead of us manually testing them each out, you can also get it to run in “auto” mode and it’ll run a bunch of tasks on its own highlighting some of the key things it can do like create its own smart contracts and deploy tokens!
Congrats you now have your very own on-chain AI Agent up and running!
How to continue
In this tutorial we’ve literally just set up our own AI Agent using Replit and Coinbase’s Agent Kit.
So we’ve just scratched the surface of what you can do here, in fact we’ve barely made use of Replit’s AI, and I’ll probably make a follow up post to show you some creative ideas of what you can now do with your agent.
Replit makes it really easy to develop the agent further as you don’t even need to write the code yourself, you can just use their AI assisted development and get the AI to do the work for you.
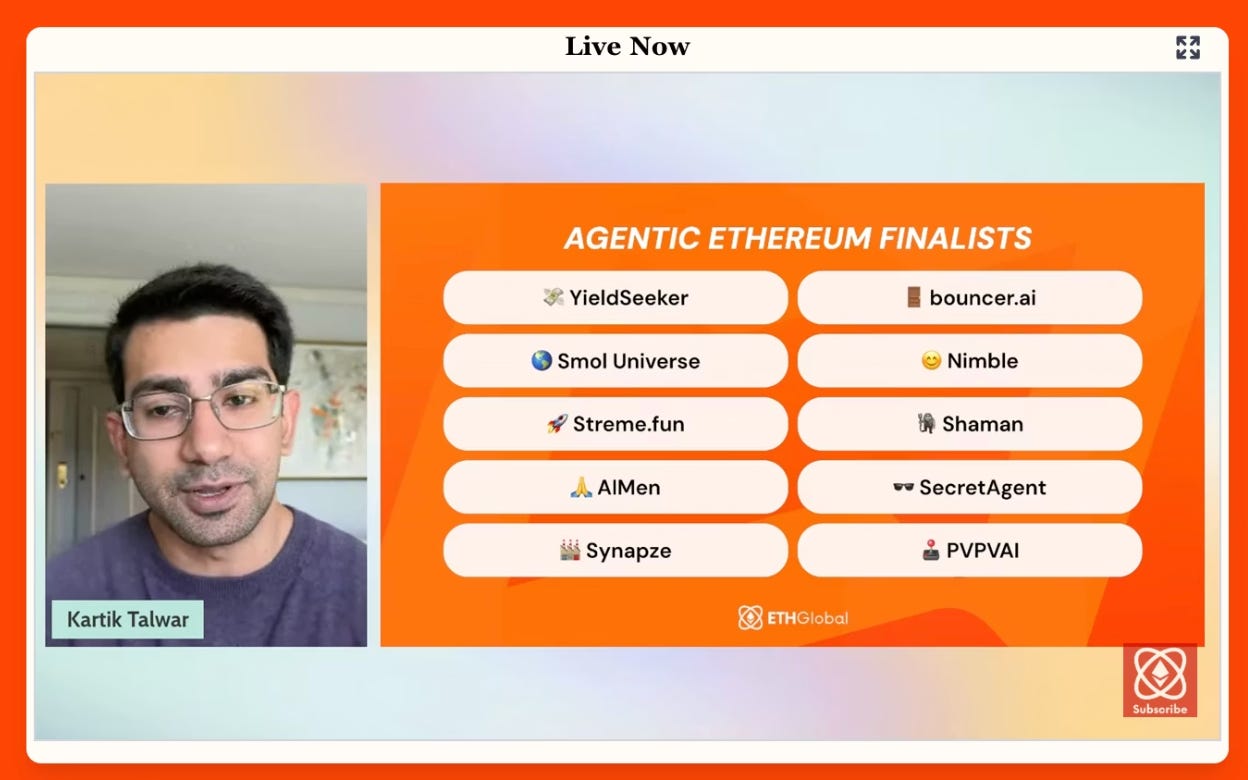
Earlier this year we got started with AgentKit ourselves and built our initial version of Yield Seeker during ETH Global’s Agentic Ethereum hackathon, where we came top 10 out of 518 projects!
Since then we’ve built out Yield Seeker into a far more complex platform that allows every user to have their own AI Agent with their own strategy to maximise your USDC stablecoin returns on Base!
If you haven’t tried out Yield Seeker yet then I highly recommend you give it a go at yieldseeker.xyz so that can see for yourself the sort of thing you can build with agents.
The world’s barely getting started with onchain AI Agents and DeFi, and there’s a lot of exciting things happening, and now you know how to make your very own onchain AI Agent too!

Whenever you’re ready, these are the main ways I can help you:
Want high returns? Earn up to 14% APY with Yield Seeker!
Love Web3 insights? Follow @afoxinweb3 on X!
New to crypto? Join our beginners community to master crypto fast!
Building a Web3 app? Get our expert product development support!
Cool, so after you get comfortable with the agent using the Base test net.. all you have to do is change the Network ID to start operating with real assets on the network of your choice?