
Create your Hermes Agent
Learn how to set up a personal AI Agent with Hermes
TLDR:
Hermes is an open-source AI agent framework from Nous Research that rivals OpenClaw, which has a native desktop app that makes it more accessible.
Unlike OpenClaw’s terminal-first setup, Hermes Desktop lets you create multiple isolated agents called “profiles” each with their own memory and skills.
Connecting it to a VPS takes about five minutes and means your agent runs 24/7, firing scheduled tasks and building skills whether your computer is on or not.
Both Hermes and OpenClaw are excellent frameworks and I’d really recommend you to use at least one of them as your own personal AI assistant.
At the start of the year we saw an explosion in agentic AI and the birth of the open-source agentic framework called OpenClaw. In past posts I wrote about how to create your own OpenClaw and about other closed source agentic frameworks like Claude Cowork that arrived later in the scene.
A separate and competing framework that appeared a little after OpenClaw was called Hermes, and it’s since grown massively and reached the point that many people prefer to use it over OpenClaw. So this week I decided to write about Hermes and how to create your own Hermes agent.
If this post resonates with you and you enjoy the content then please share it with a friend and get rewarded for doing so!

This blog goes out weekly to over 20,000 subscribers. Please message me if you’re interested in sponsorships or partnerships.
Hermes
Hermes is an open-source AI agent framework from Nous Research that was launched in February of this year. It came out a little after OpenClaw which was the first agentic framework of its kind. Hermes became OpenClaw’s main competitor and has been on a constant uptrend in adoption and relevance ever since.
At the start of the year I wrote a post showing how to create your own OpenClaw agent, and today I decided to write an equivalent guide for Hermes since it has reached the point where it’s hard to speak about one without speaking about the other.

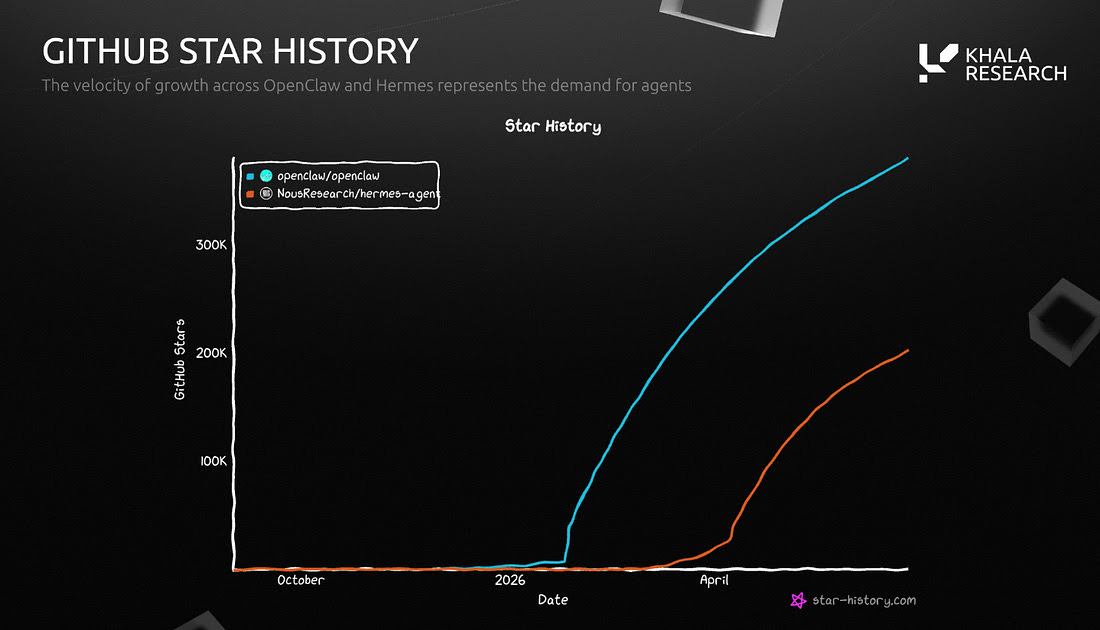
The growth of these frameworks has been striking. Hermes hit 180,000 GitHub stars in under four months, making it one of the fastest-growing open-source projects in recent history. Meanwhile OpenClaw is even higher at 347,000 after six months. On GitHub both are in a category of their own.
The thing that sets Hermes apart from OpenClaw is the “self-improving” model. When Hermes figures out how to do something new it writes the approach down as a “skill document” and then applies it automatically next time. Over time the agent accumulates capabilities without you having to re-explain anything.
Another point where they differ most is the interface. OpenClaw has a messaging-first interface where you install it on a machine and interact with it via a messaging app like Telegram, WhatsApp, or Discord.
Hermes has all of that too, but it also has a native desktop app that changes the experience considerably and that’s what we’ll focus on here.
Getting Started
There are a few ways to run Hermes: the command line, a terminal interface, or the desktop app. The desktop app is the most user-friendly of the three and it’s what we’ll take a look at.
To get started, download the desktop app from hermes-agent.nousresearch.com. You can download it for MacOS, Windows, and Linux.

When you launch the app you’ll need to select a button to “Install Hermes” and that’ll make it run through several steps automatically.
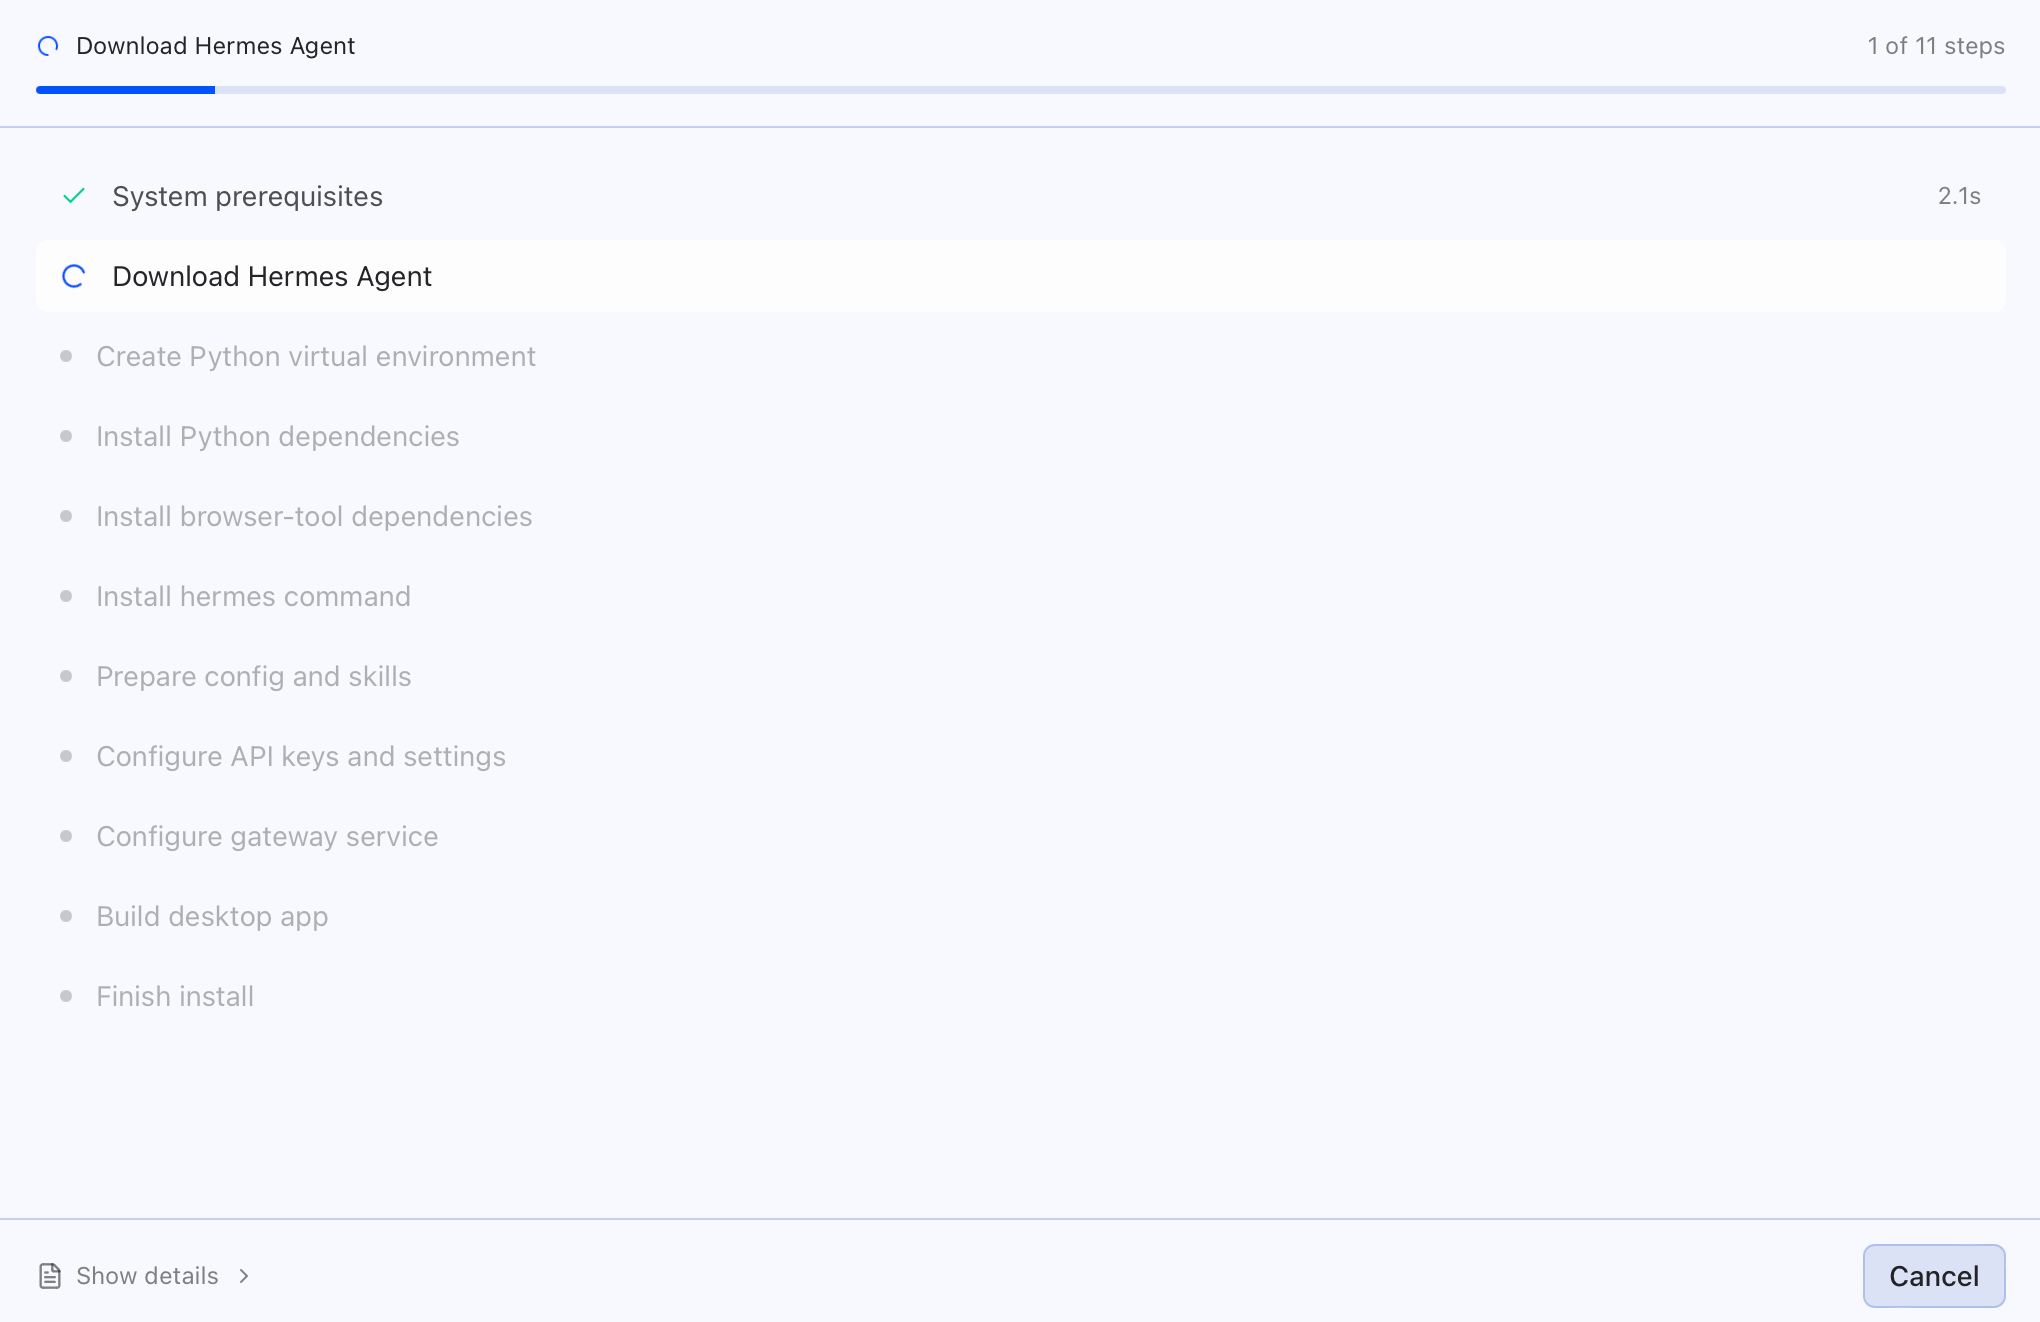
You’ll need to click through a couple of setup screens, then finally once that’s all done you’ll be brought to the desktop app with the option to create new sessions or just start communicating with your agent.
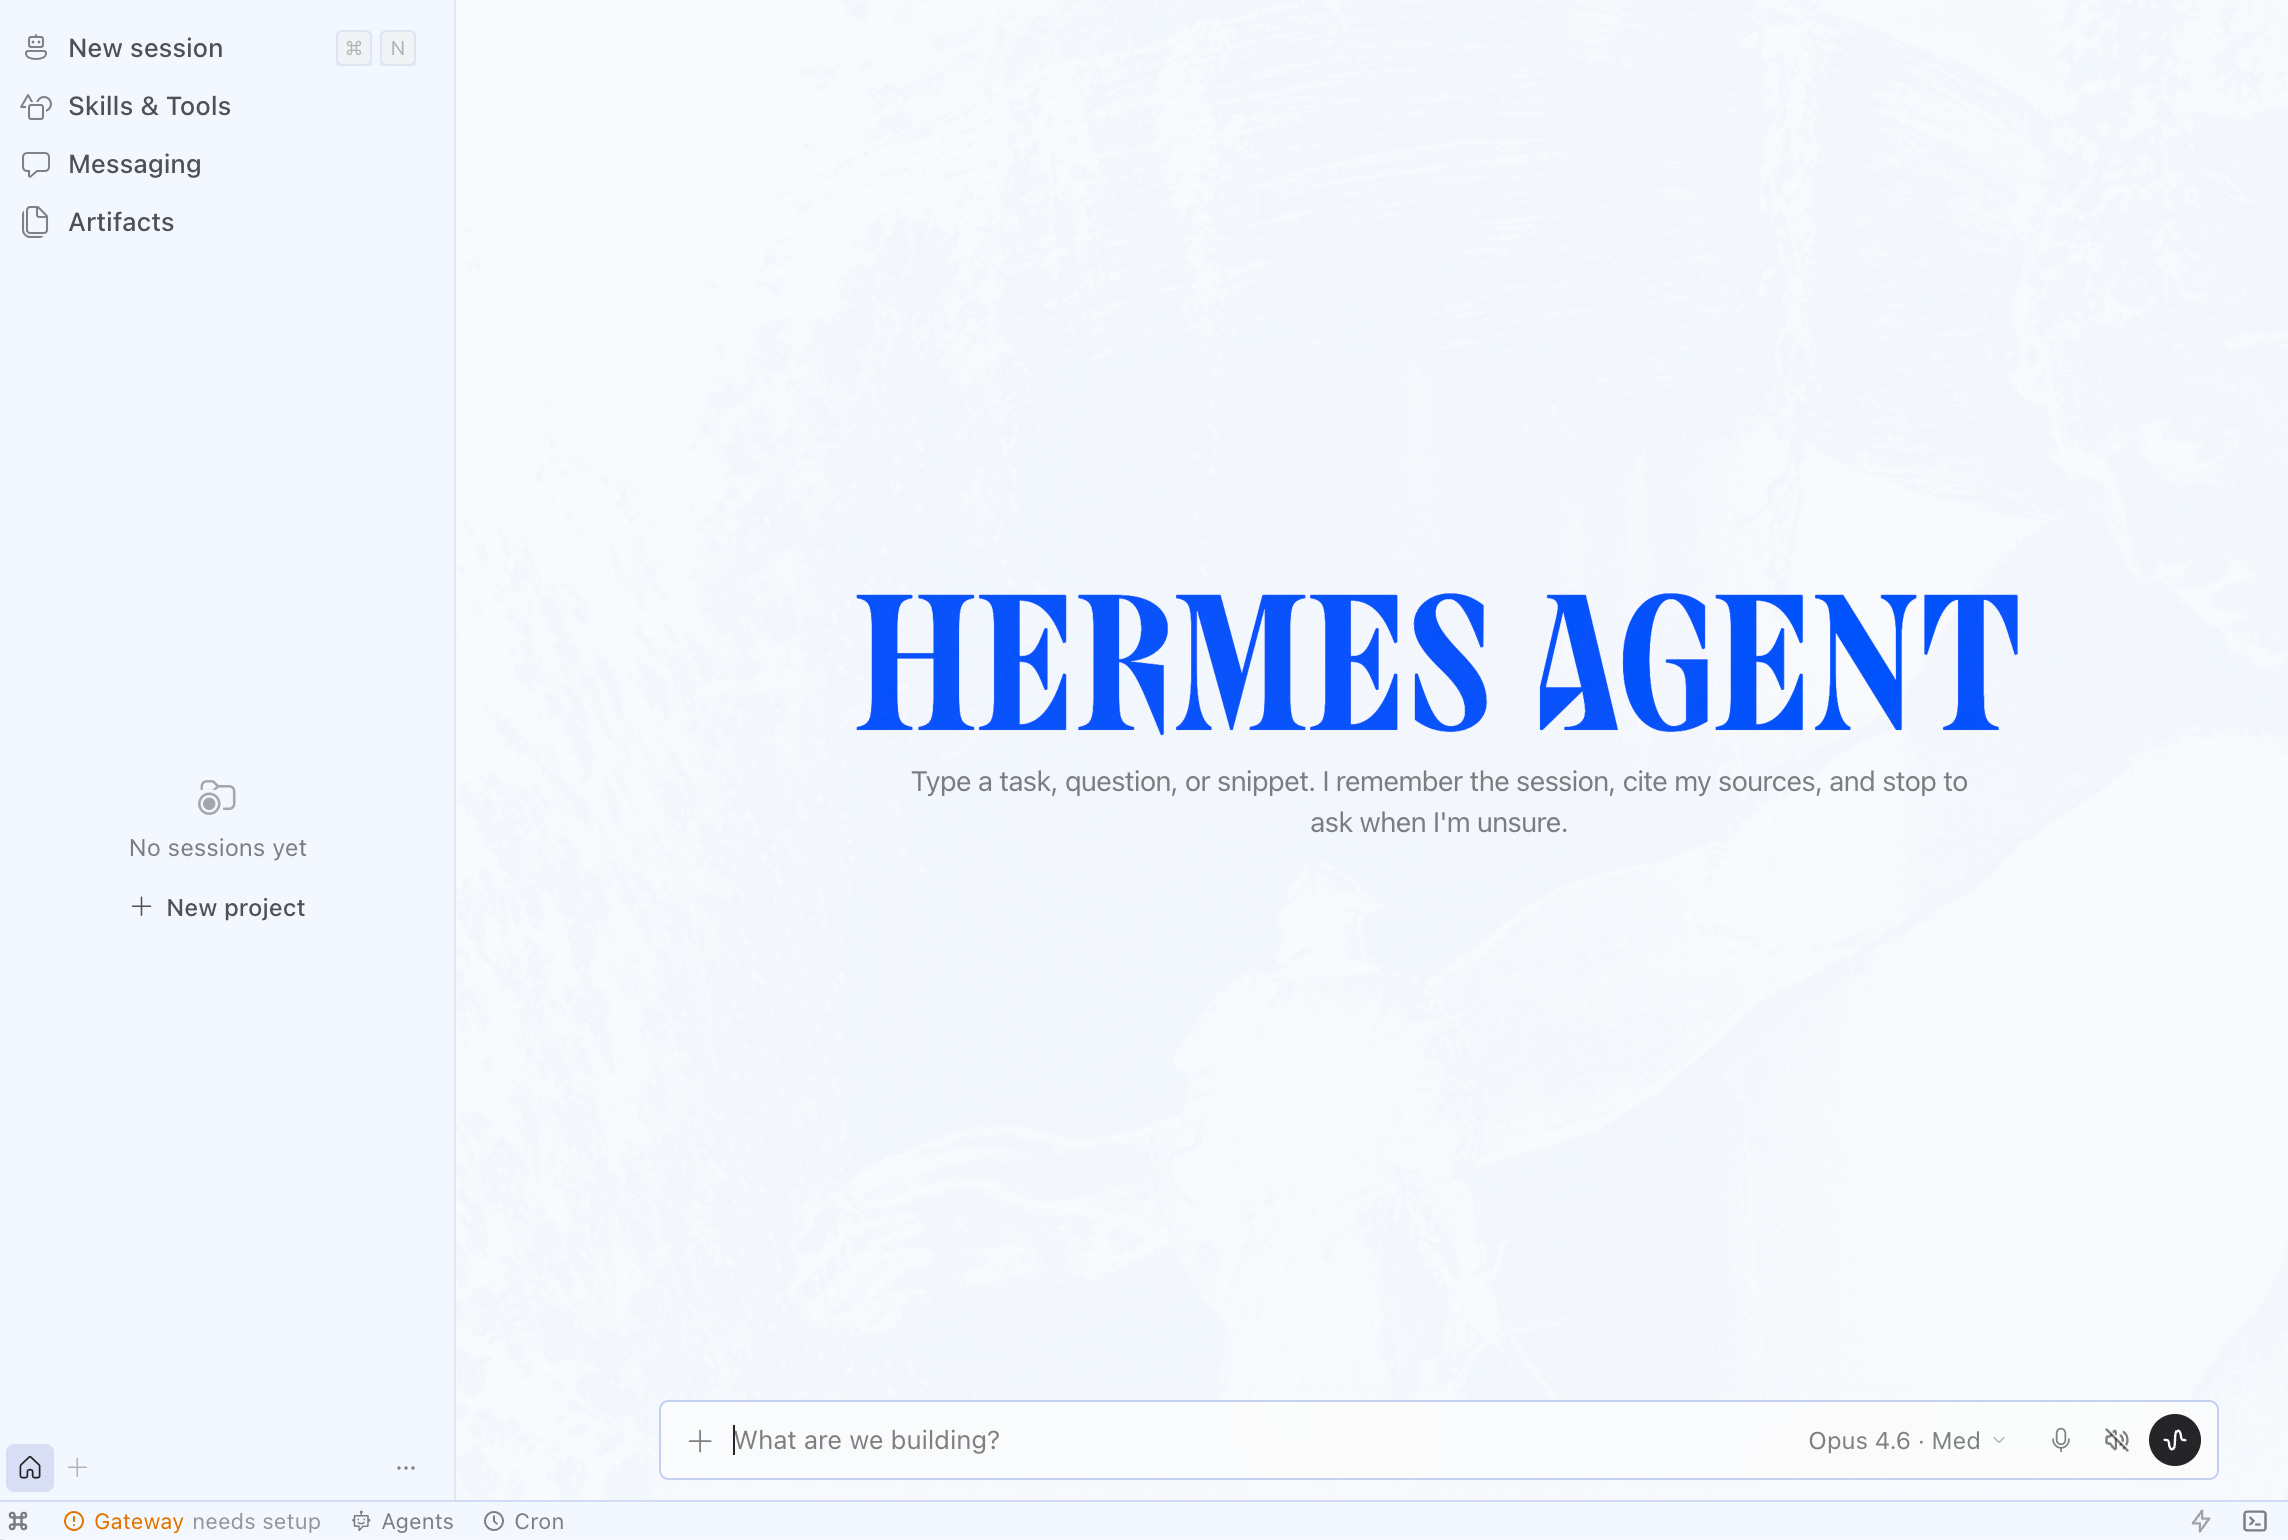
However, as soon as you try to communicate with your agent it’ll complain that you have to set up a model.
There are several options here but Hermes will push you towards paying for their own “Nous Portal” subscription, which isn’t a bad idea given that it allows you to route to 300+ different models.
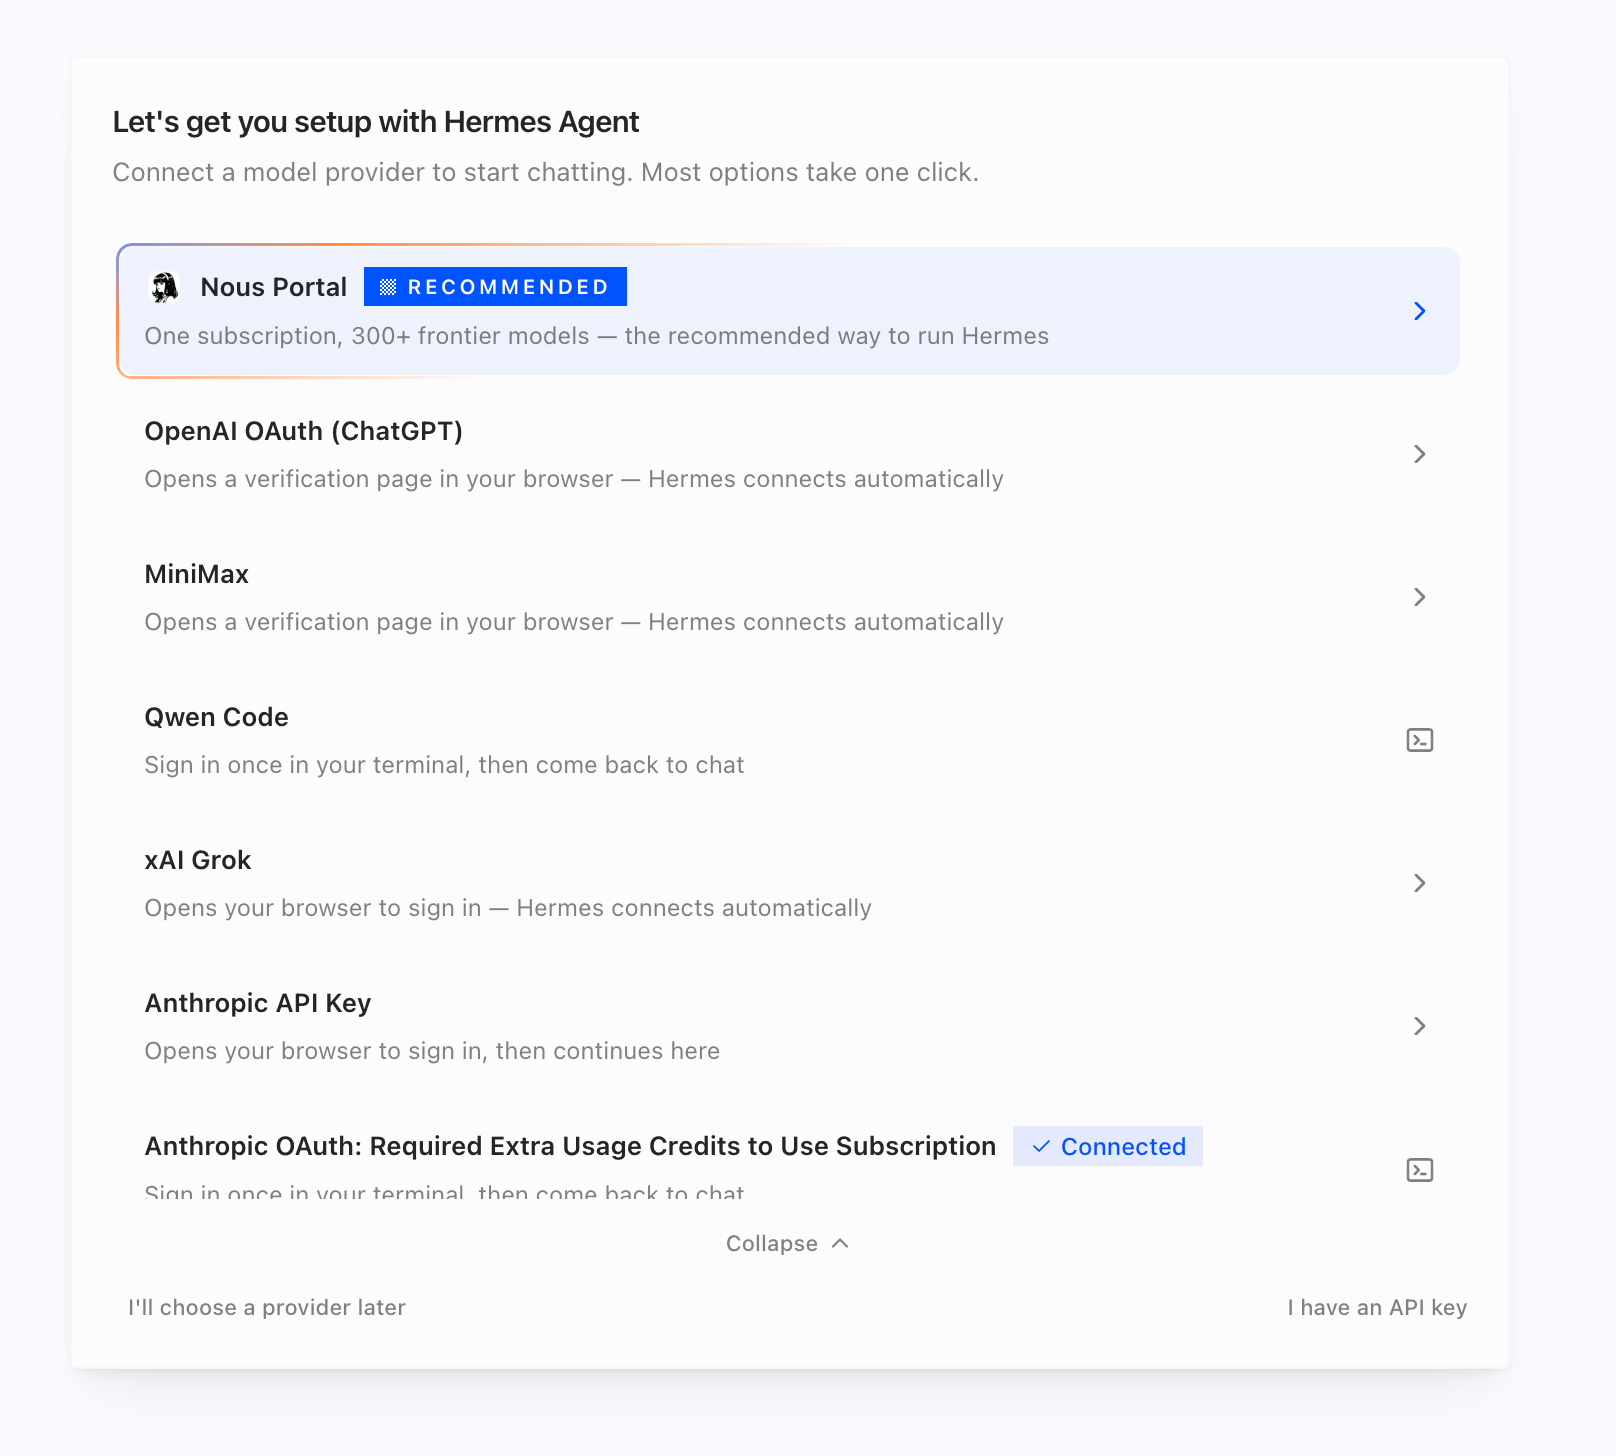
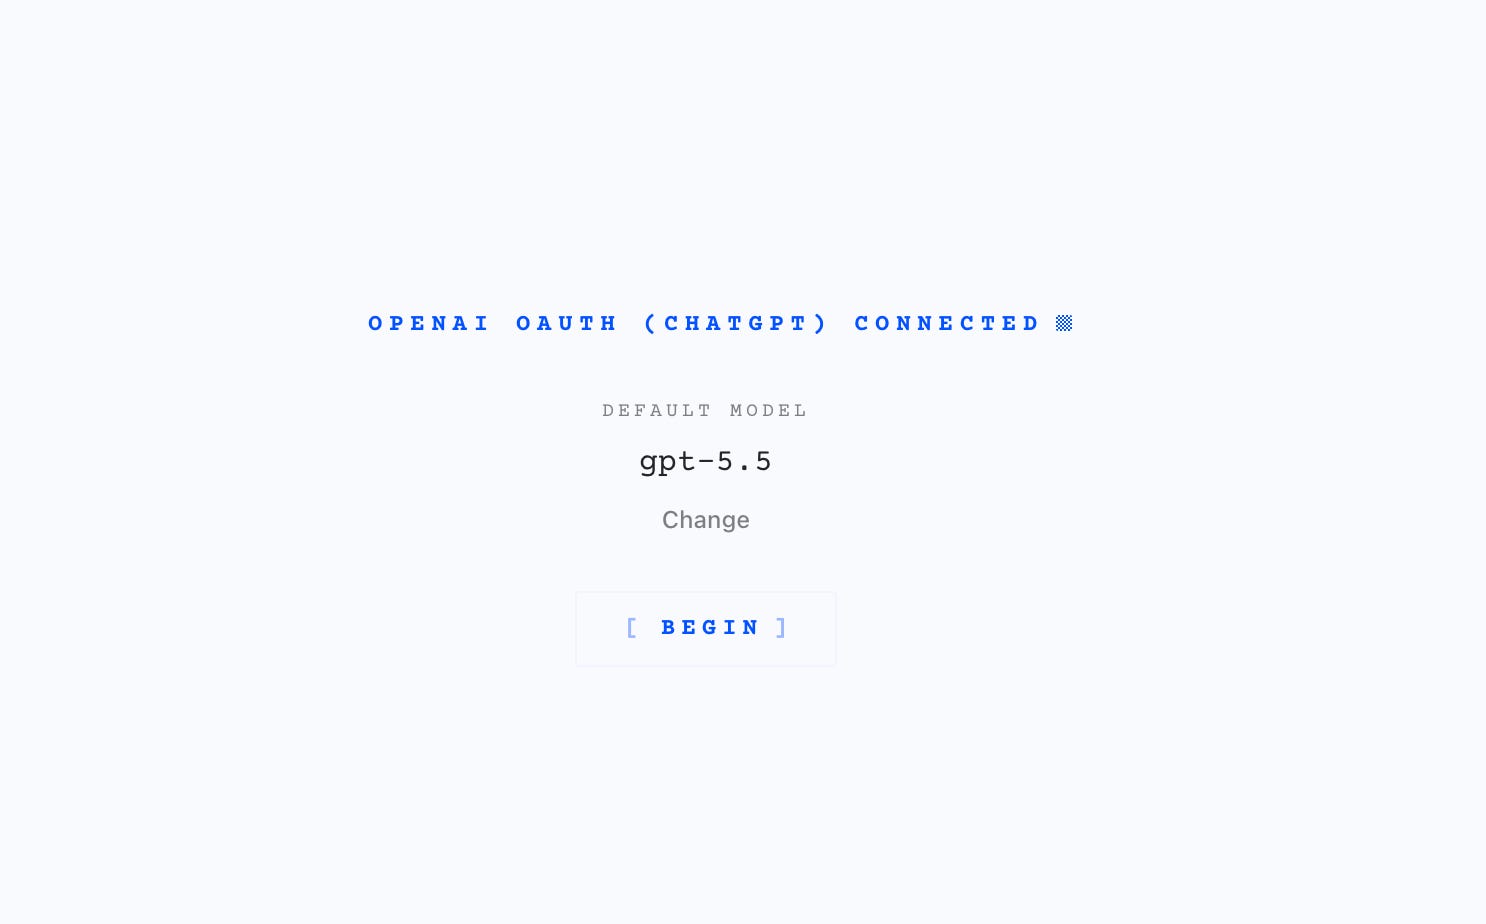
You can choose whichever option you prefer here. In my specific case I chose to use an OpenAI subscription that I already had so that I didn’t end up paying for an additional subscription. Since I chose OpenAI it opened up a separate page in my browser that I had to put a code in for.
With all that done the screen below appeared showing that I was connected and ready to go!
Create your own Agent
The layout of the desktop app is simple. There’s a chat in the centre, a file browser on the right side, and sessions, skills, messaging and artifacts in the left panel.
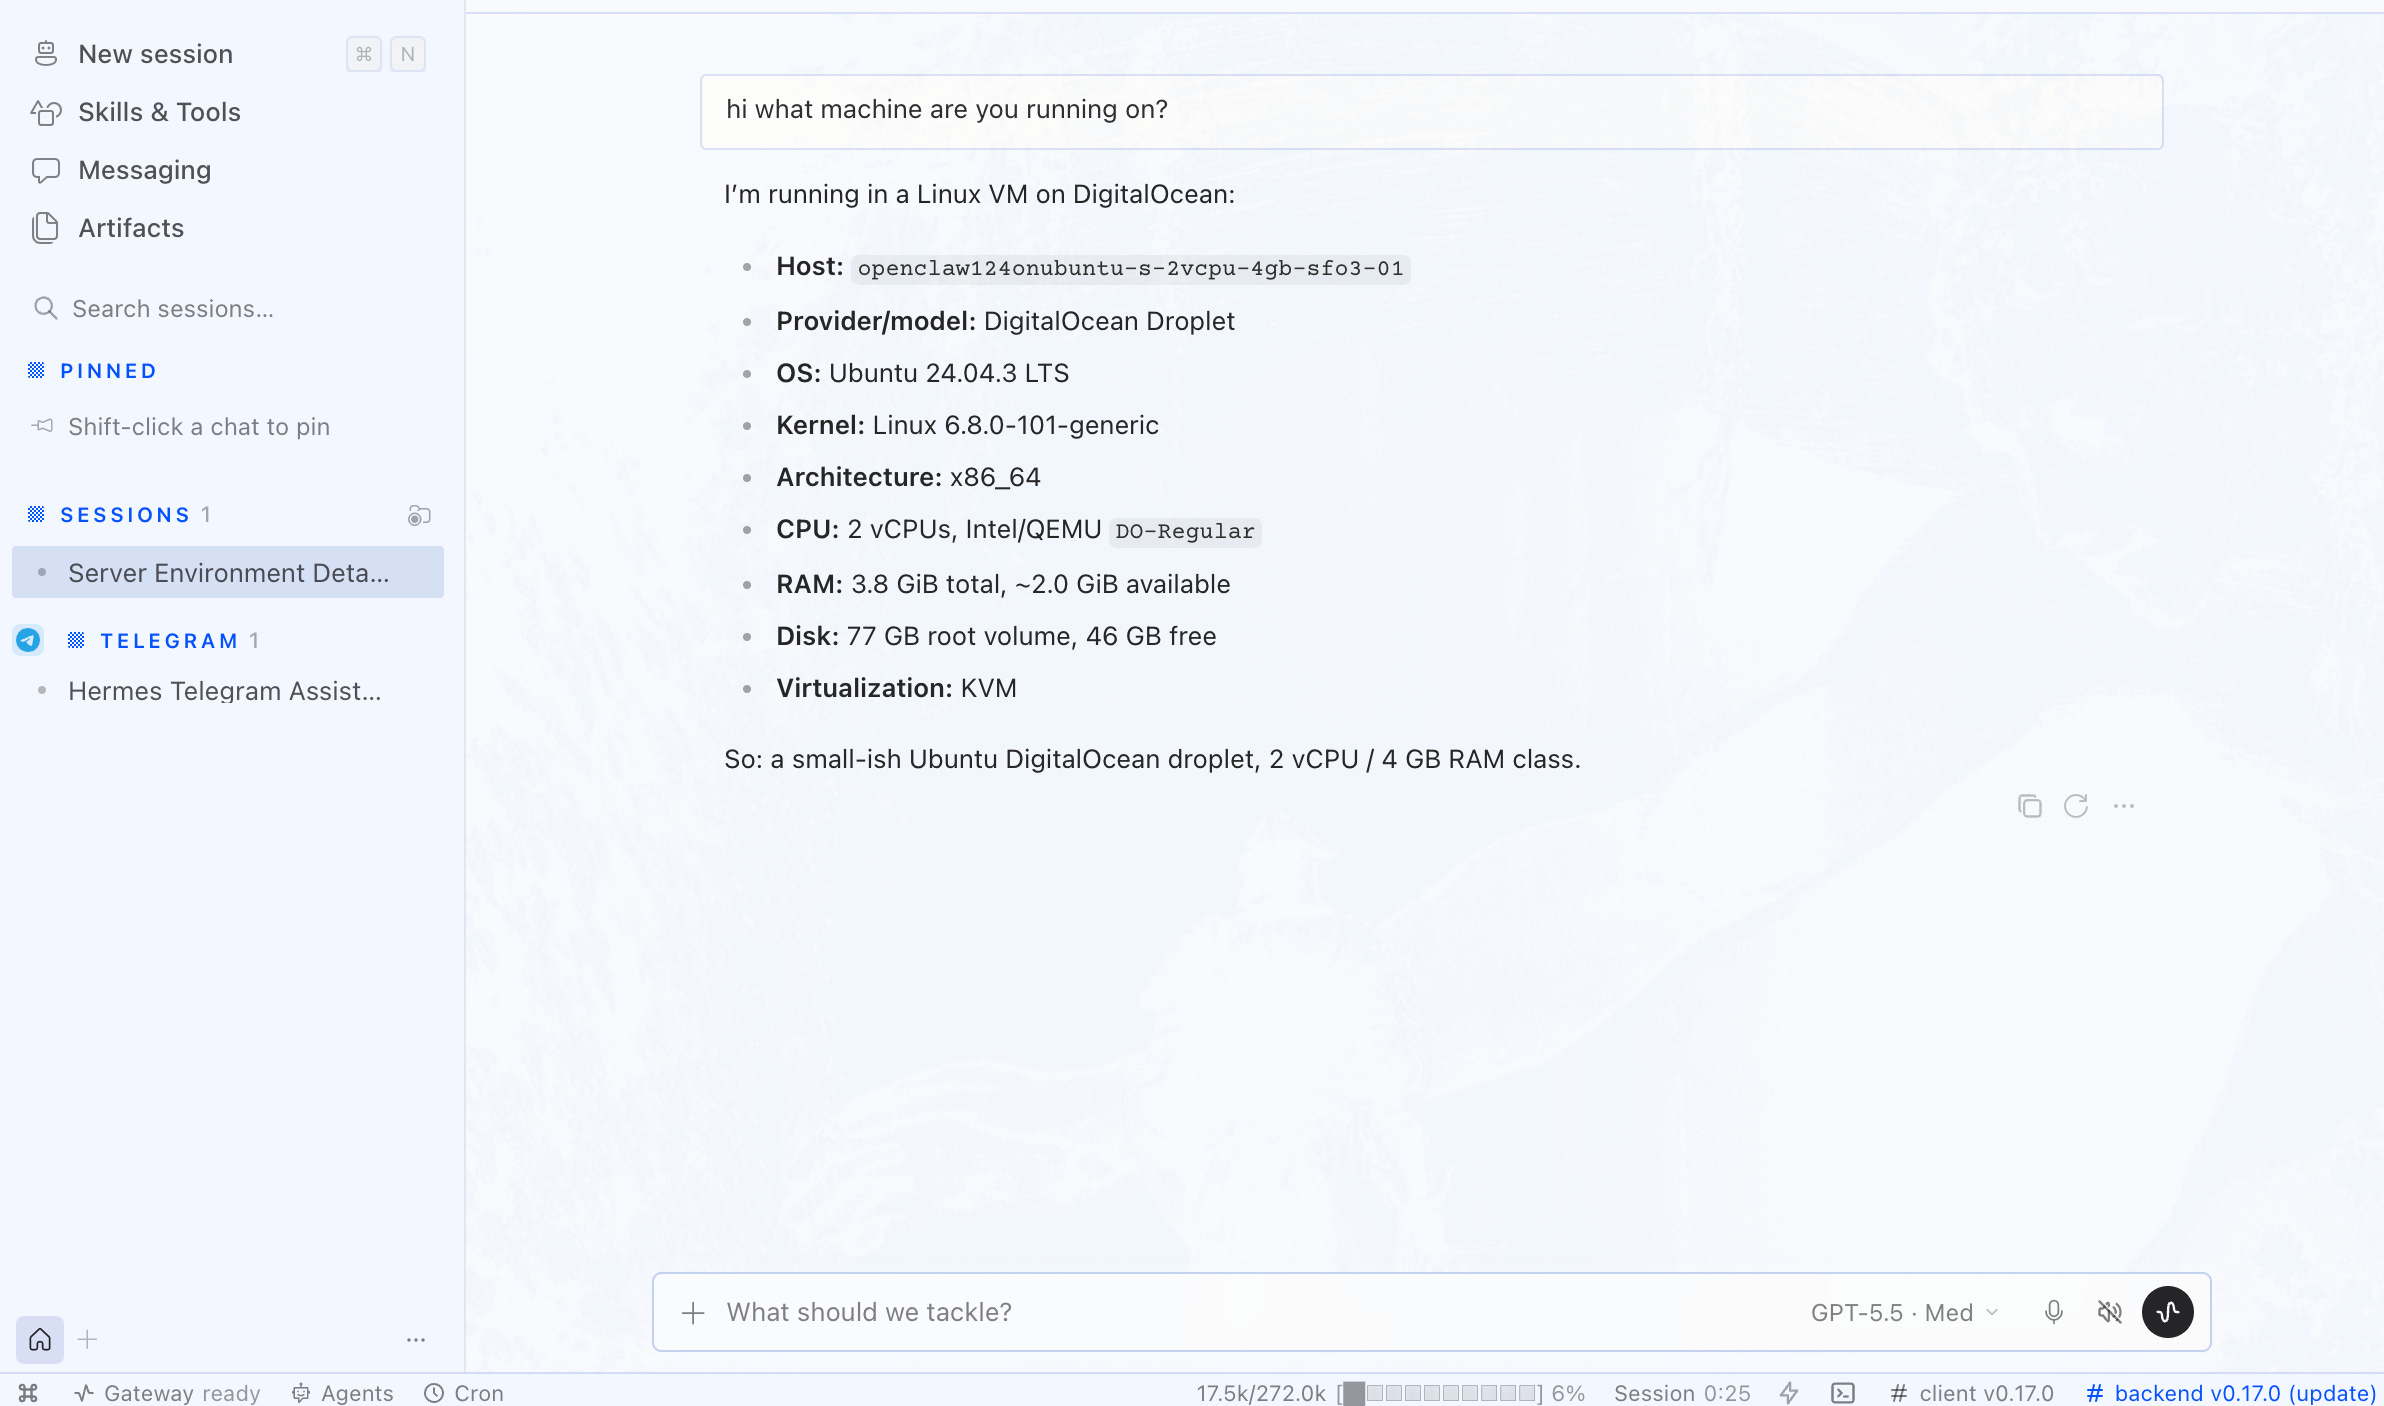
On typing into the chat-box you’ll essentially start your first interaction with a new local agent. Just make sure you’ve selected a model with the model picker on the bottom right, and by simply saying something like “hi” a new session will get created.
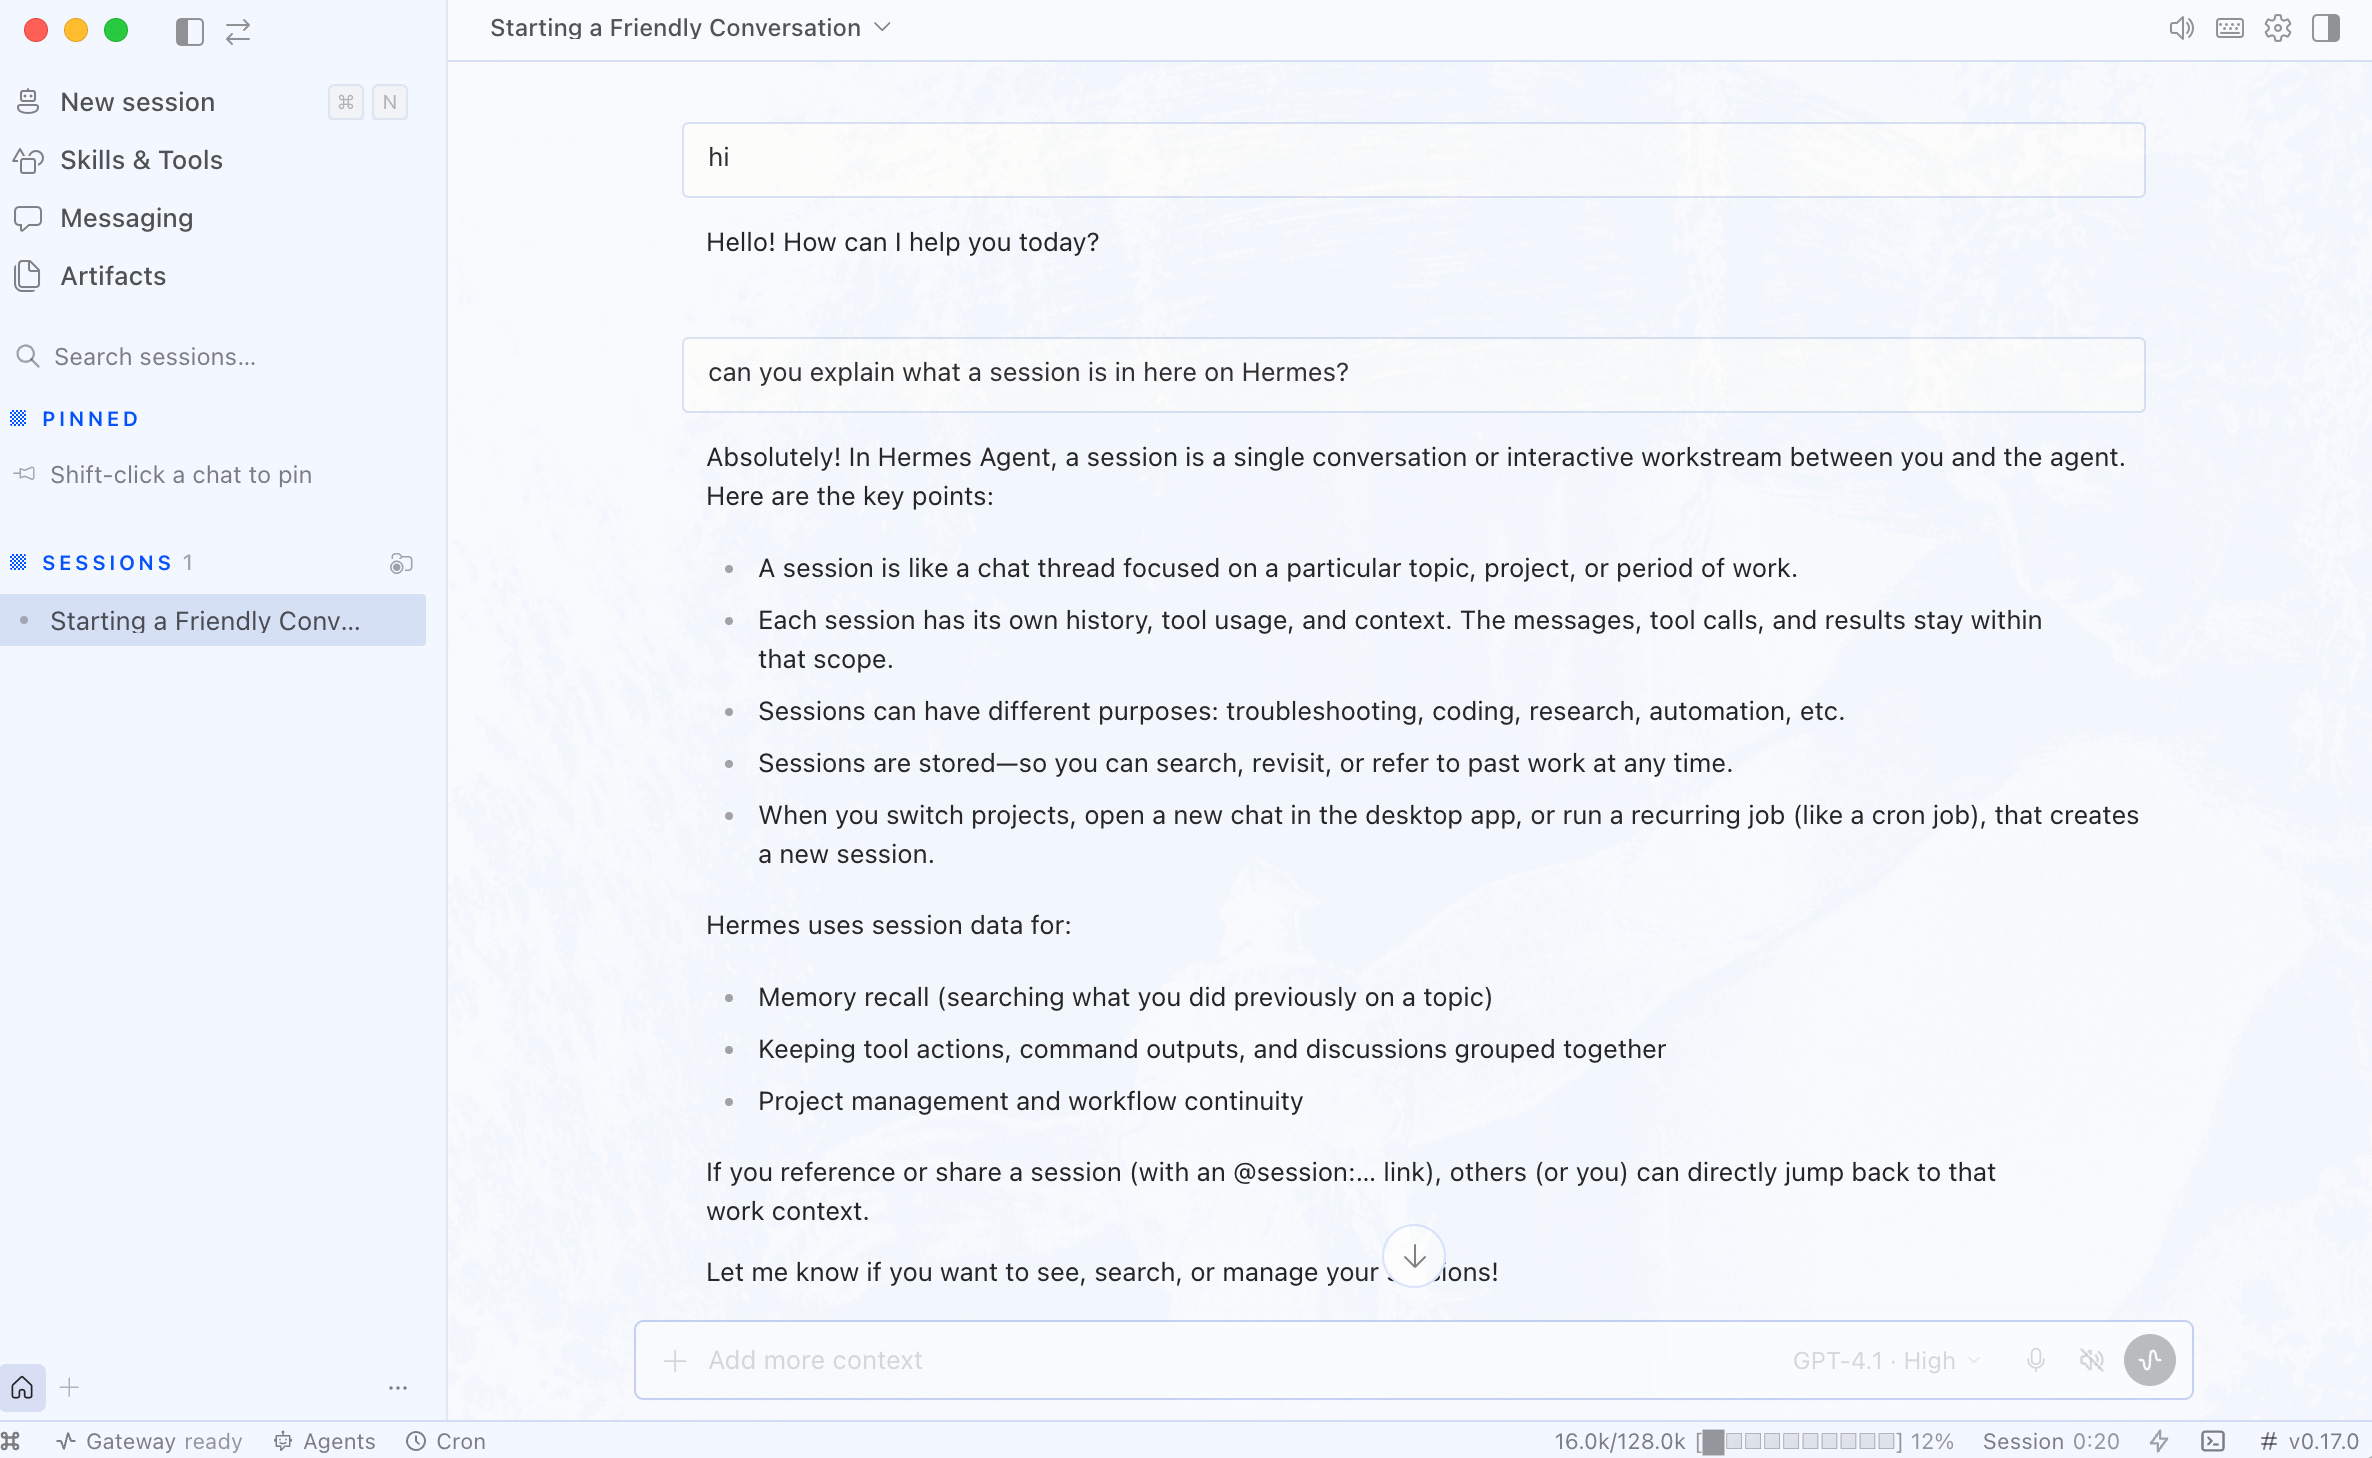
Sessions are essentially conversation threads that you have going with your agent. This is very similar to individual chats in most AI interfaces that you’ll have come across, such as when using ChatGPT or Claude.
You can create multiple sessions for multiple different conversations and workflows with your agent.
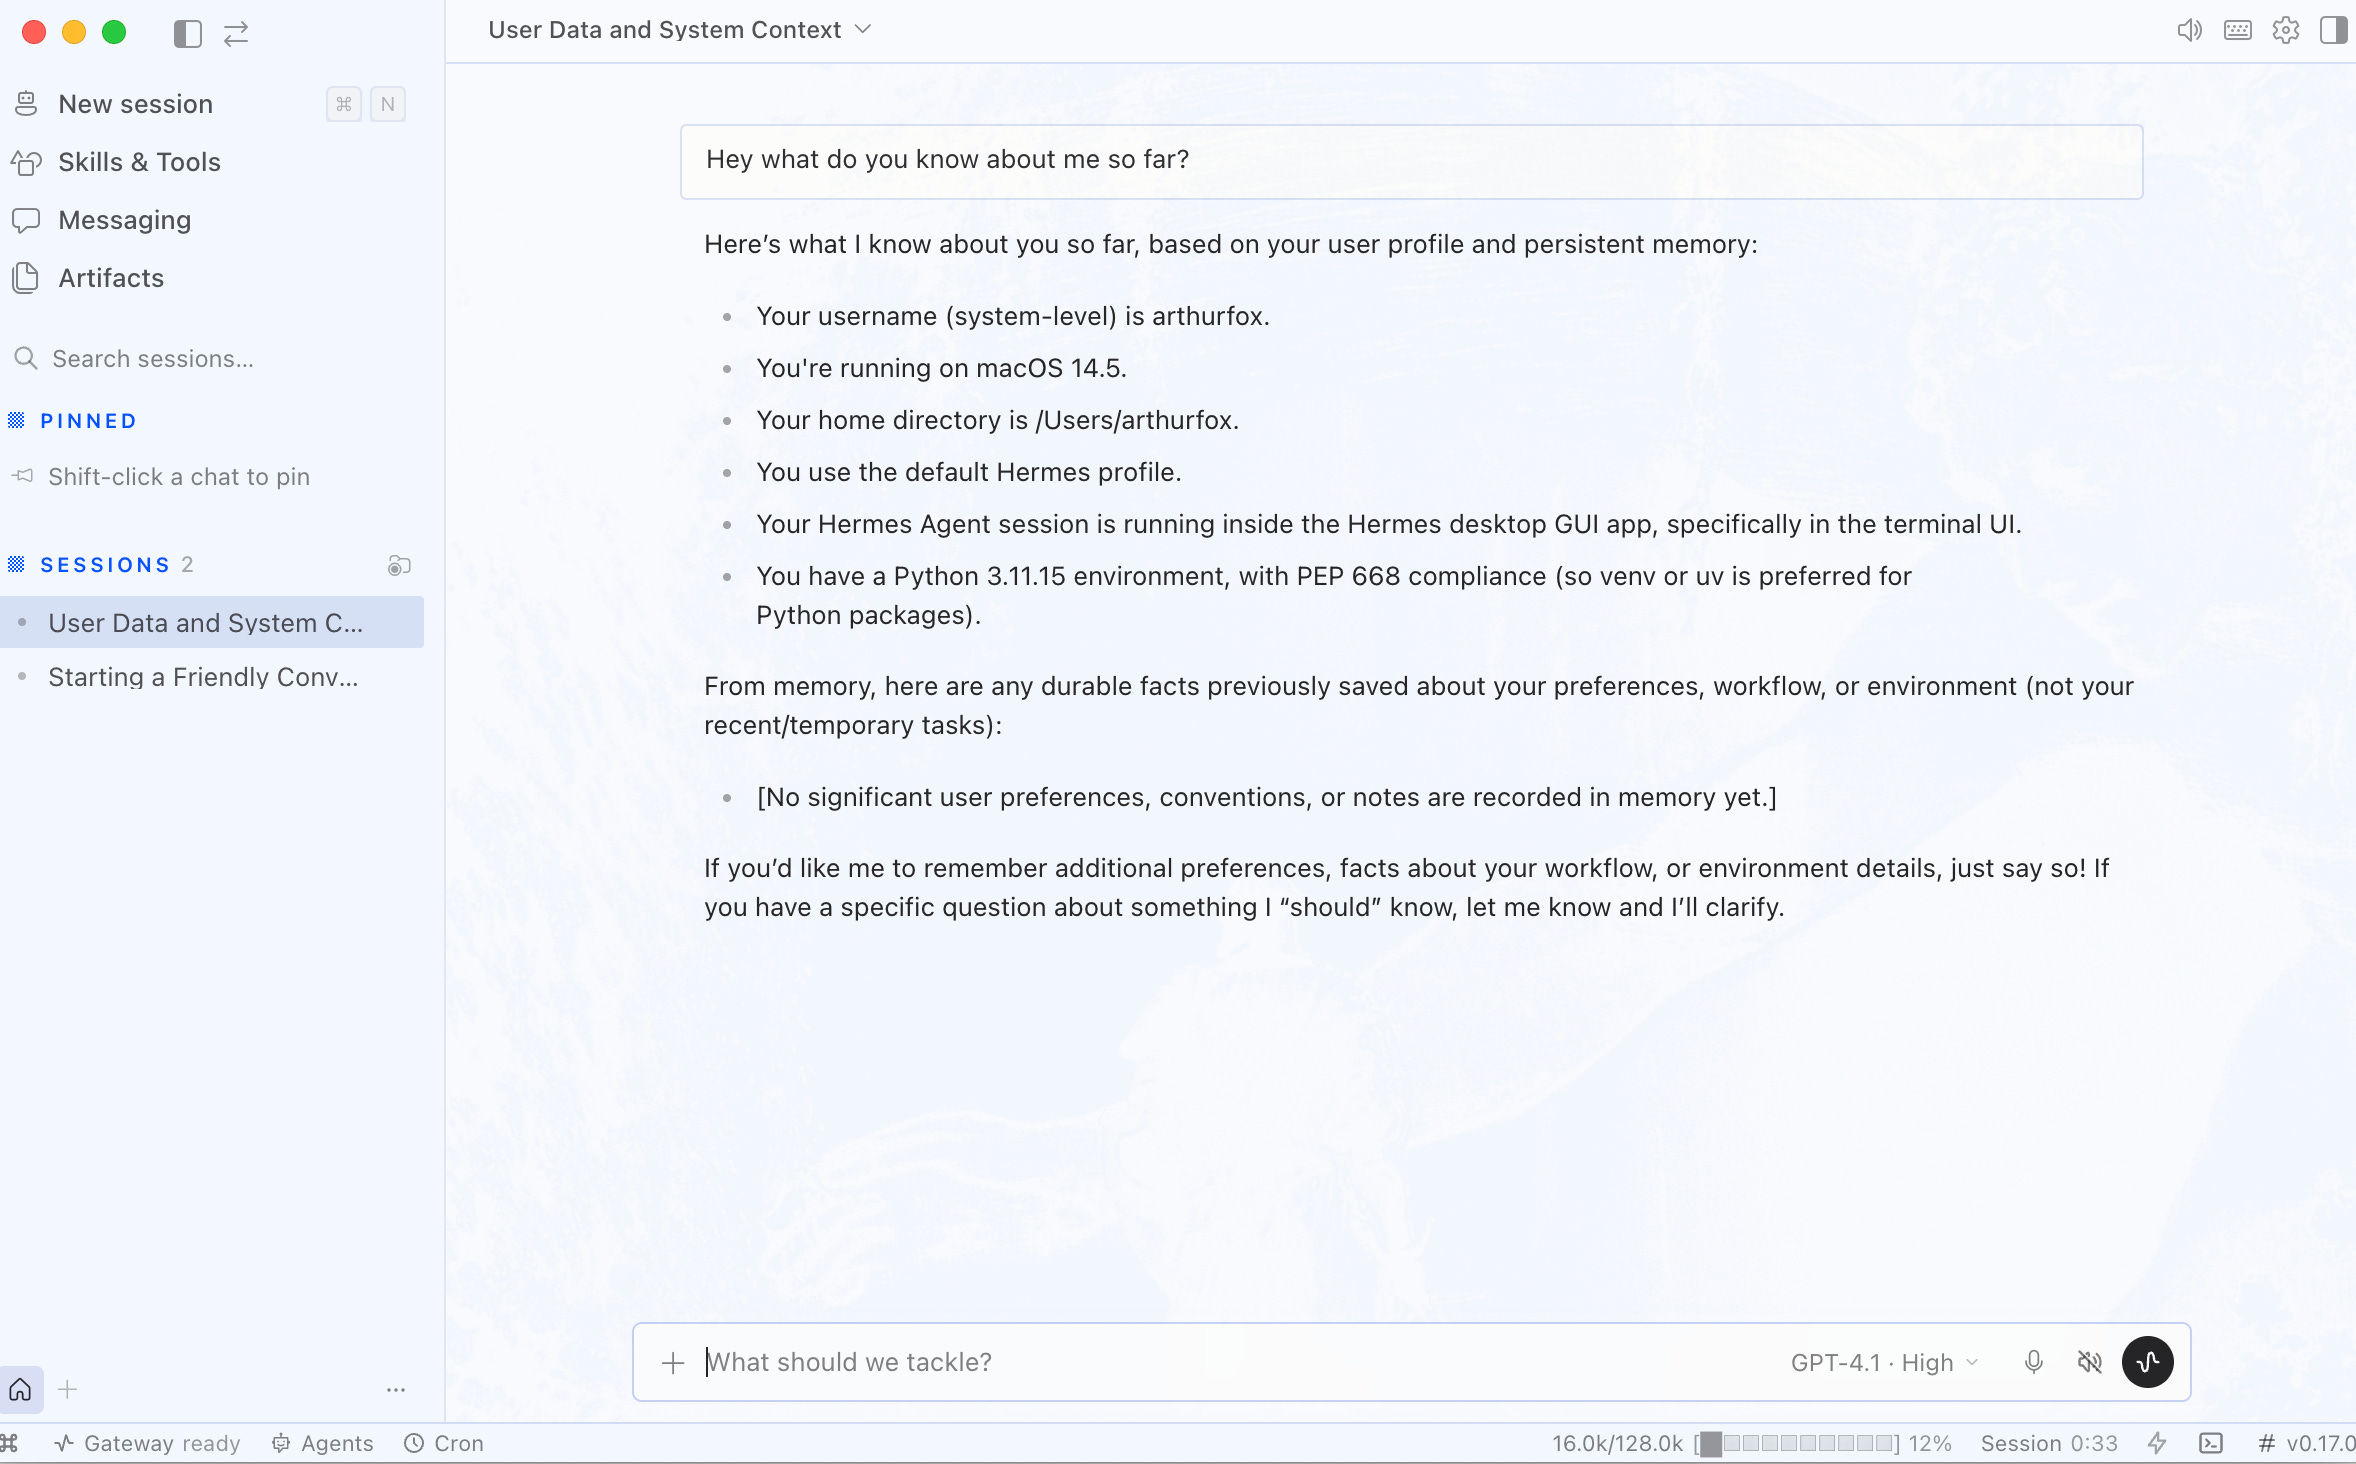
Your agent begins as a blank slate so I highly recommend you start by teaching it more about yourself, your goals, and what you want your agent to help you with. This early context is fundamental to get the most out of your own personal AI assistant.
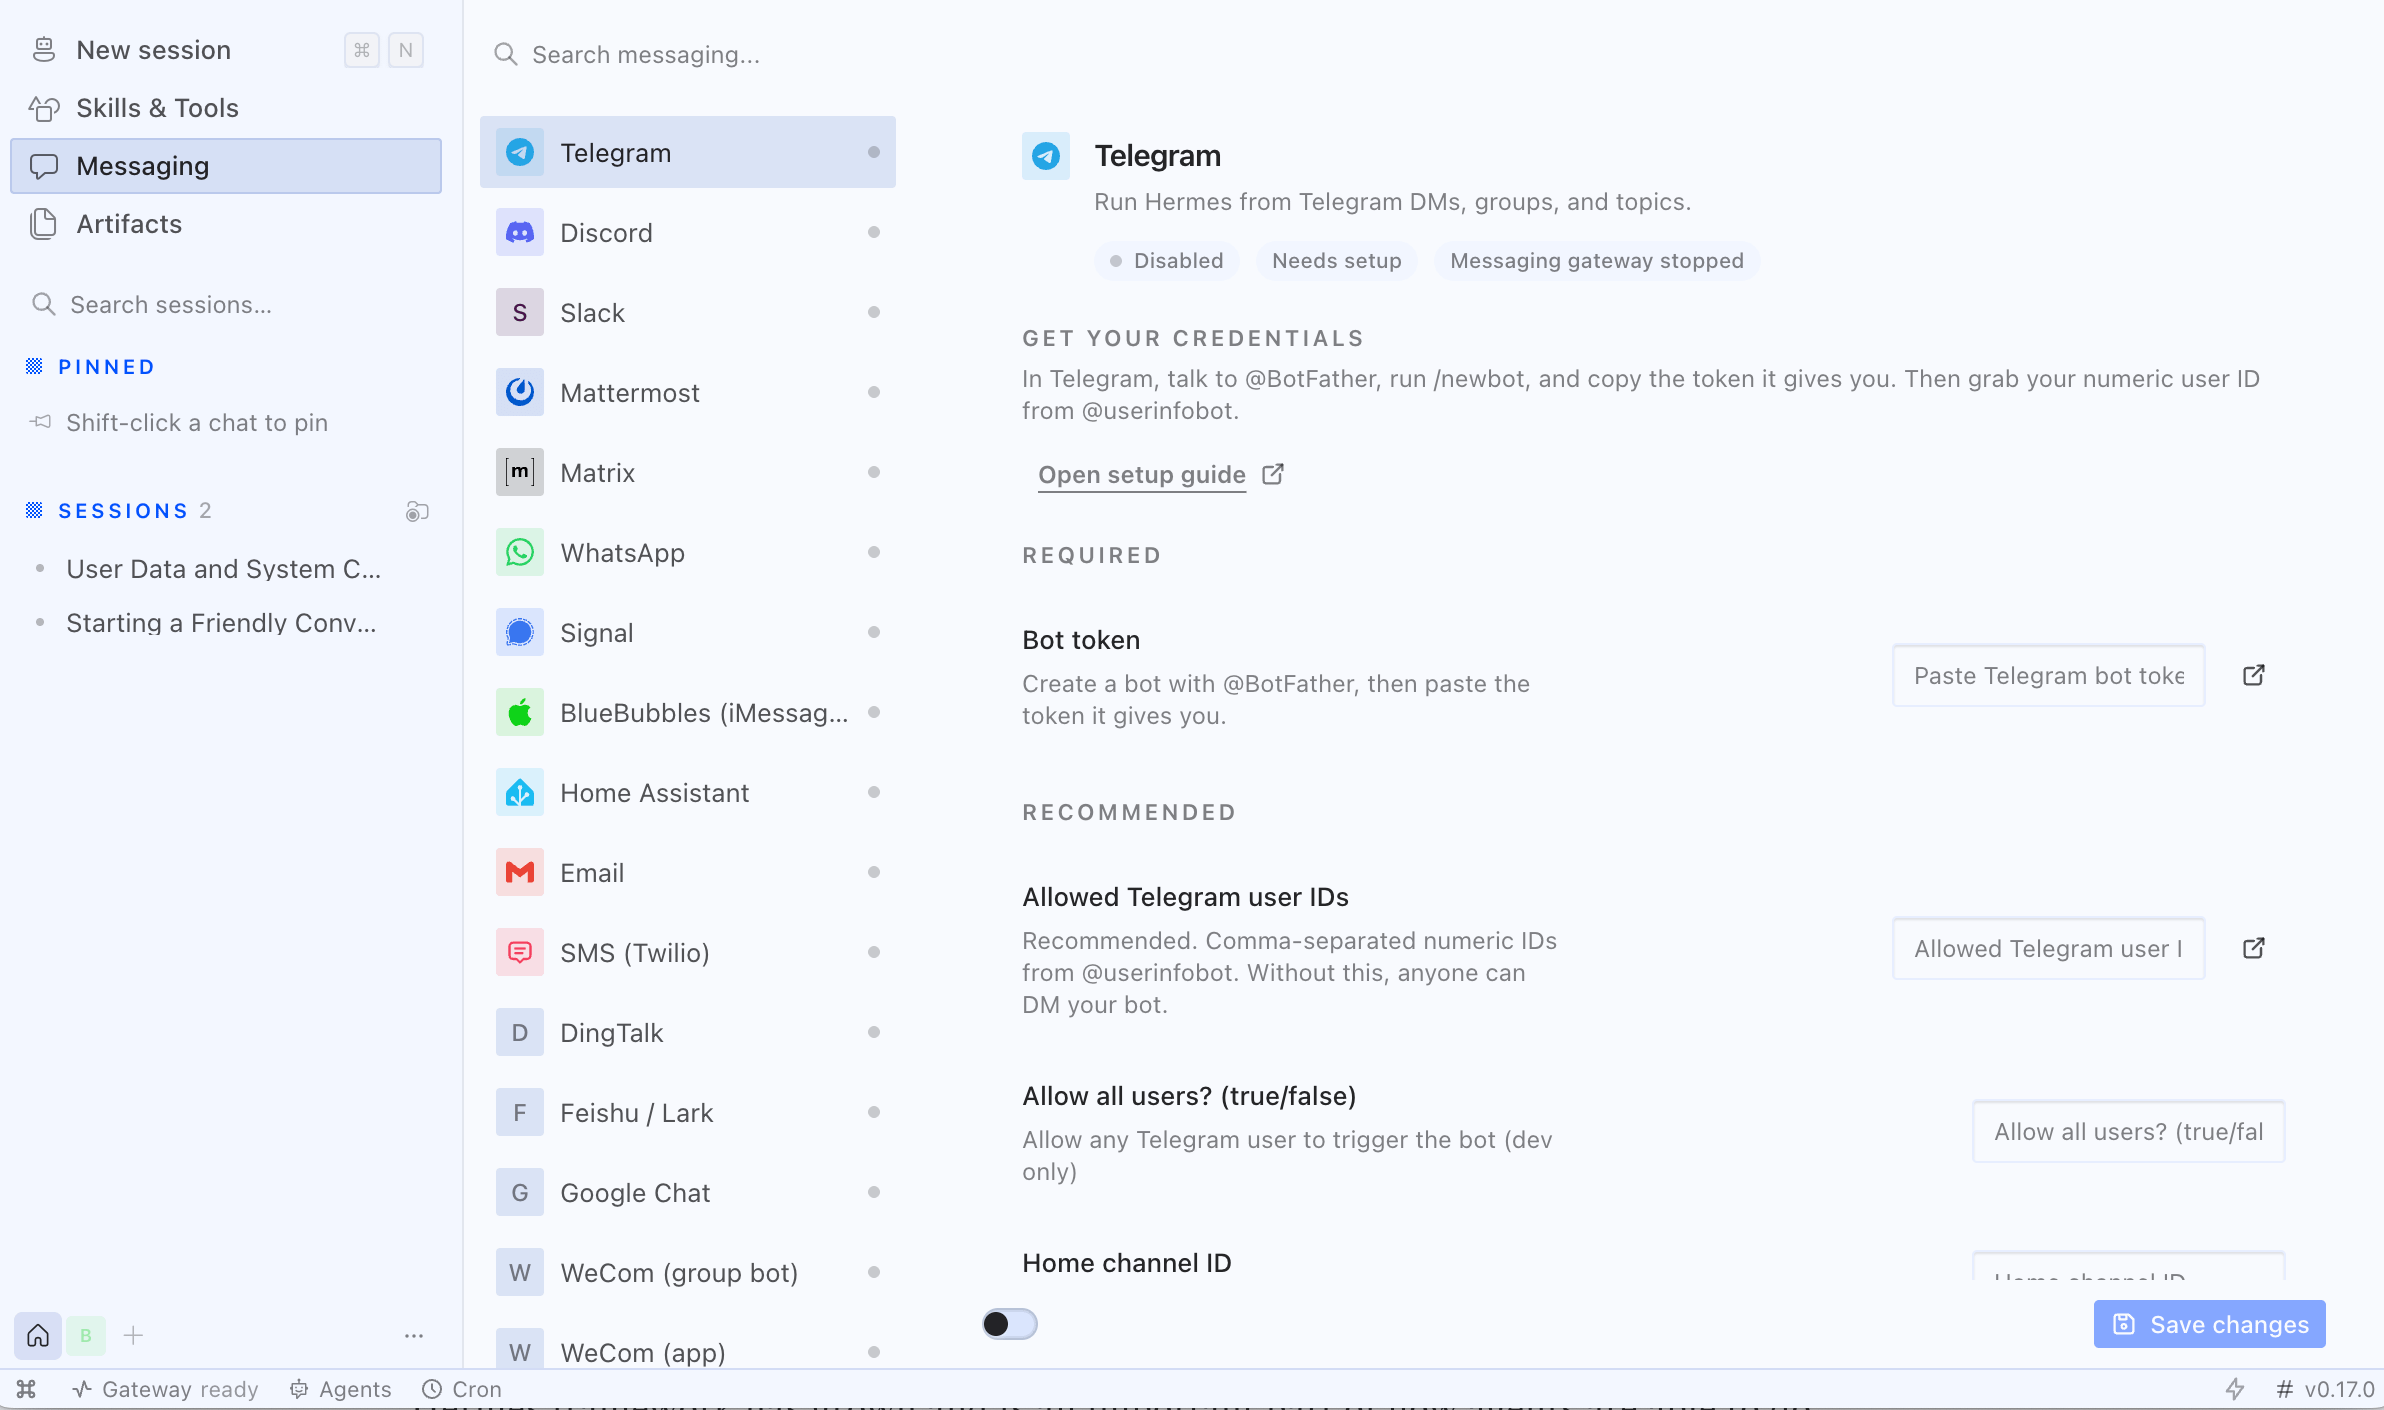
Your Hermes agent can browse the web, read and write files, run code, schedule recurring tasks, and communicate via Telegram, Discord, Slack, and other messaging apps. By selecting “messaging” on the left side you’ll see that there’s a wide variety of apps that you can use to communicate with your agent through.
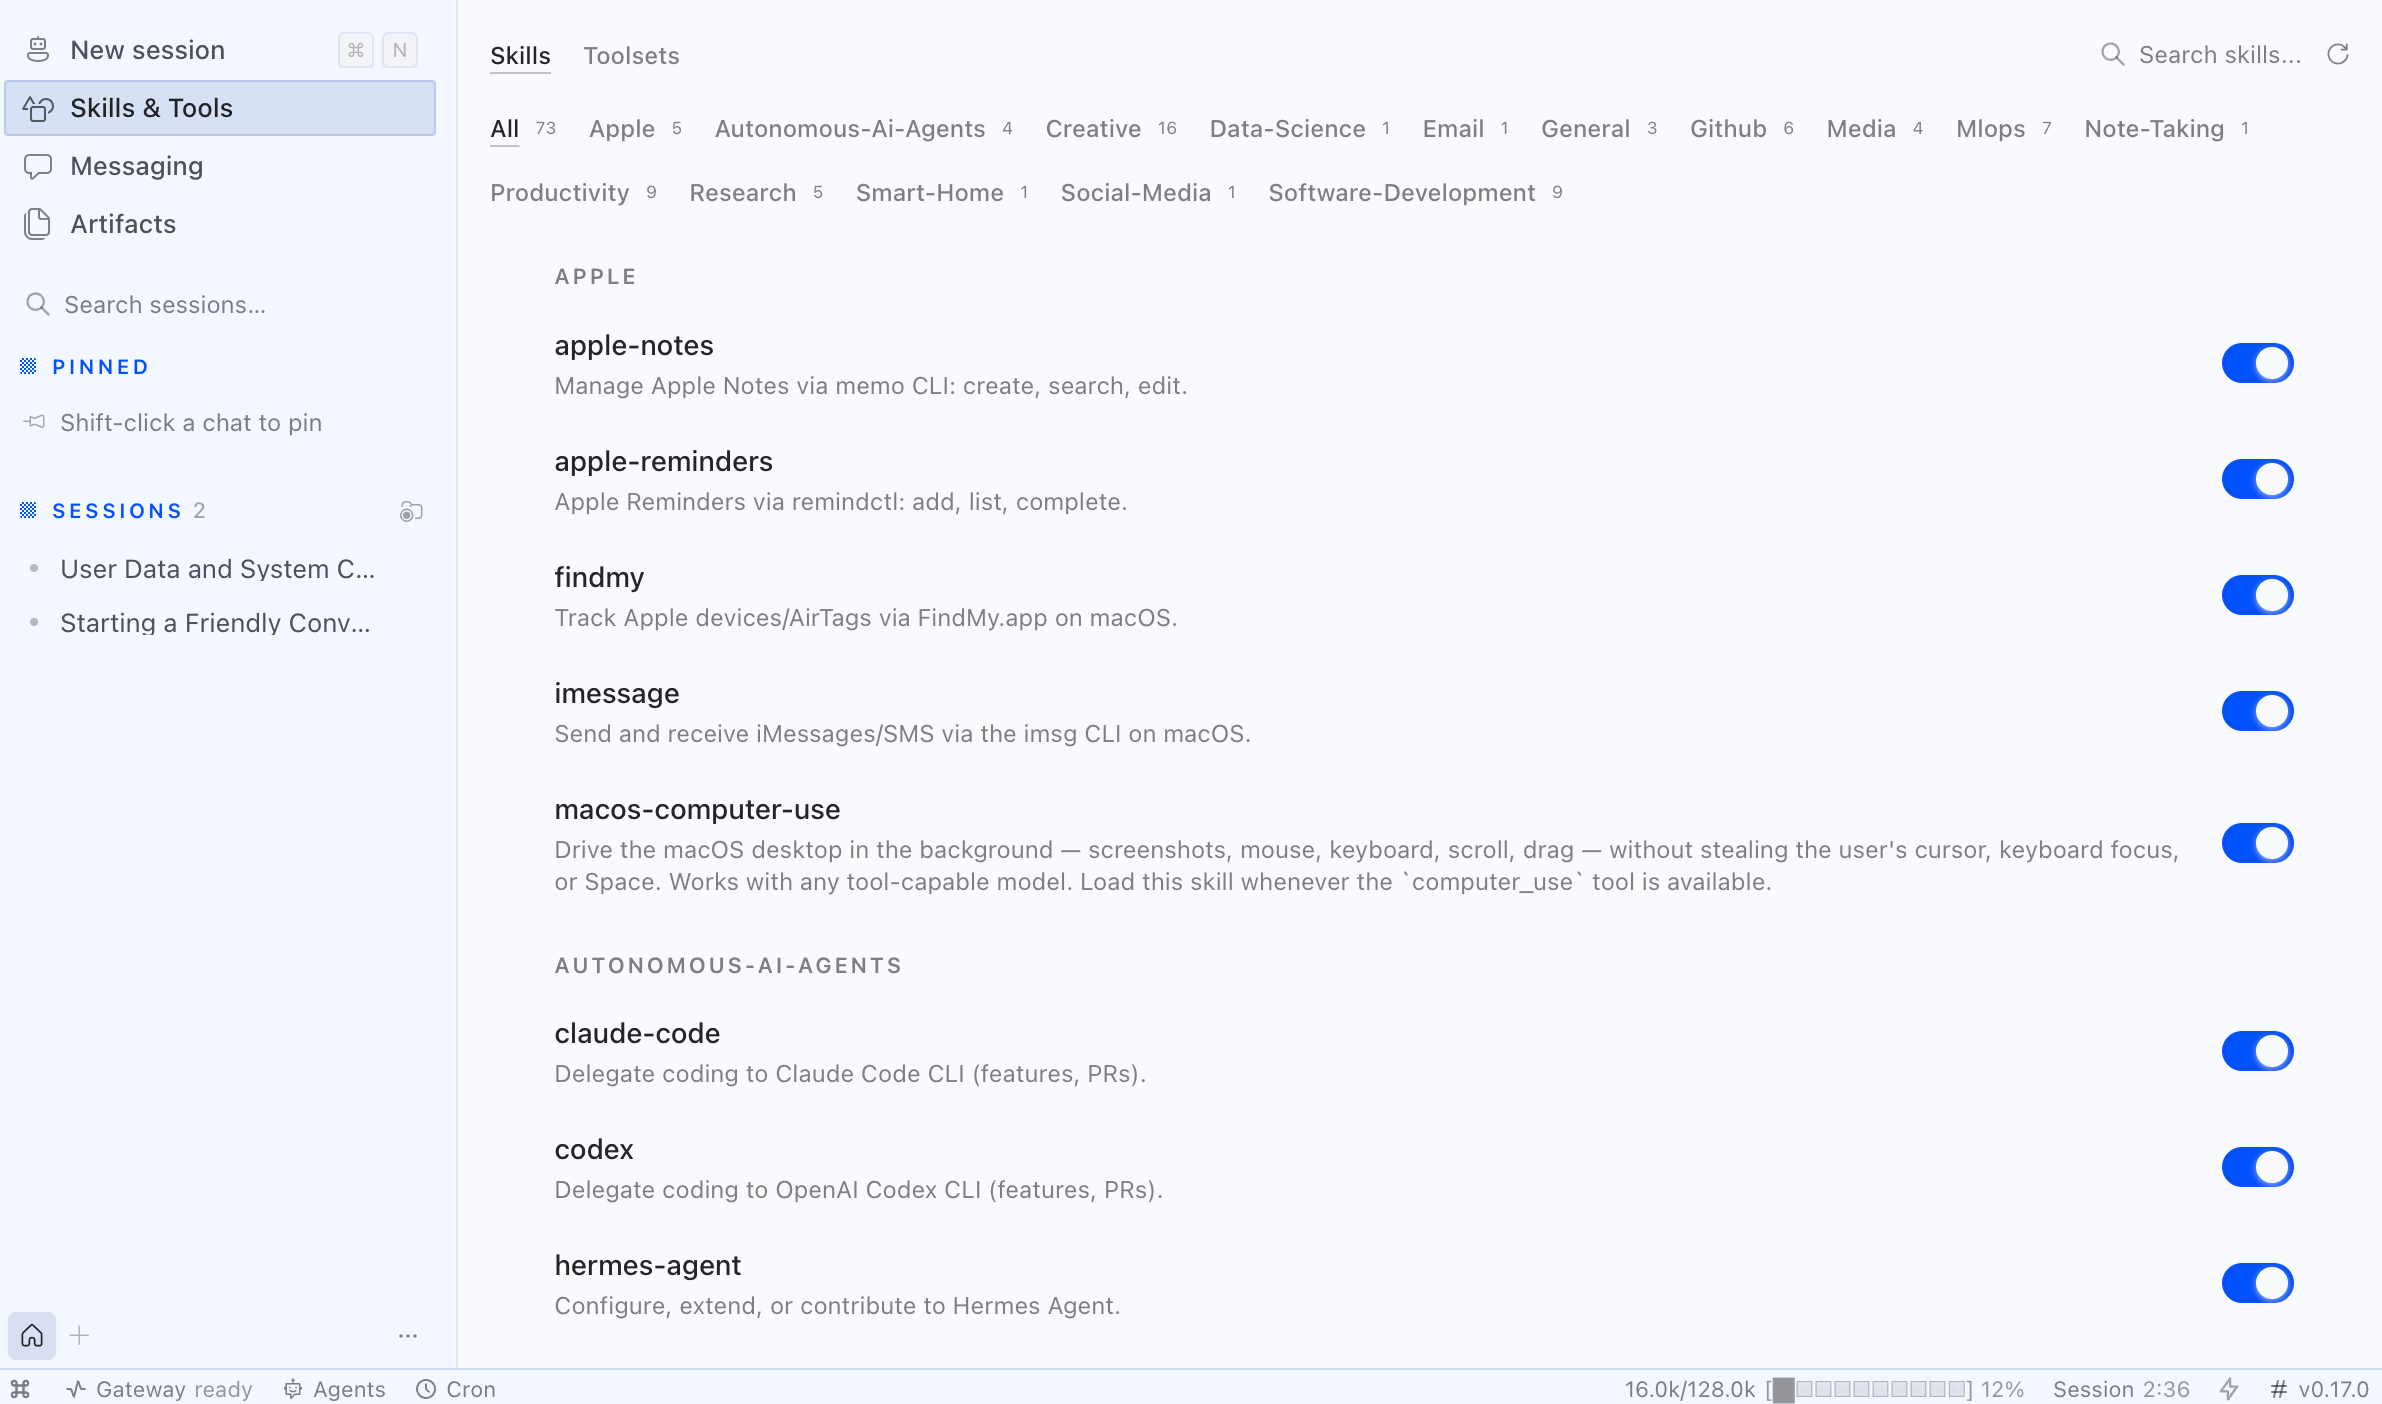
If you select “Skills & Tools” you’ll be able to navigate a range of pre-built skills and configurations that your agent can use too. These have been growing over time as the Hermes framework has continued to evolve and represent a large library of extensions to your agent’s capabilities that you can toggle on and off.
One of the most powerful features of the Hermes app though are its “Profiles”, which act almost like entirely separate agents within your machine.
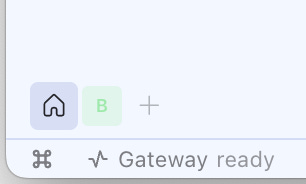
By pressing the “+” button on the bottom-left you get a pop out view that allows you to create a “new profile” essentially creating an entirely separate agent to the current one you have.

The app allows you to have as many profiles as you want, and flicking between them is as simple as selecting either button at the bottom. Each profile has it’s own context, memory, and personality, so as I said above it’s like jumping between different agents.
As you can see there’s a lot available with the Hermes desktop app. However, one key limitation with this setup is that if you switch off your computer then the agent stops!Scheduled tasks pause and nothing runs while the machine is off.
For many use cases that’s completely fine. But if you want a true always-on agent, you need it running on a machine that never switches off.
Always-on agent
Hermes Desktop allows you to connect to a remote backend, which means you can run the agent on any machine you point it at, and your laptop becomes the interface.
To do this you can use a separate computer you have at home, for example you can use a Mac Mini which has become an incredibly popular. However for this tutorial we’ll use a VPS (Virtual Private Server), which is essentially just a computer in the cloud.
You don’t need anything powerful, any Linux server with 1GB of RAM is enough, for this setup Vultr starts at around $5/month and DigitalOcean at $4/month. To avoid making this post too long I recommend either looking back at my OpenClaw post on how to set up your own Digital Ocean VPS, or you can get one on Vultr here.
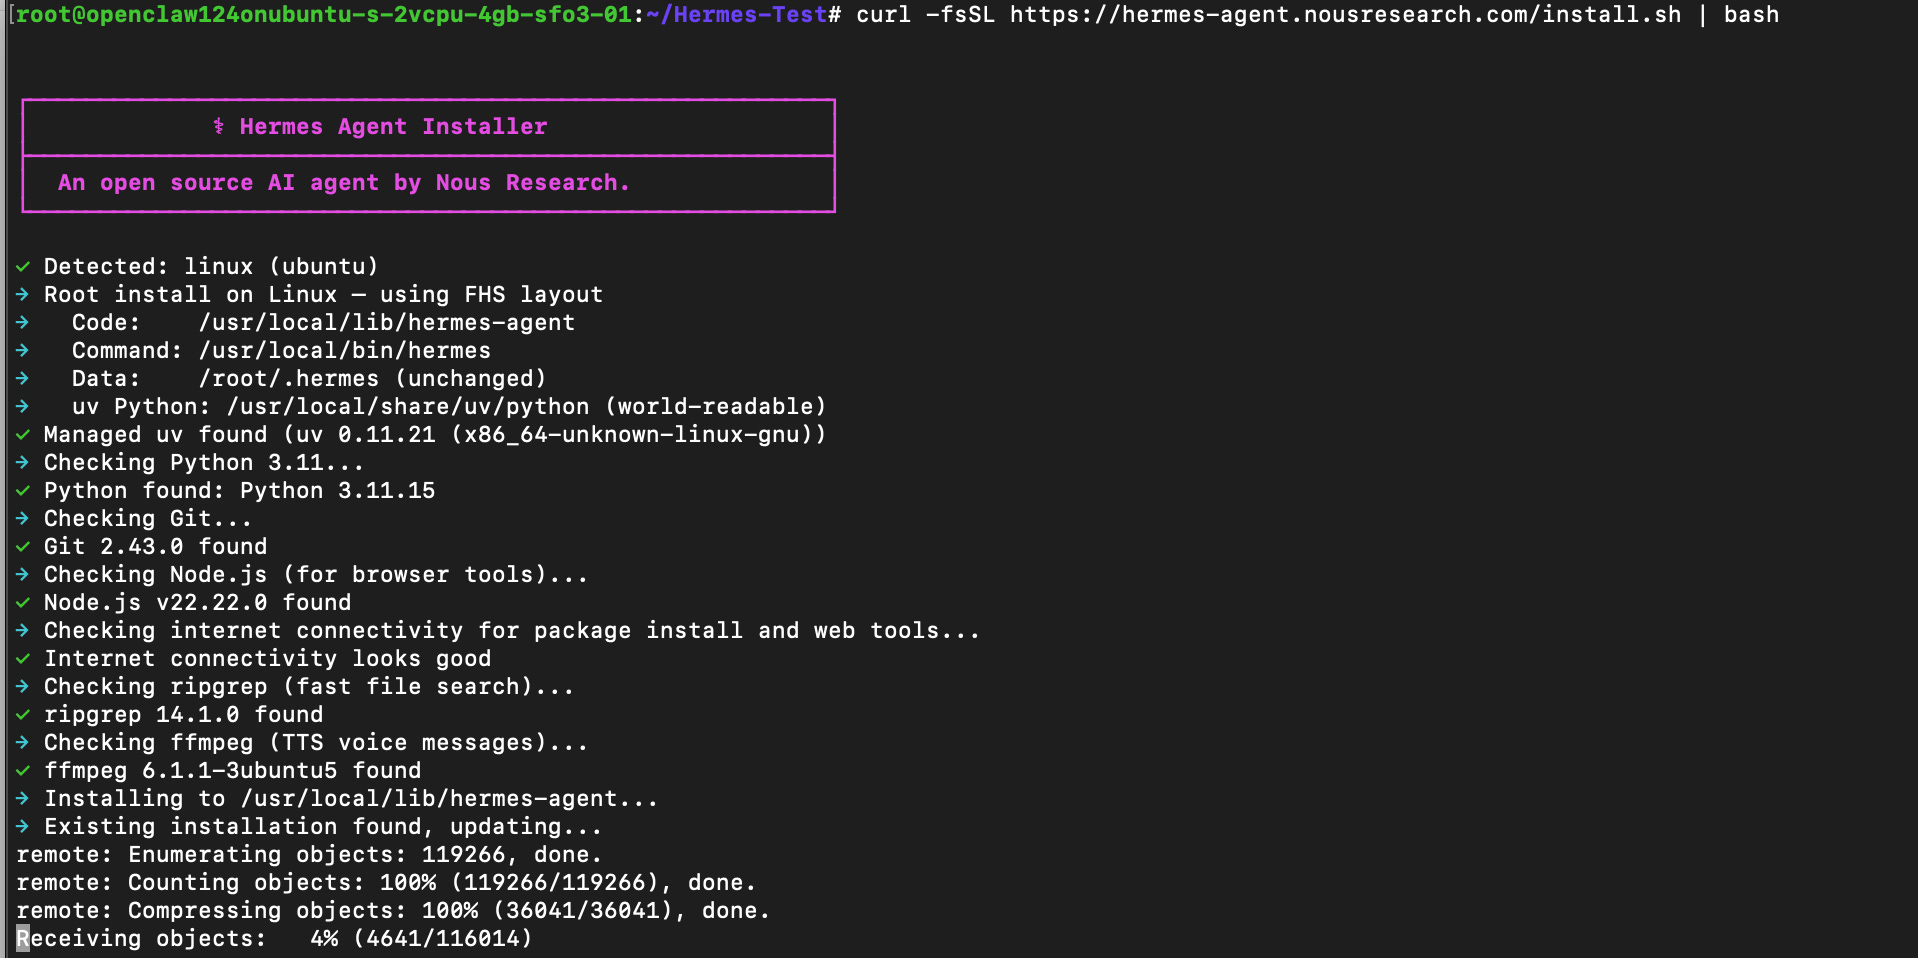
Once your VPS is ready, you can install Hermes on it with following the command:
curl -fsSL https://hermes-agent.nousresearch.com/install.sh | bash
Once installation is complete it’ll ask you to connect your API key, once again I went with OpenAI here.
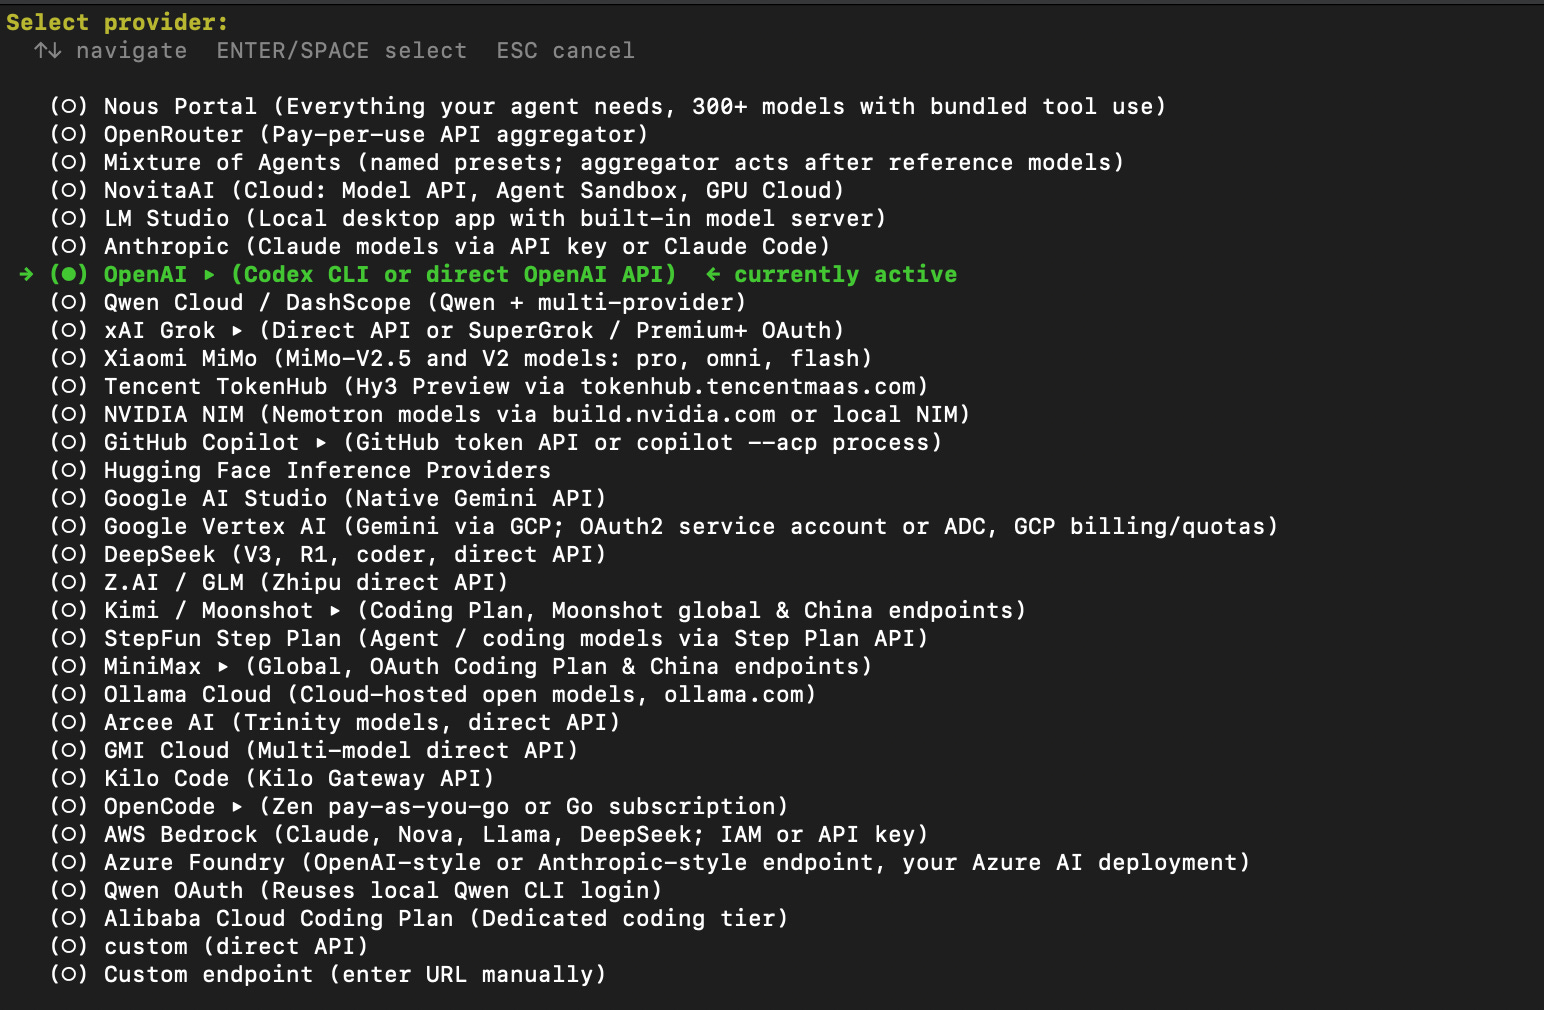
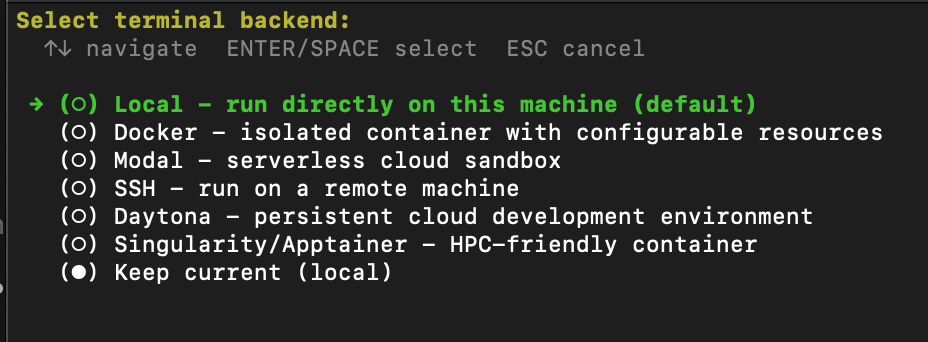
You’ll be asked to select the model during the setup, and then whether to run it locally. In both cases just hit Enter to continue with the defaults.
After the setup is complete you’ll see the following below.
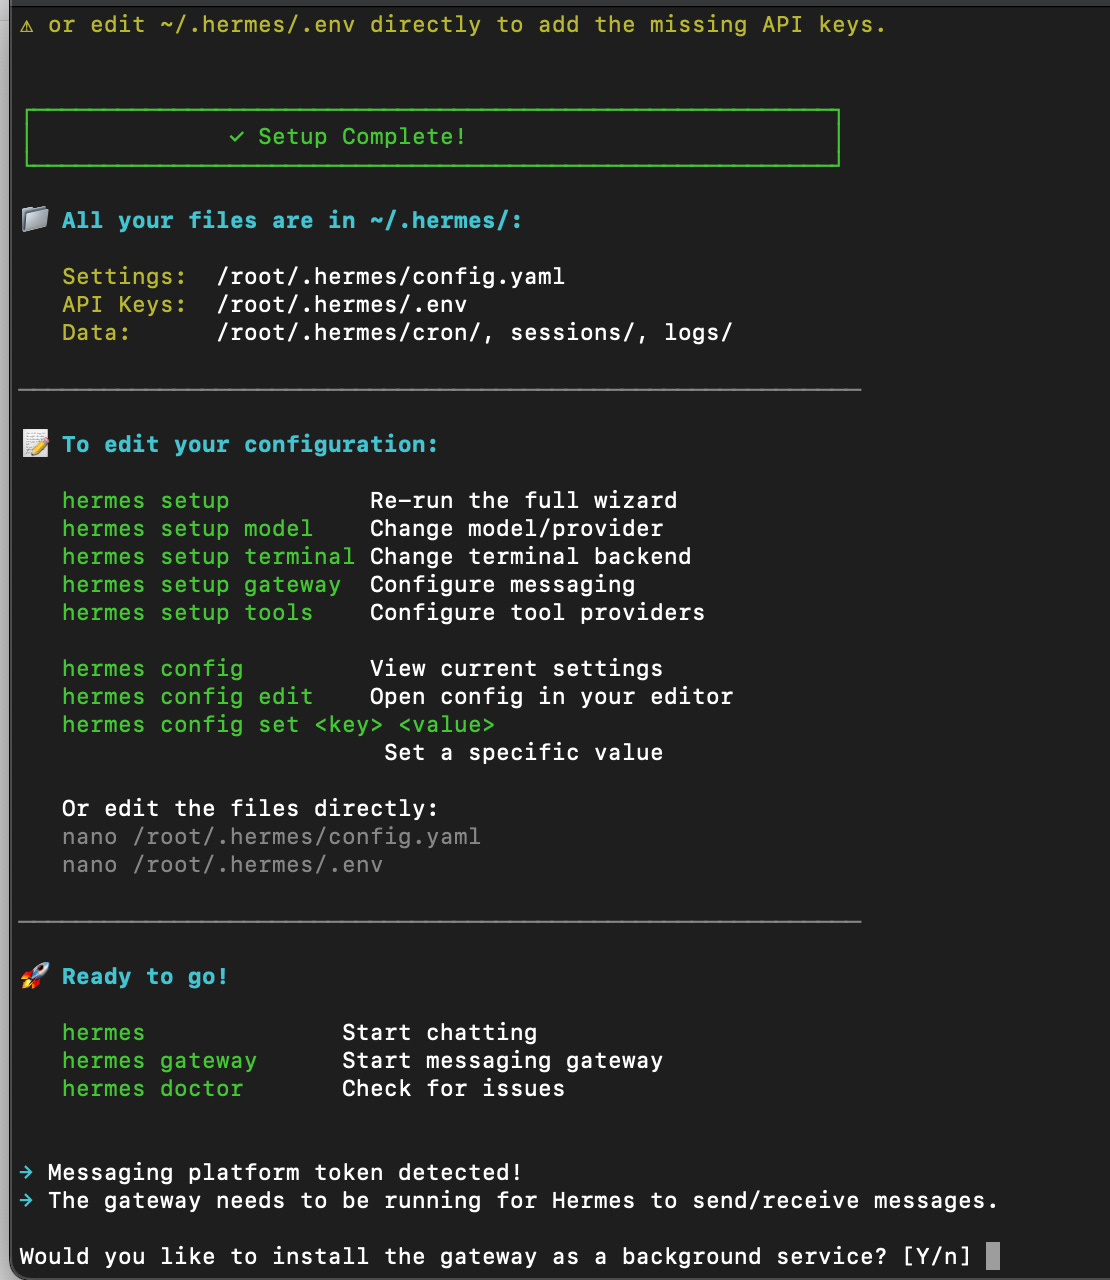
Here you should type “y” and hit Enter so that it installs the gateway service, which is an important step.

Now you’ll want to run the command below to have the agent kick off a setup that you can connect to remotely.
hermes dashboard --no-open --host 0.0.0.0 --port 9119
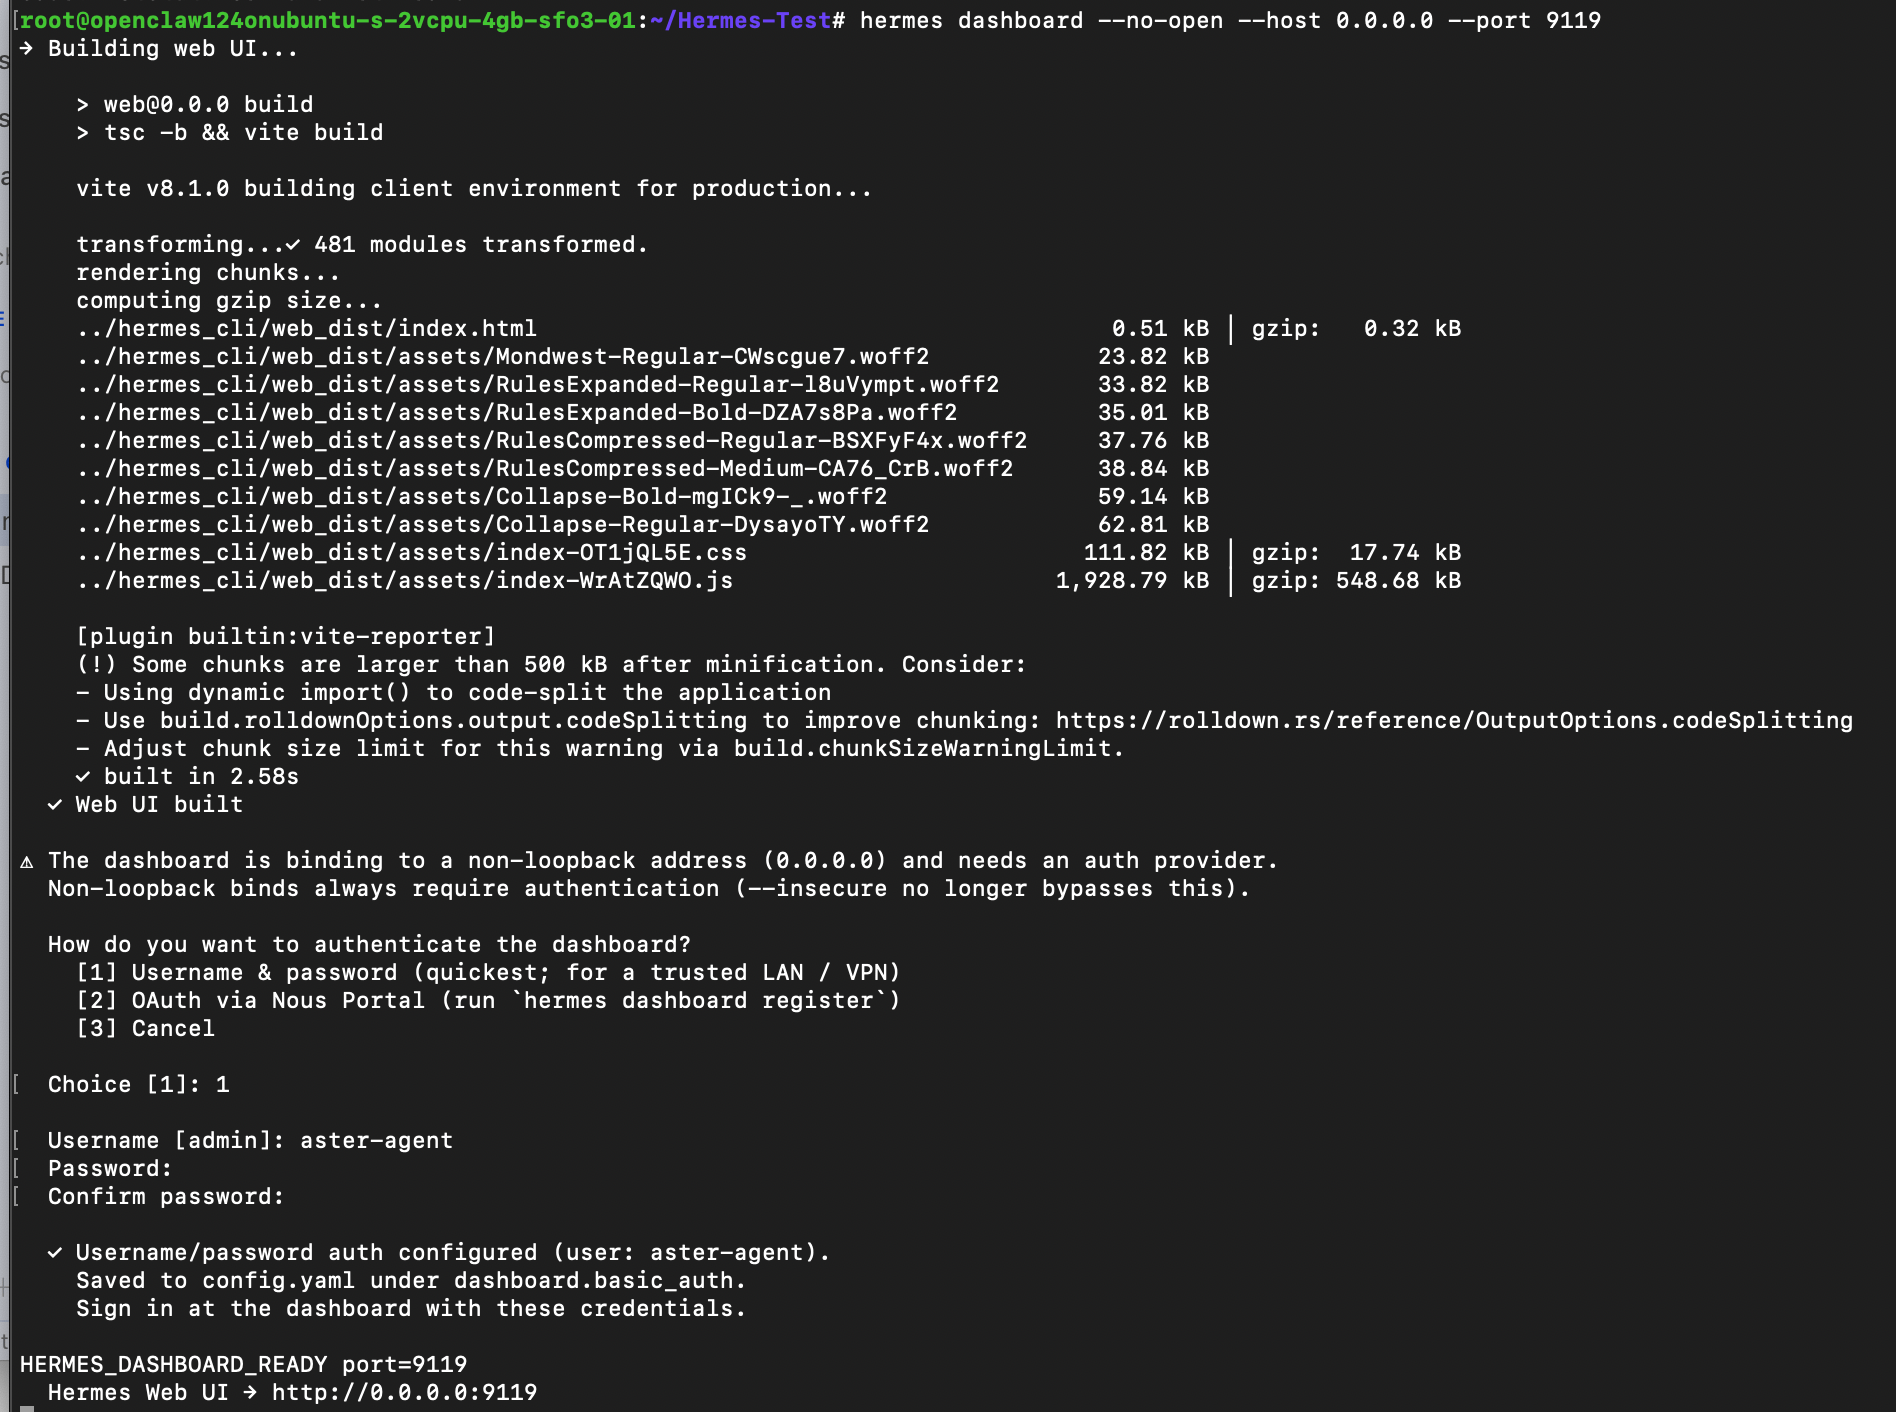
It’ll ask you to create a username and password in the process as you can see at the bottom of this screenshot above.
To keep it running after you log out you can set it up as a systemd service so it starts automatically on boot, or run the command with “tmux”:
tmux new -d -s hermes-dashboard ‘hermes dashboard --no-open --host 0.0.0.0 --port 9119’
With all that done you can go back to your Hermes desktop app, go into the systems settings, and select “Gateway” with “Remote gateway”. Then where it says “Remote URL” you can copy and paste http://<your-vps-ip>:9119 as the Remote URL. Note that I’ve purposefully I’ve hidden my IP so that nobody can target my VPS.
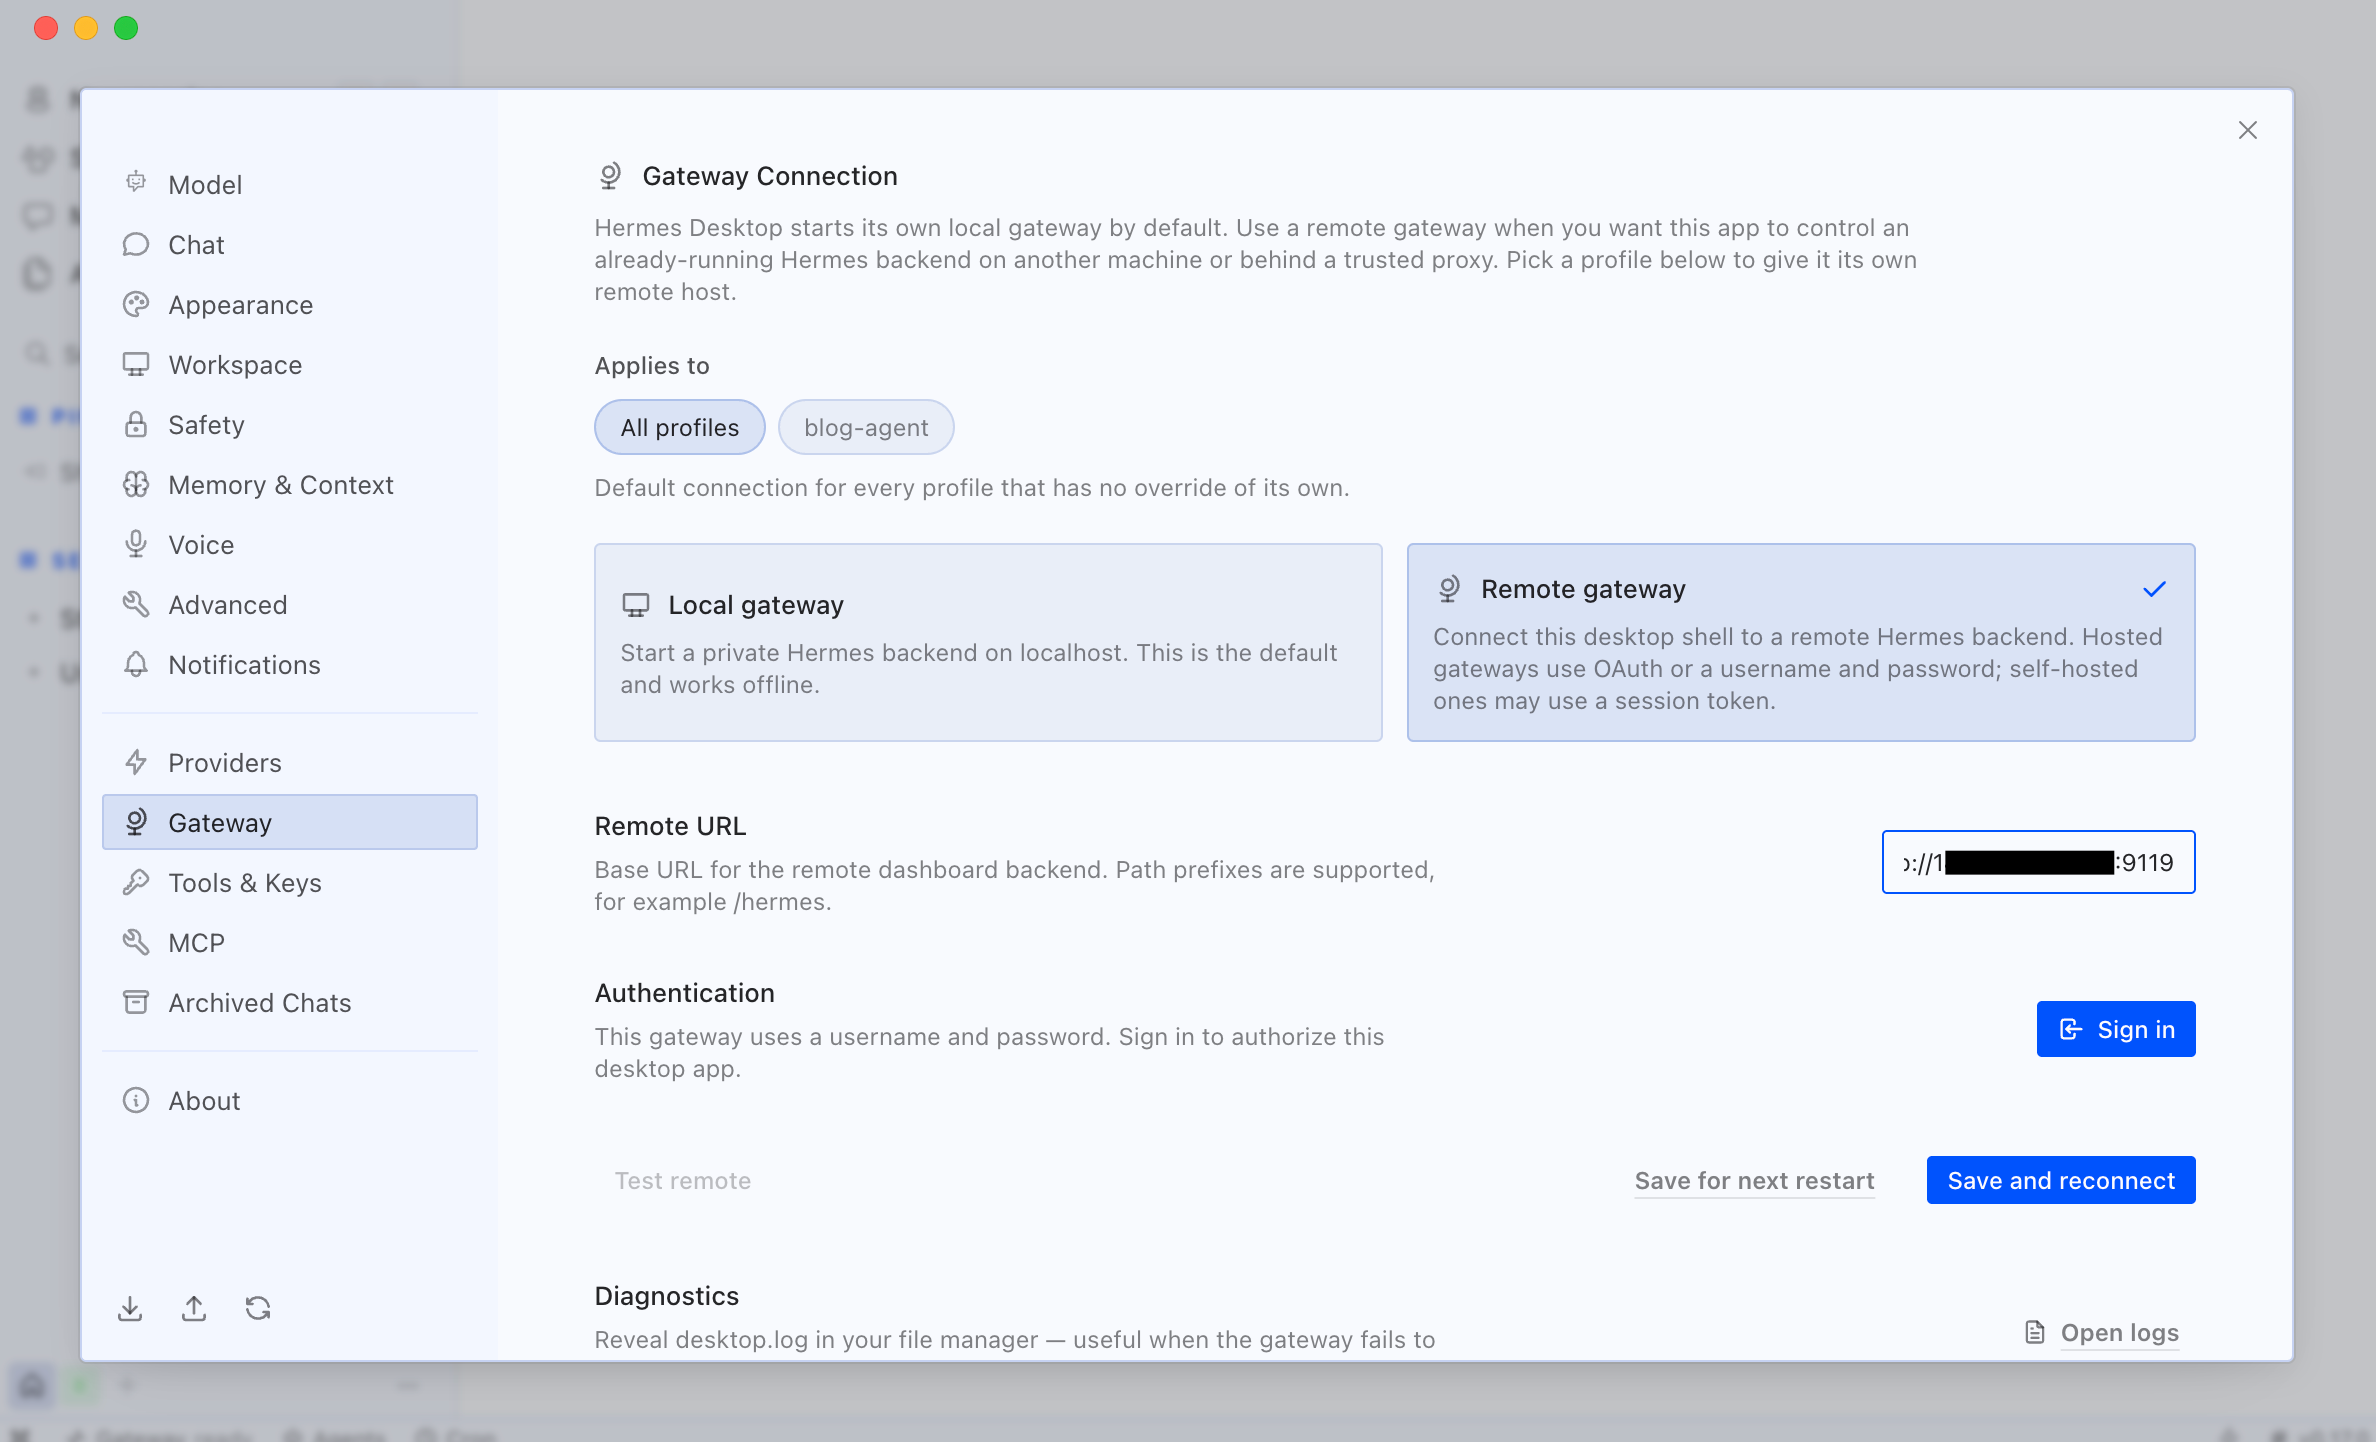
Now hit the blue “Sign In” button, enter the username and password you just set, so the desktop app connects to the remote backend and you’re done!
From this point your agent is running on the VPS! You can communicate with your agent from the Hermes desktop app and it will run scheduled tasks for you whether your computer is on or off. If you do turn your computer off then just switch it on again and it reconnects to the same running agent.
OpenClaw or Hermes
Having used both OpenClaw and Hermes for a while the honest verdict is that they’re both good and whichever one you choose will be a good choice.
OpenClaw has the larger community and the messaging-app setup has real advantages once it’s running. I’ve grown fond of my agent being available on Telegram whenever I need help.
However, where Hermes wins is the desktop experience. The native app is polished in a way that OpenClaw’s web dashboard isn’t, and the way in which Hermes keeps generating new skills along the way gives me the impression that it’s learning how to solve problems more effectively.
One other thing I’ve noticed is that OpenClaw has disconnected on me a few times, especially when updating forcing me to restart the gateway. Meanwhile with Hermes I haven’t had that happen yet, it just seems to stay up and running the whole time.
I’m a big believer in this agentic future, so much so that my cofounder and I are building our own agents within the crypto space with Yieldseeker. We’ve started with agents that automatically find and manage the best yield opportunities on Base, and are working on more DeFi capabilities to come.
To summarise though, if you’re already running OpenClaw and it’s working well, you probably don’t need to switch. But if you’re coming to this fresh, or if you’ve found OpenClaw’s terminal-heavy setup off-putting, then Hermes with their desktop app is probably the easier starting point and the best choice between the two.

Whenever you’re ready, these are the main ways I can help you:
Want high crypto returns? Earn up to 14% APY with your own Yieldseeker agent!
Love Web3 & AI? Follow @afoxinweb3 on X for insights!
Entrepreneur using AI? Join our AI community to accelerate your results!