Setup a Safe multisig in 4 minutes
Multisigs are one of the safest ways to protect your assets in Web3
TLDR:
Multisigs are special accounts that require several keys to sign for transactions.
Safe is the most popular multisig solution for the EVM ecosystem. It creates a multisig smart contract for you with an easy setup and UX to use it.
Follow below to learn how to setup your own Safe multisig in just 4 minutes, and how to transact from that multisig.
Multisigs are one of the safest ways to store assets in Web3. They are great for high value, slow moving assets, so keep safe by learning how to use them!
I’ve discussed several different topics these past few weeks, and this week will be no different as I move into the realm of Web3 safety by looking at Safe multisigs.
In Web3 we can be our own bank, which is both liberating and a big responsibility. Knowing how to custody your own assets is challenging and honestly it takes time for people to figure out the best setup for themselves.
One of my earlier posts this year discussed Web3 Security 101 and mentioned the importance of multisigs for high value assets. However, I hadn’t explained how to create your own multisig in any of my posts so far, so we’ll focus on that today!
What’s a Multisig?
Firstly, we need to understand what a Multisig is, the word itself is an abbreviation of the words “multiple signatures”. In Web3 we hold keys to our assets, not the assets themselves, and to move the assets we need to sign transactions with these keys.
Addresses are typically created as a mapping from our keys, meaning that an address generally has one key associated with it that’s used to sign. However with a multisig you need “multiple” keys to provide their “signatures”, hence “multi” “sig”!
Most common multisig setups are “N-of-M”, meaning you need N keys to sign from the pool of M owners, where M >= N. For example a very common setup is a 2-of-3 multisig, meaning there are 3 keys but you only need 2 to successfully sign a transaction.
In the EVM world, to create a multisig you need to create a smart contract in such a way that it will only execute a transaction when its received enough signatures.
Safe
Safe (previously called Gnosis Safe) was launched in 2018 by its parent company Gnosis as part of its broader suite of Ethereum and EVM products. It was created to make multisigs more user-friendly than what was available on the market.
Today, Safe has become the most well known and used multisig in the EVM ecosystem. It’s used by many DAOs and other Web3 organisations as a comprehensive asset management solution for their treasury.
Safe secures over $50 billion of assets on 12+ EVM compatible chains from Ethereum, to Optimism, Polygon, Arbitrum, Binance Smart Chain, and more.
The beauty of Safe is the easy setup and UX for using it. Users get a multi-sig smart contract that’s easily controlled from the Safe web UI. Below I’ll show you this by running through how to set up a Safe multisig and transact from it.
Create new Safe Account
Start by opening safe.global and selecting “Launch Wallet” to open the web app.
Hit the “Connect Wallet” button on the left and connect with your favourite wallet.
This will make the “Create new Account” button become active and you can select it to kick off the setup process.
Select Network and Name
You’ll start by choosing the account name and network. For this tutorial I chose to use Polygon since the gas fees are so low and called my account “test-polygon-safe”.
On choosing the network you can see just how many different networks Safe supports.
By selecting anything other than Ethereum a warning will appear to change the wallet’s network, here below you see it says “Switch to Polygon”.
Owners and Confirmations
Next you must setup the different owners and the number of signers needed. You can select “+ Add new owner” and add as many different accounts as you want.
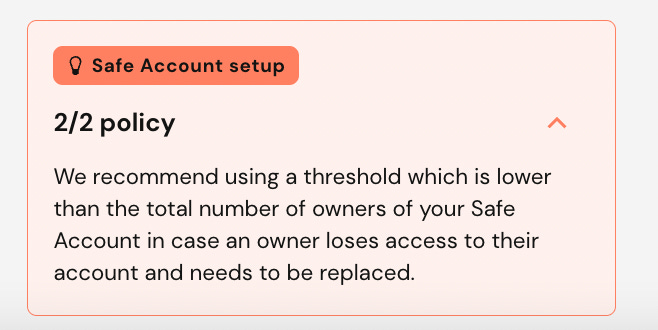
Note that a warning appears at the bottom right when it believes that the setup is ineffective. For example 1/1, 2/2, 3/3, etc, are not great because if one key gets lost then the multisig will be unusable forever. Similarly, 1/3, 1/4, etc, are not great either because if just one wallet is hacked then the multisig can be drained.
For this tutorial I created two new accounts in Metamask and added them as the owners, and put the threshold to 2/3, making this a 2-of-3 multisig!
Review
Finally, review the settings and hit next to create the Safe Account. As you can see the details below clearly show 3 different owner wallets with a 2-of-3 signature threshold.
Hitting “Next” then asks you to sign a transaction to create the multisig.
Once the transaction goes through the multisig will be created!
Using the Safe Account
A Safe Account is a smart contract, not a normal account, so you cannot just import a key for it into Metamask, you need to interact with it through Safe’s own website. Your new Safe multisig will appear in “My Safe Accounts” on the safe web app.
Selecting it opens up the dashboard where you can interact with the multisig. To be able to test it I sent over 5 MATIC from my own wallet.
Selecting the “Assets” tab on the left shows the balance of 5 MATIC and its estimated USD value of $2.55, since MATIC was around $0.51 when I created this tutorial.
Selecting the “Transactions” tab on the left side also shows the history of transactions, displaying the multisig’s creation and the receiving of 5 MATIC.
New transaction from Safe Account
The “New Transaction” button allows us to send tokens or NFTs. We can also use Safe’s “transaction builder” but this is far more advanced so we’ll skip it for today.
Sending tokens is trivial, just select “Send Tokens” then write an address and amount. In this case I’m sending 1 MATIC out of the multisig.
Clicking “Next” simulates the transaction to check for any possible issues, and then you can select “Sign” to get a signature prompt from the connected wallet.
Having signed with 1 of the 3 owner keys, this transaction now appears in the Transaction panel showing that its waiting for a 2nd signature.
Now swap the account in Metamask for another owner account and the confirm button will become active as Safe recognises this account can be the second signer.
You’ll be asked if you want to execute the transaction immediately or just sign. You can either select “Yes, execute” or “No, later”.
The wallet that executes will also be the one paying the gas for the transaction. In my case the 2nd and 3rd owners had no MATIC in them. So I chose “No, later” then switched back to the 1st wallet to execute.
You do not have to execute immediately though, the transaction will just wait in the transaction list to be executed for as long as you want.
On “Execute” the transaction will be processed and eventually succeed and show up in the transaction history!
Using Apps
Safe allows you to do more complex transactions than just sending tokens and NFTs by allowing you to interact with dozens of different Web3 apps.
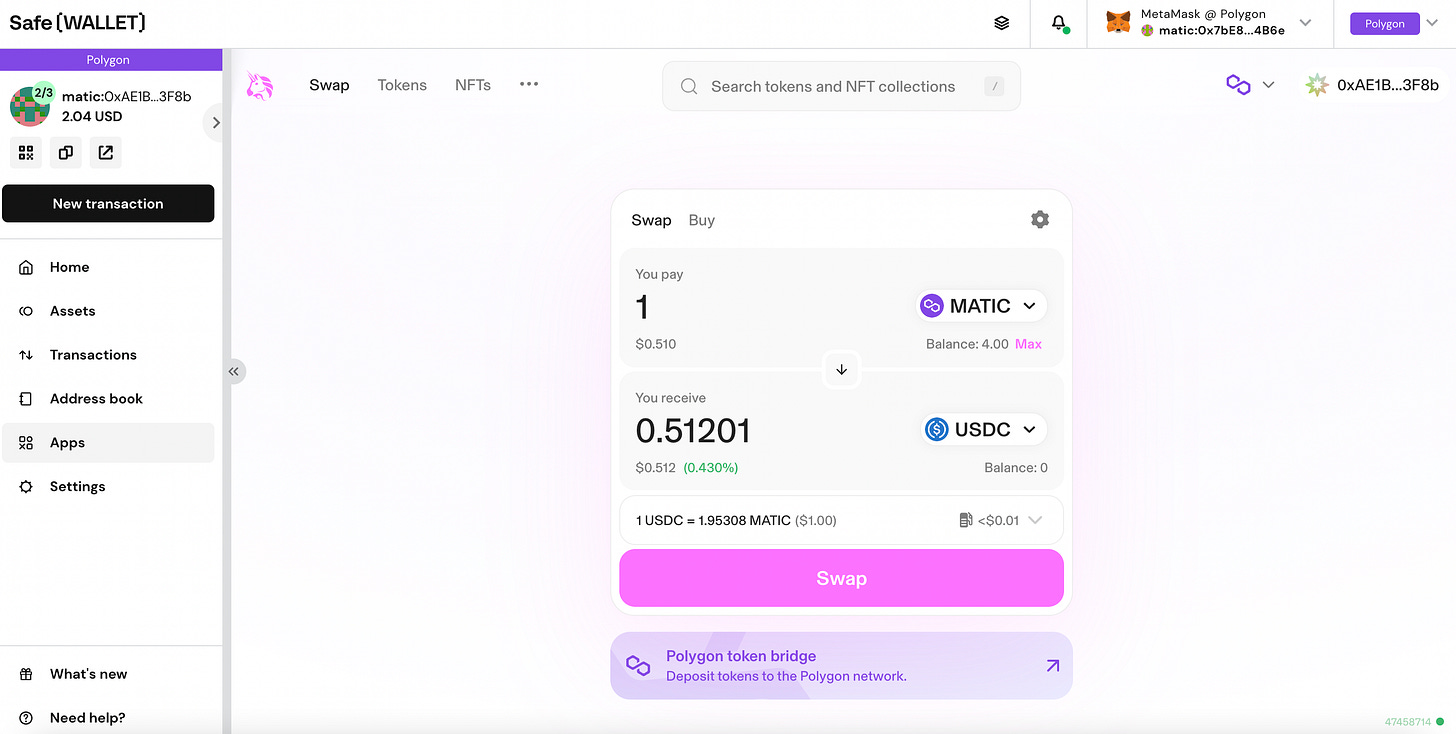
On selecting an app like Uniswap, the app will open up inside the Safe UI itself.
You can then kick off a swap on Uniswap and the rest of the transaction will work the same as before by appearing in the transaction history and requiring several signatures before it can execute.
Batched transactions
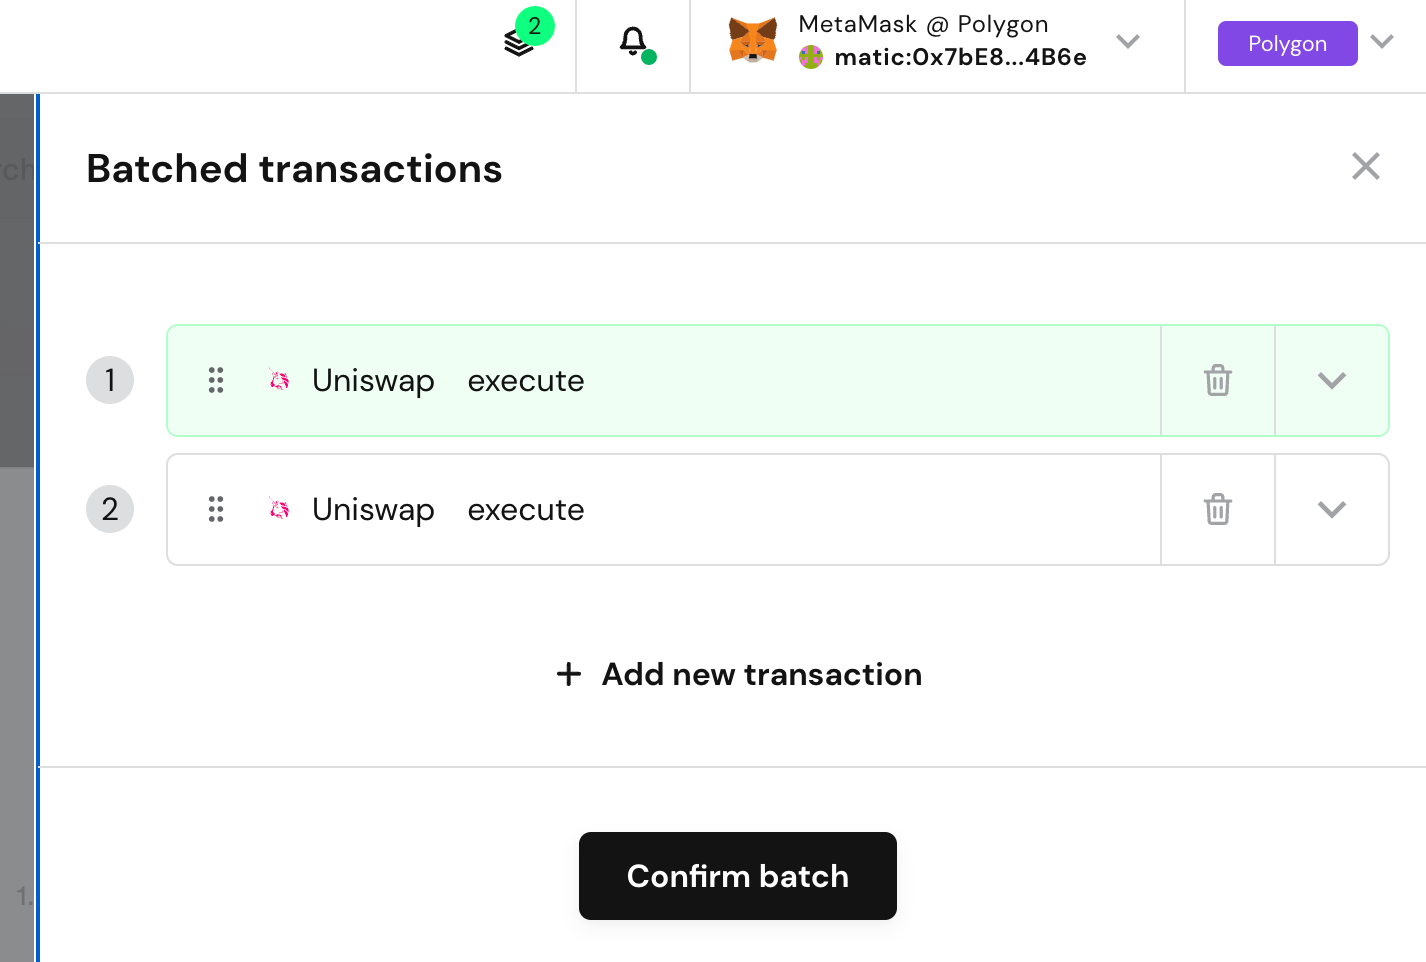
Safe also allows you to bactch up transactions. You can add a new transaction to a batch in the new transaction flow by selecting “Add to batch” instead of signing.
Batching transactions together is ideal if you want to do several transactions in one go without requiring a new signature for every single transaction.
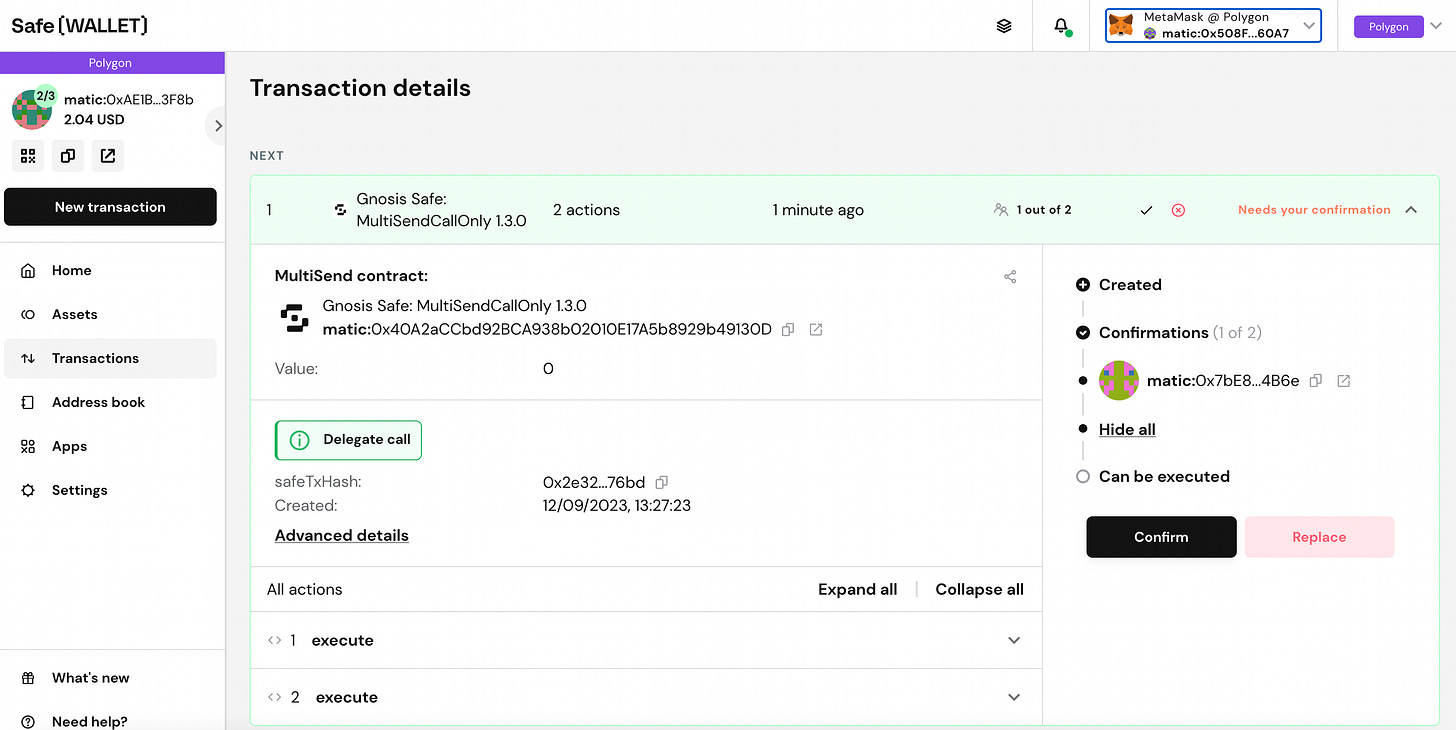
In this example I batched up two Uniswap transactions swapping 1 MATIC to USDC and USDT as shown below.
Once a batch has been created, the remaining flow is the same as every other transaction. You sign with the first owner wallet, then it will move to the transactions tab and wait for the next signer until it has enough to be executed.
In my example I signed with 2 of 3 owners and executed, and on completion the result appeared in the UI, showing I now have 3 assets: MATIC, USDC and USDT!
Stay Safe!
You’ve now had a pretty complete round up of how to create and use a Safe Account.
Multisigs are one of the most secure ways to protect your assets. I liken them a bit to bank vault in that it’s where I’d leave my slow to move assets that I don’t need regular access to and want to keep extra safe from potential hackers.
I discussed this bank vault idea and how to have several different levels of security in a previous post I wrote called Web3 Security 101. Security is such an important part of the Web3 space, don’t let yourself get caught out!
Remember “not your keys, not your coins”.
Safe allows you to have multiple keys safeguarding assets and providing maximum security, stay safe out there!


