Mint your NFT artwork with Manifold in 7 minutes
Web3 artists can mint their art quick and easy with Manifold. Not an Artist? We'll use AI to generate you some art!
TLDR:
Follow this guide to learn how to create a contract and mint your artwork on Ethereum using Manifold’s slick no-code NFT creator tools.
If you’re not an artist we’ll use OpenAI’s Dall-E to generate some art.
Manifold is great for any sort of NFT mint, so even if you’re not an artist it’s still a useful tool to learn how to use.
My last week’s post was on how to launch an NFT collection in 10 minutes for free, and just as with my post on writing your first smart contract in 3 minutes, last week’s got a lot of love and 9k views on the Twitter thread written about it!
So in continuing with the theme of “how-to” guides, this week I’ll be making another one but this time catering to artists in the ecosystem! Our main focus right now at my company Token Page has been on a product for artists so this feels very apt!
Today I’ll teach you how to use the incredibly popular Manifold to release your own artwork as an NFT. But don’t be dismayed if you’re not an artist as neither am I so I’ll also show how to use AI to create art! Also Manifold is built in a such a way that learning it will help you release any type of NFT you might want to.
Manifold
Manifold is a no-code free to use toolkit for digital creators to create and release NFTs. It has a “Studio” product that allows you to create your own smart contract and launch different NFTs off of it.
These NFTs can be for literally anything but Manifold has found a strong following among Web3 artists. Many artists have grown to use it as their operational back-end by creating their own Manifold smart contract and minting their artwork off of it.
What makes Manifold great is that it takes all the complexity out of minting and lets artists focus on what matters - their art!
Deploying Smart Contract
To begin jump onto the Manifold home page, select “Studio Login” and connect your Web3 wallet.
Select the “New Contract” option and then on the next page fill out your contract’s name, symbol, type, and ascii mark. Below is an example with my name and symbol showing I’m using the contract for art.
Choose the Test Network for now so you’re not spending real ETH, then hit deploy. It will ask you to switch over to the Goerli testnet. If you have no Goerli ETH then grab some from this faucet here.
After signing and executing the transaction and waiting a little bit for it to get confirmed on-chain you’ll have your own contract deployed!
Create Artwork with AI
You may be an artist in which case you can skip this section!
I’m not an artist and if you’re not one either then with today’s latest AI we can at least simulate our inner artist.
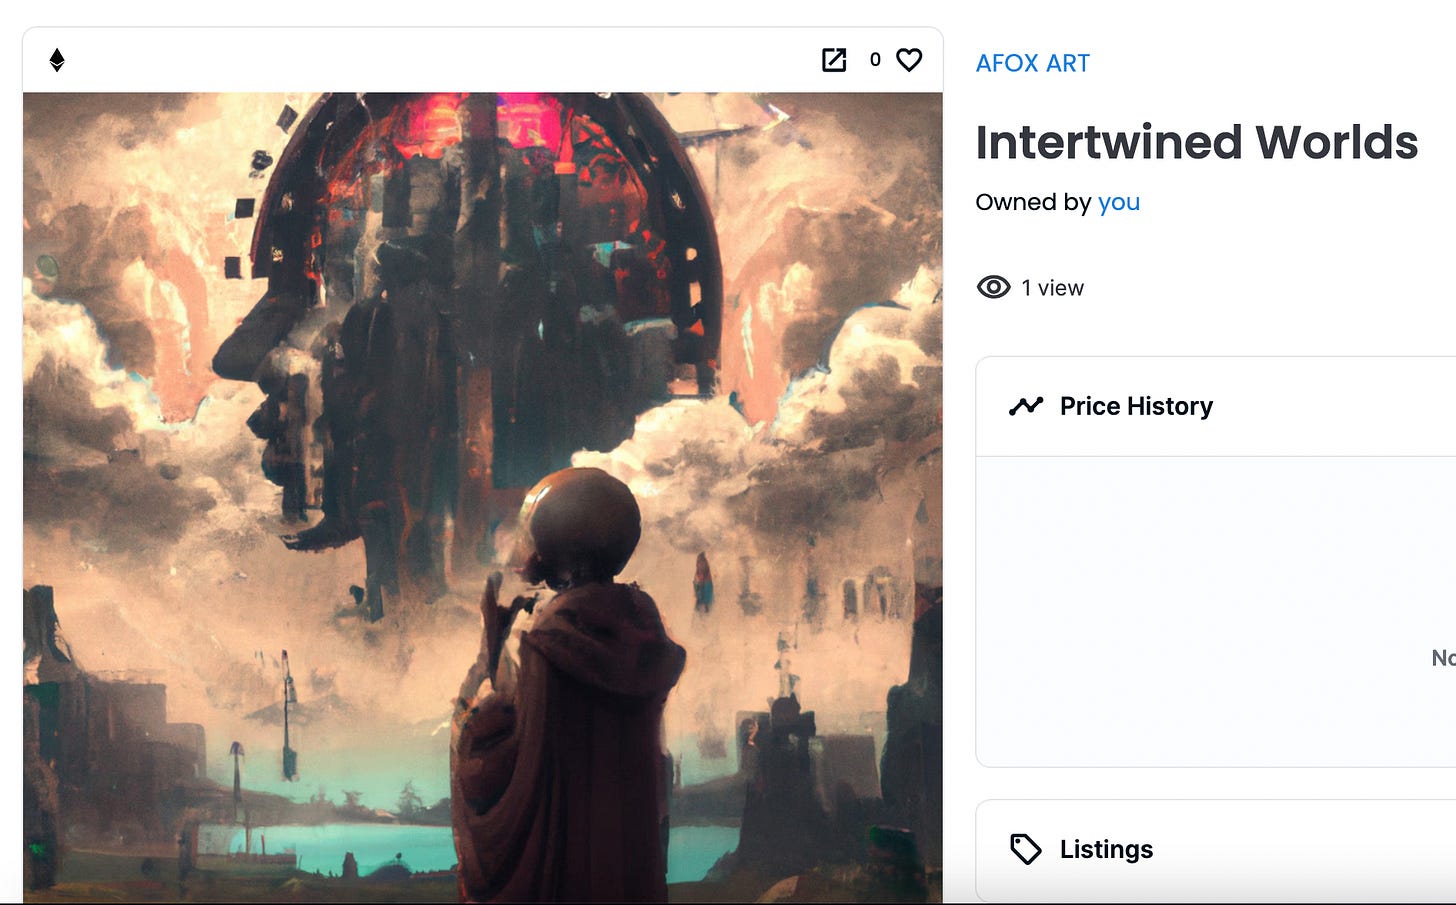
Go to OpenAI’s Dall-E and type whatever text comes to your imagination. For this example I wrote “monk in foreign world intertwines future and the past, digital art” and got the images below!
I selected the fourth one as I felt it was most representative of what I had in my mind:
Mint Token on Testnet
Coming back to Manifold, the contract has a dashboard associated with it and you now have several options for what to do, which are shown below. We just want a standard mint so select “mint token to a wallet” then hit “create”.
You’ll have 4 new options here, for this tutorial we’ll just select a “Single Token”. In future posts we can dive into the others options.
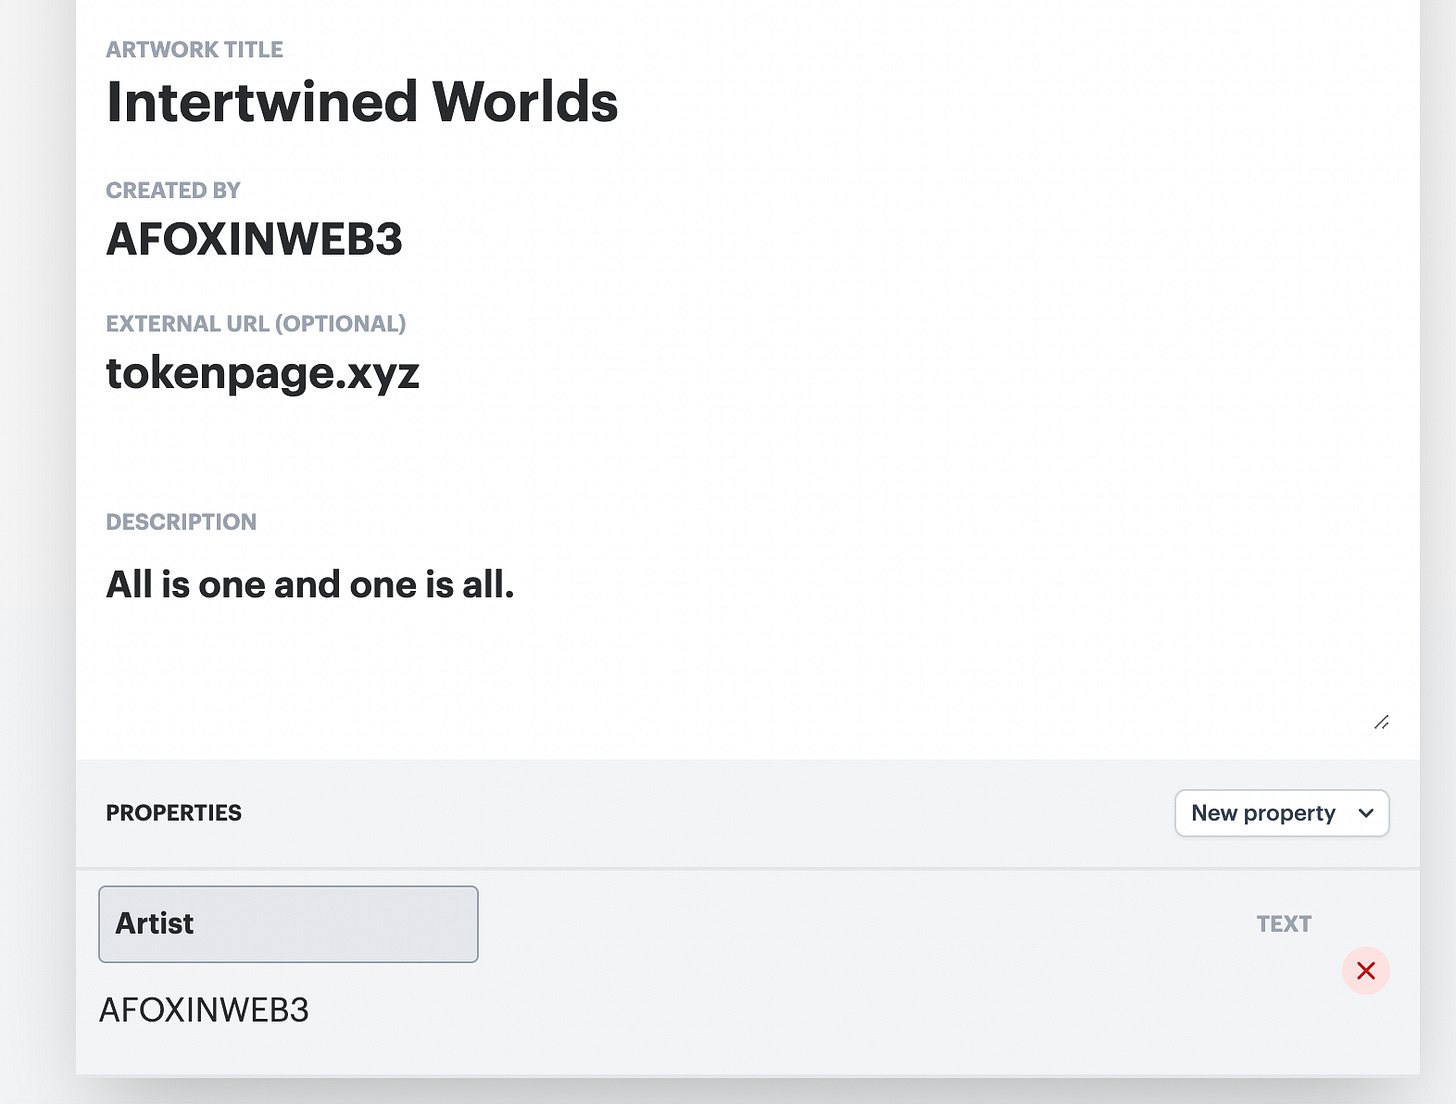
You’ll be asked next to fill in the details to describe your new artwork: Artwork Title, Created by, External URL, Description, and even NFT properties can be set!
Take your artwork and add it with the upload button at the top, then hit “Mint to Test Network”. For now, make sure to select “myself” to mint to yourself.
You’ll have to execute the transaction and once its finished you should get a few emojis flying around and a message saying the mint was a success.
Congrats you just minted your own artwork to the testnet!
Move to Mainnet
You can now check that you are happy with the result by going to Opensea with the link provided on the success page.
If you’re not happy with any of the details like the name, description, or even the artwork now is the time to change and try again since its free on the testnet.
Once you are happy though you’ll be ready to “Mint to mainnet”. On selection you’ll be told you first need create the smart contract on mainnet, select “Take me there”.
Back on the contract screen select “Main Network” and choose Ethereum. Switch your wallet back from Goerli to Ethereum mainnet too and then hit “Deploy”.
You’ll be warned about storing your contract permanently on-chain, but by now all the variables should be set correctly so just hit “LFG” to get going.
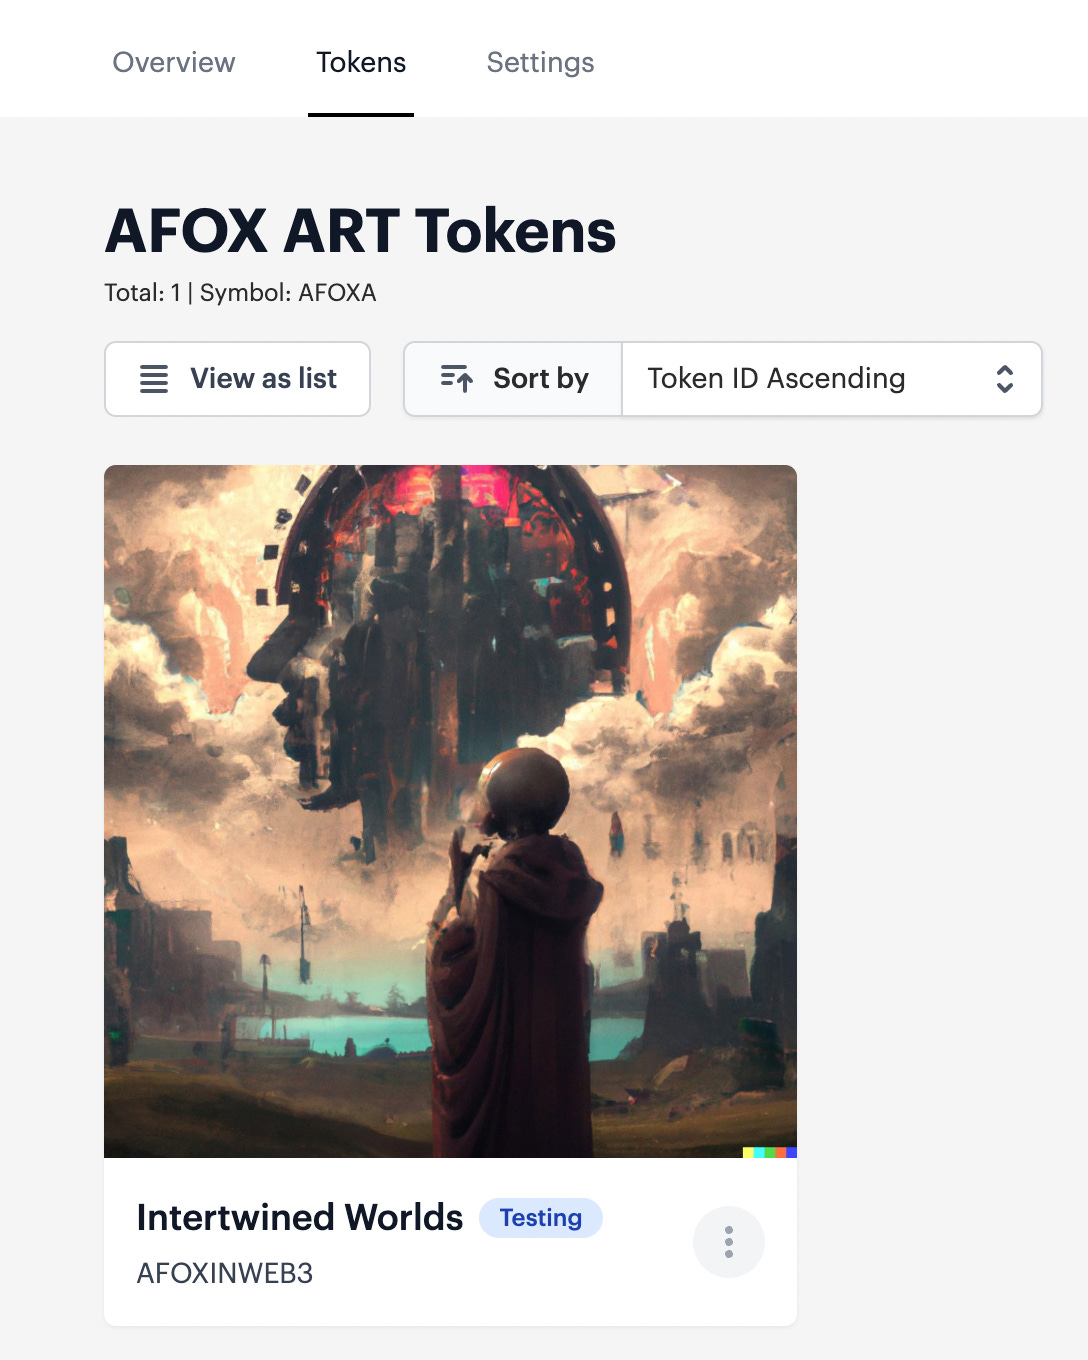
Deploying to mainnet can take a little while depending on the congestion on Ethereum. Once its gone through you can find the NFT artwork you wanted to mint by going back to “Tokens” and selecting the NFT we previously minted on the testnet.
Here you can make final adjustments and when ready select “Mint on Mainnet”.
You’ll be asked to sign the transaction and once this completes you’ll have successfully minted and be able to see your artwork in your wallet!
Congratulations you’ve minted your art on-chain! Just as before on the testnet you can use something like Opensea to look at it in your wallet on the mainnet.
And that’s a wrap!
Now you know how to mint a piece of art with Manifold, and even create your own artwork with Dall-E! You can take this knowledge forward to mint anything else you might want to with Manifold’s great creator tools.
In a future post we’ll go through other minting options on Manifold since now that you have your own contract you’re able to do many other things with it such as edititons and even “burn and redeem”. Plus I’ll be able to show you other interesting things you can do like generate your own marketplaces with Rarible.


